You’ve probably already heard of an app called Calendly, which is used by the vast majority of online businesses for booking meetings with their clients. You might be wondering... If most people already use Calendly, why should they consider Cal.com? That's exactly the topic of this blog post. Stay with us and read until the end 😊.
1. What are Cal.com and Calendly?
Cal.com and Calendly are tools that can be integrated into your website with the help of additional code. However, even if you don't have a website, both tools generate a link through which users can access your calendar, where they can book a meeting with you on specified days and times.
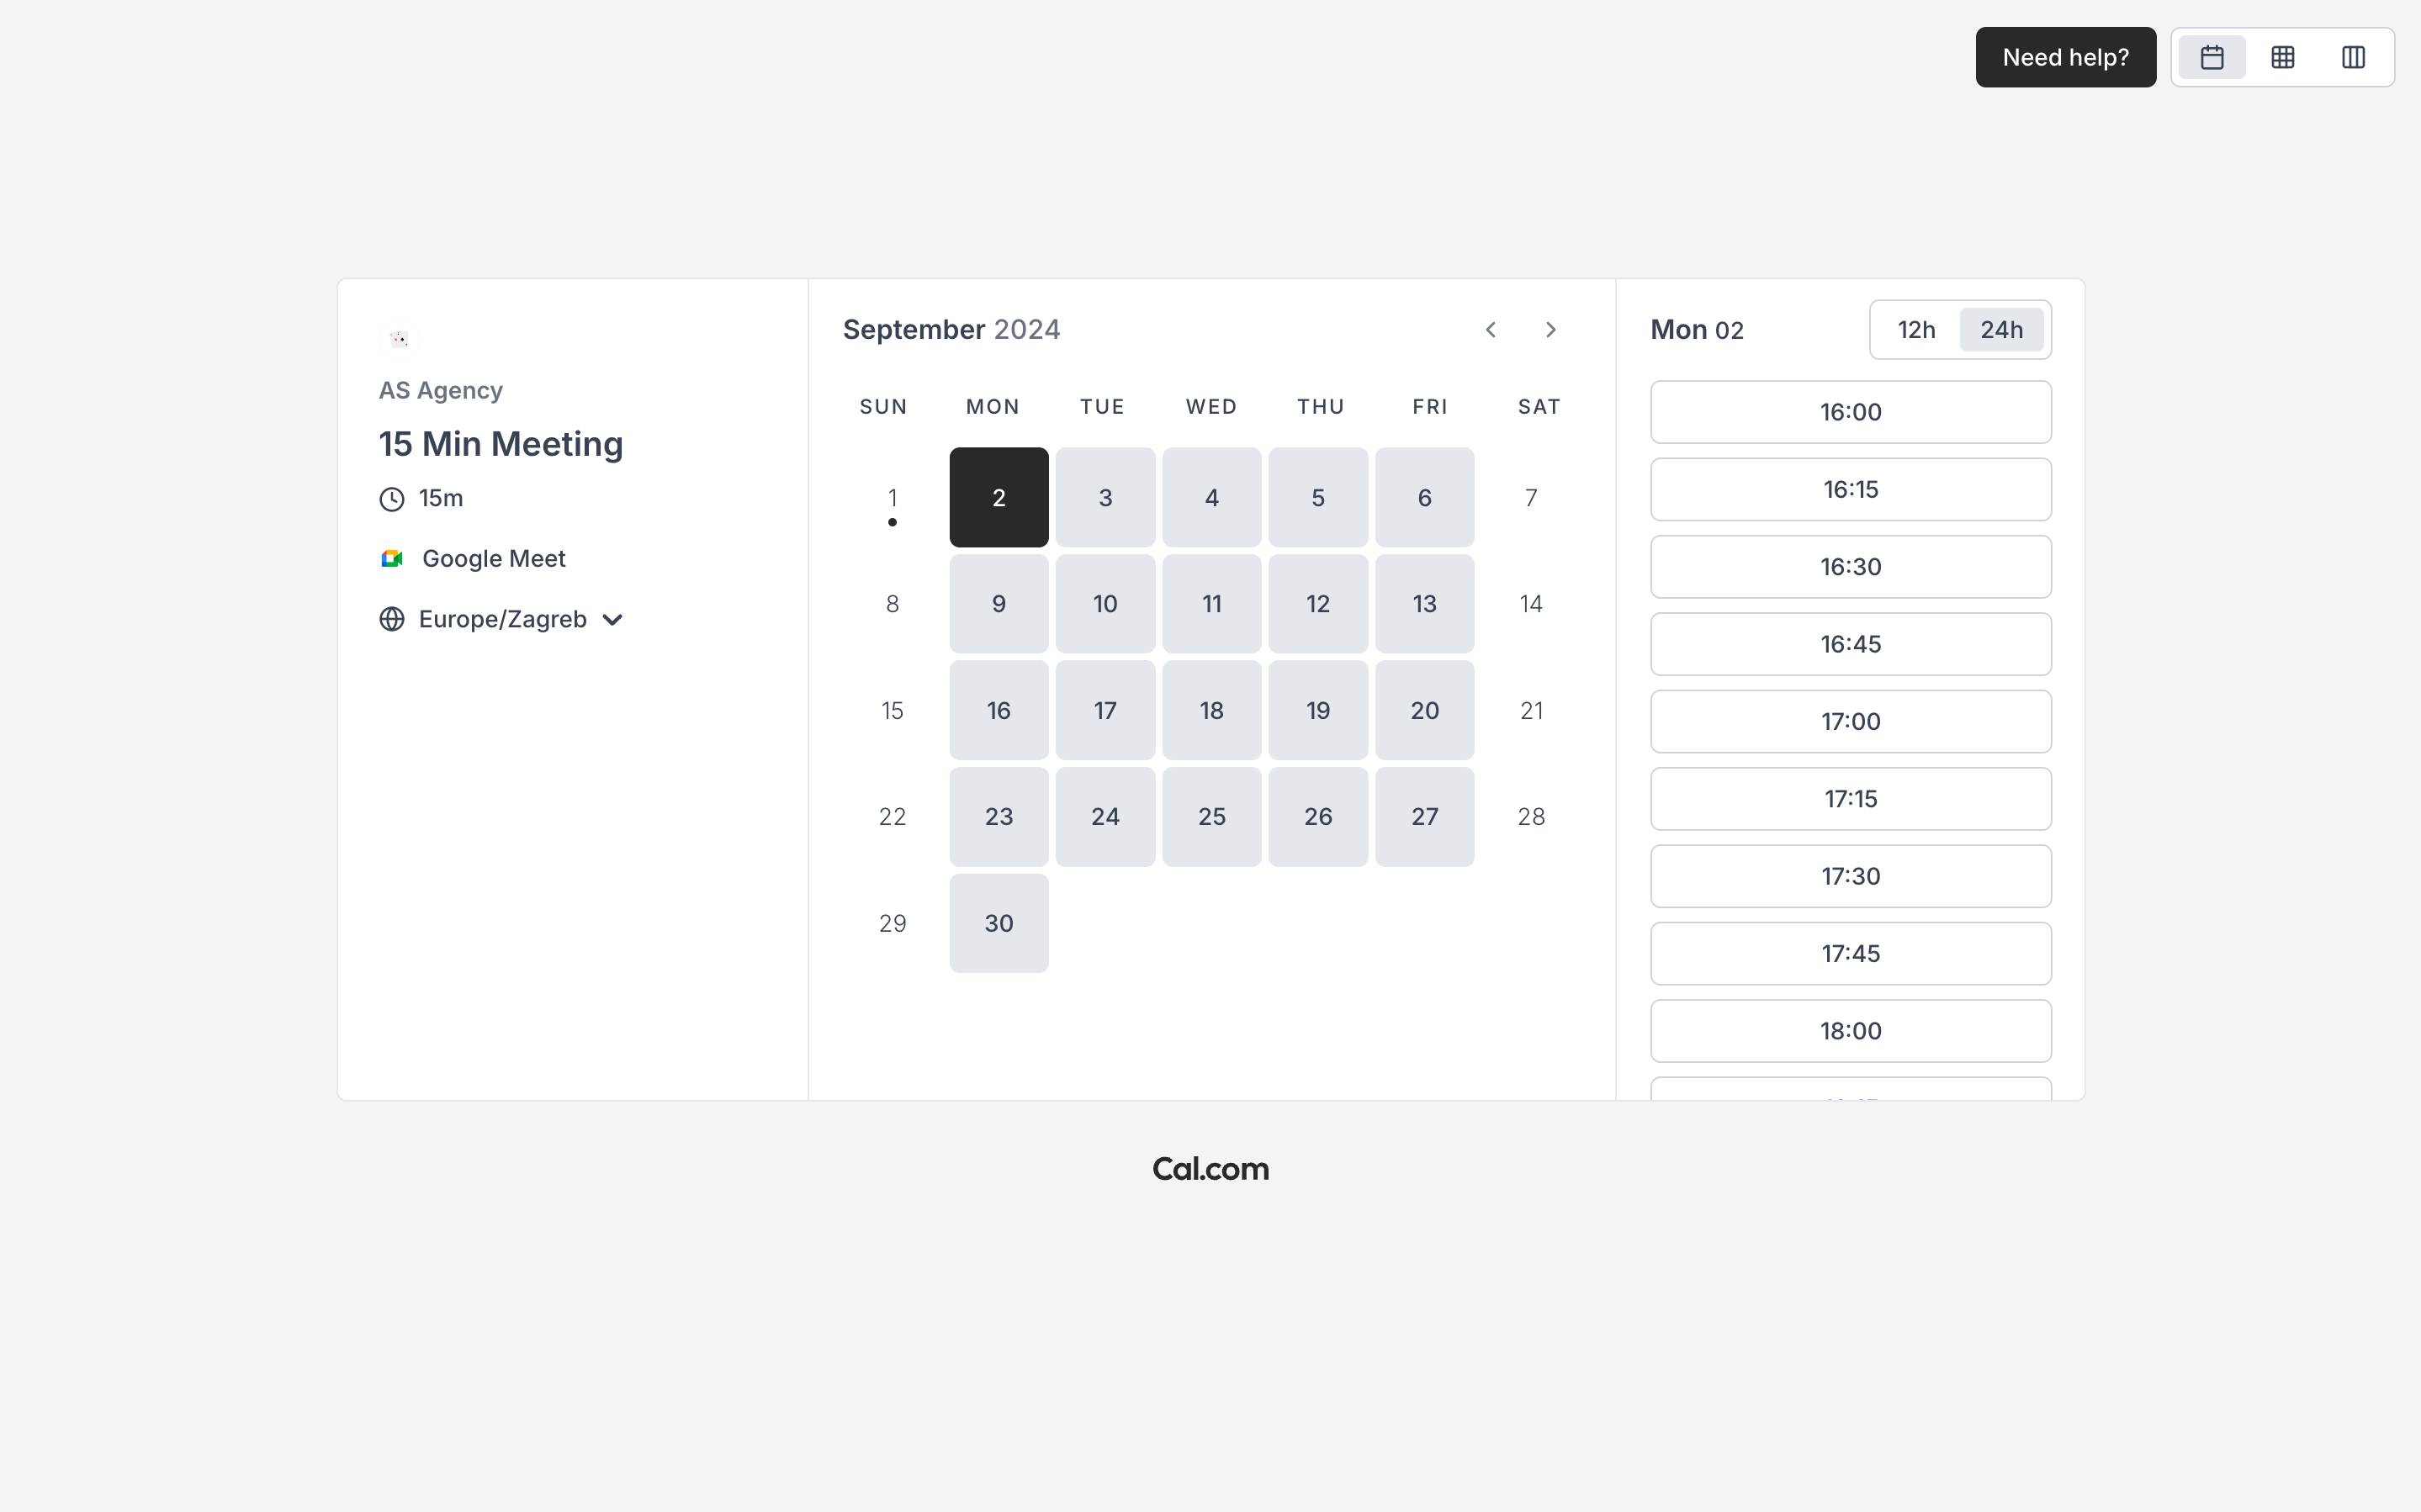
Slika: Cal.com calendar accessible via link
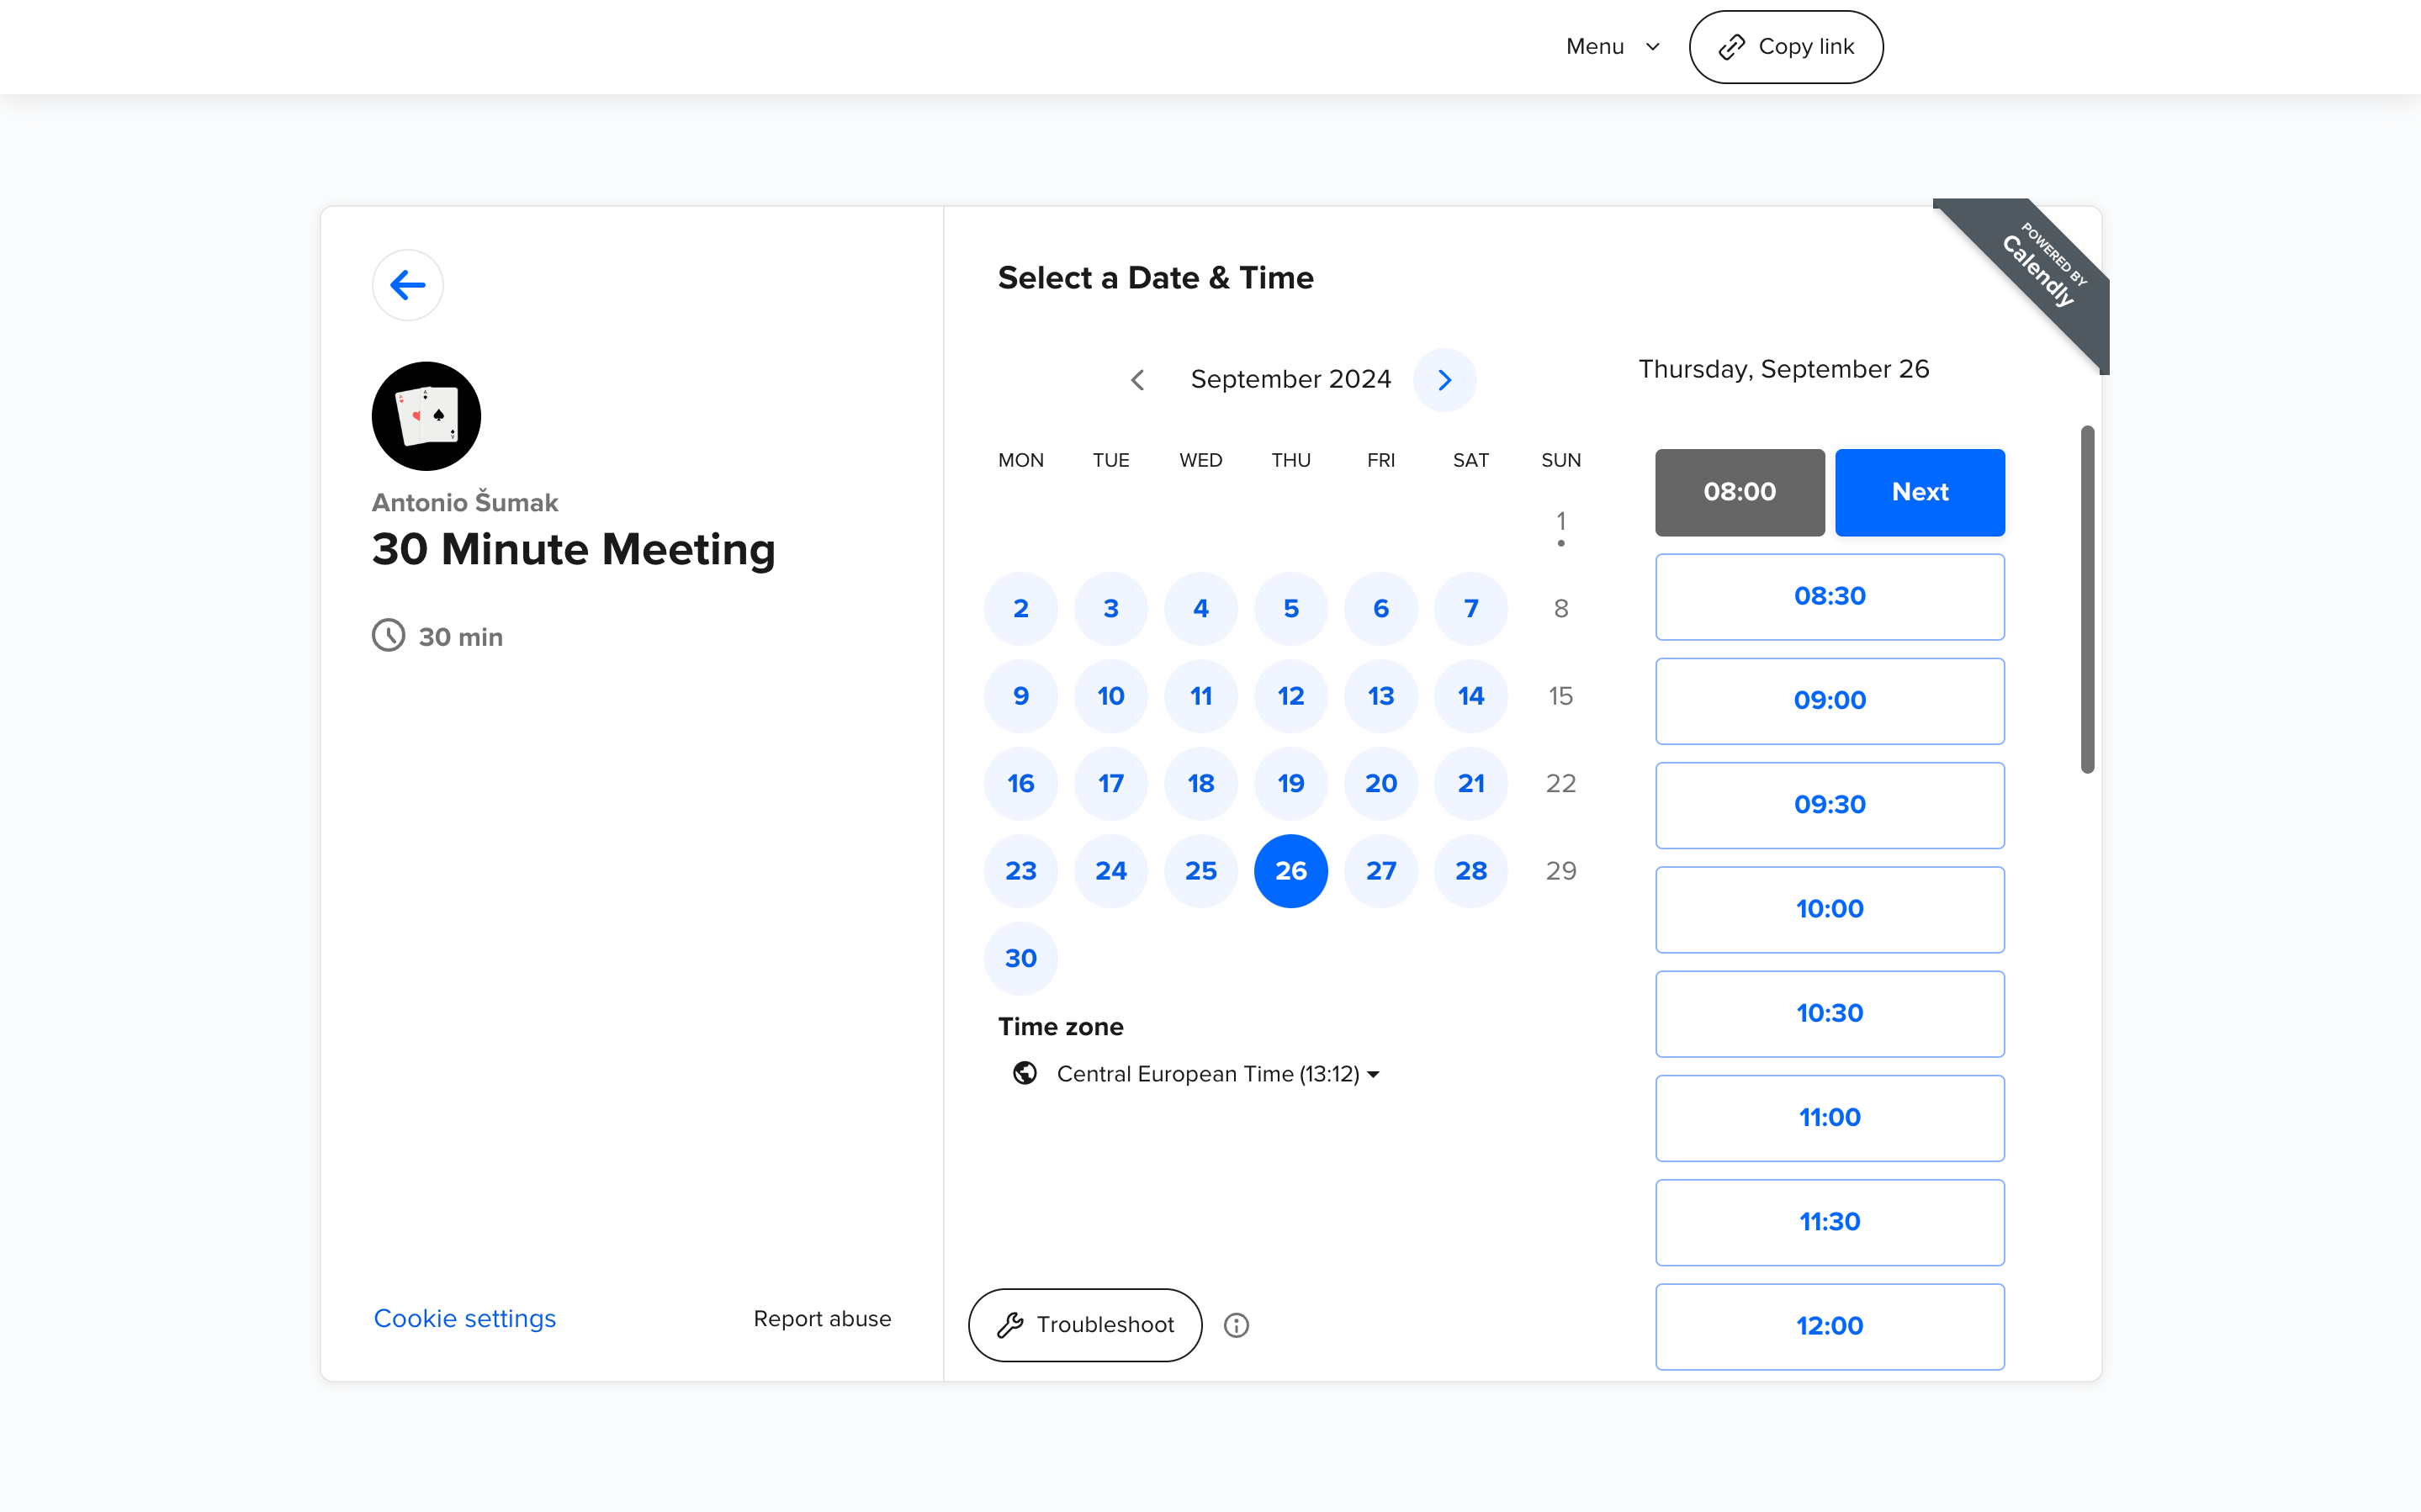
Slika: Calendly calendar accessible via link
2. Why choose Cal.com over Calendly?
We can answer this question by explaining why we chose Cal.com in our case. Our answer might inspire your own thinking and help you decide whether to choose the same, or even the opposite.
Both tools offer more or less the same functionalities and features, but Cal.com has two major advantages over Calendly:
- Customizability to fit your needs
- Open source project -> Can be run for free on your own servers, with strong community support
I would also like to point out that the user interface is much more modern and intuitive to navigate and understand.
3. How to create your own calendar?
The process is very simple and straightforward. Everything is visible and easy to set up.
3.1. Creating an account
The process of creating your own calendar begins with creating an account, which can be done at the following link: Register
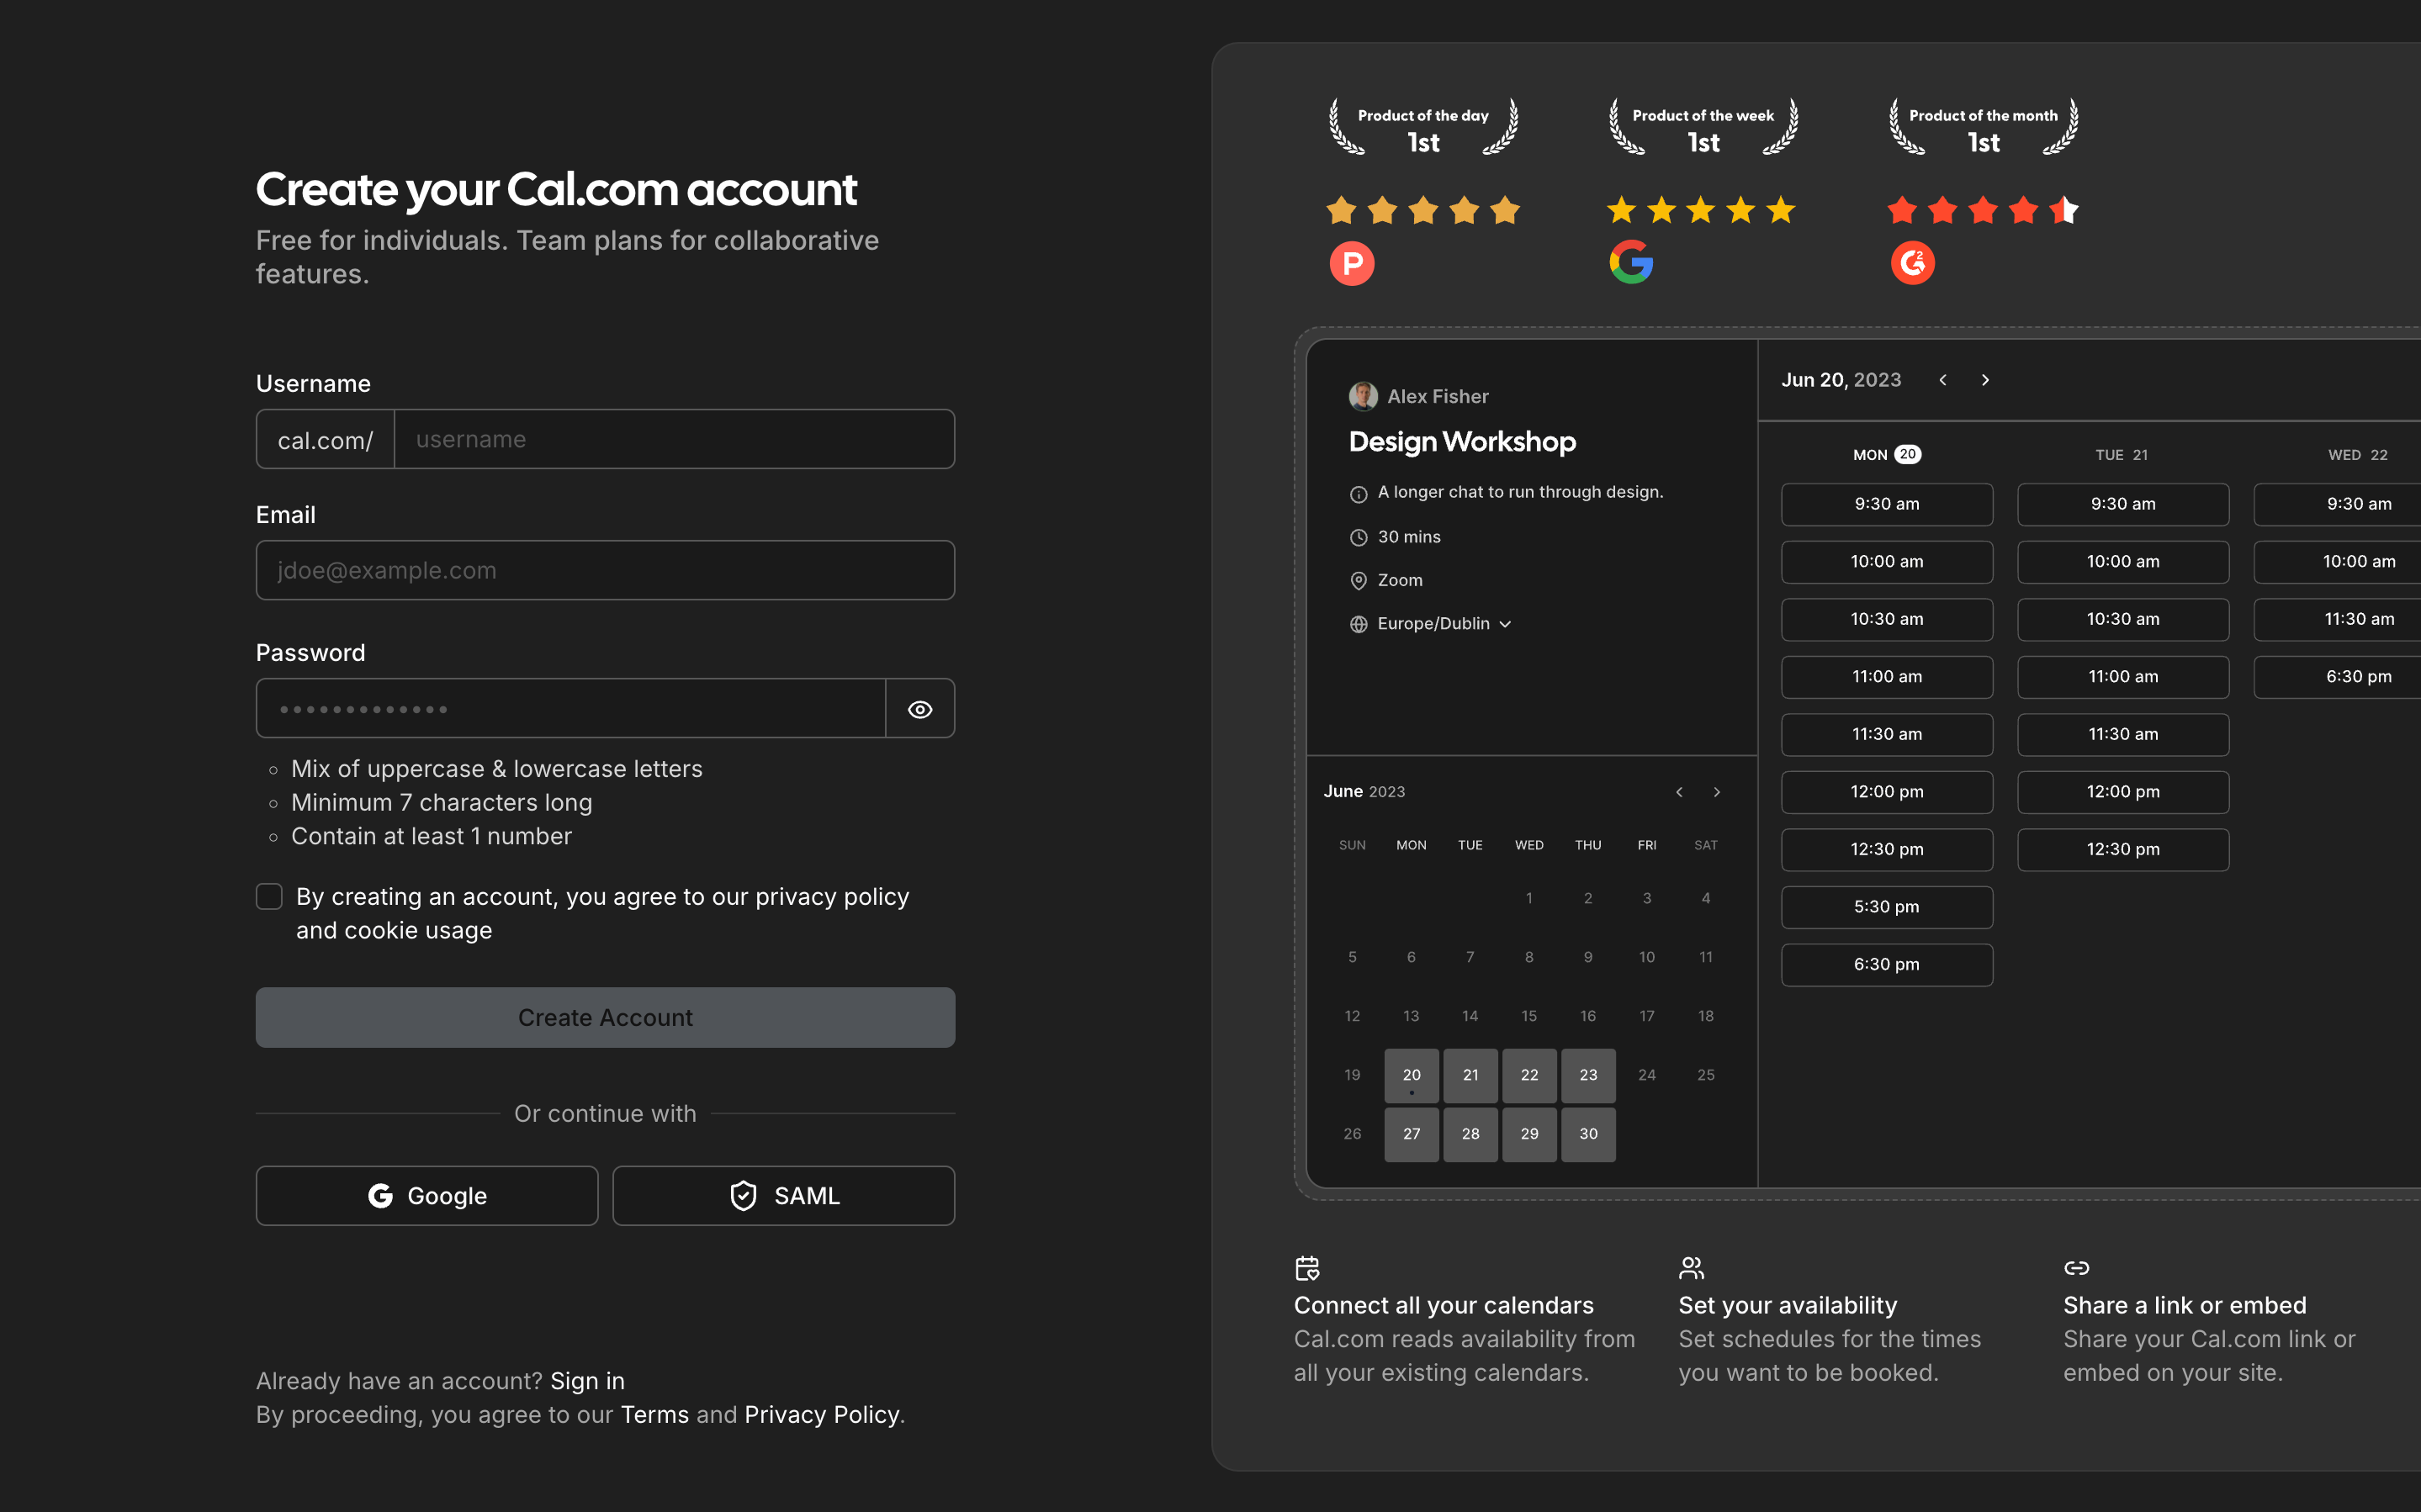
Slika: Registration and account creation
There are two ways to create an account. You can either manually enter your email address, password, and username that will be displayed in your calendar link. Since we will be integrating the calendar with Google Calendar and Google Meet, we will choose the Google option for account creation. (Note: It's not necessary to create an account with a Google account to integrate with Google Calendar and Google Meet; this can be added later, but this method simplifies the process).
After completing the standard Google authentication process, we arrive at the next screen.
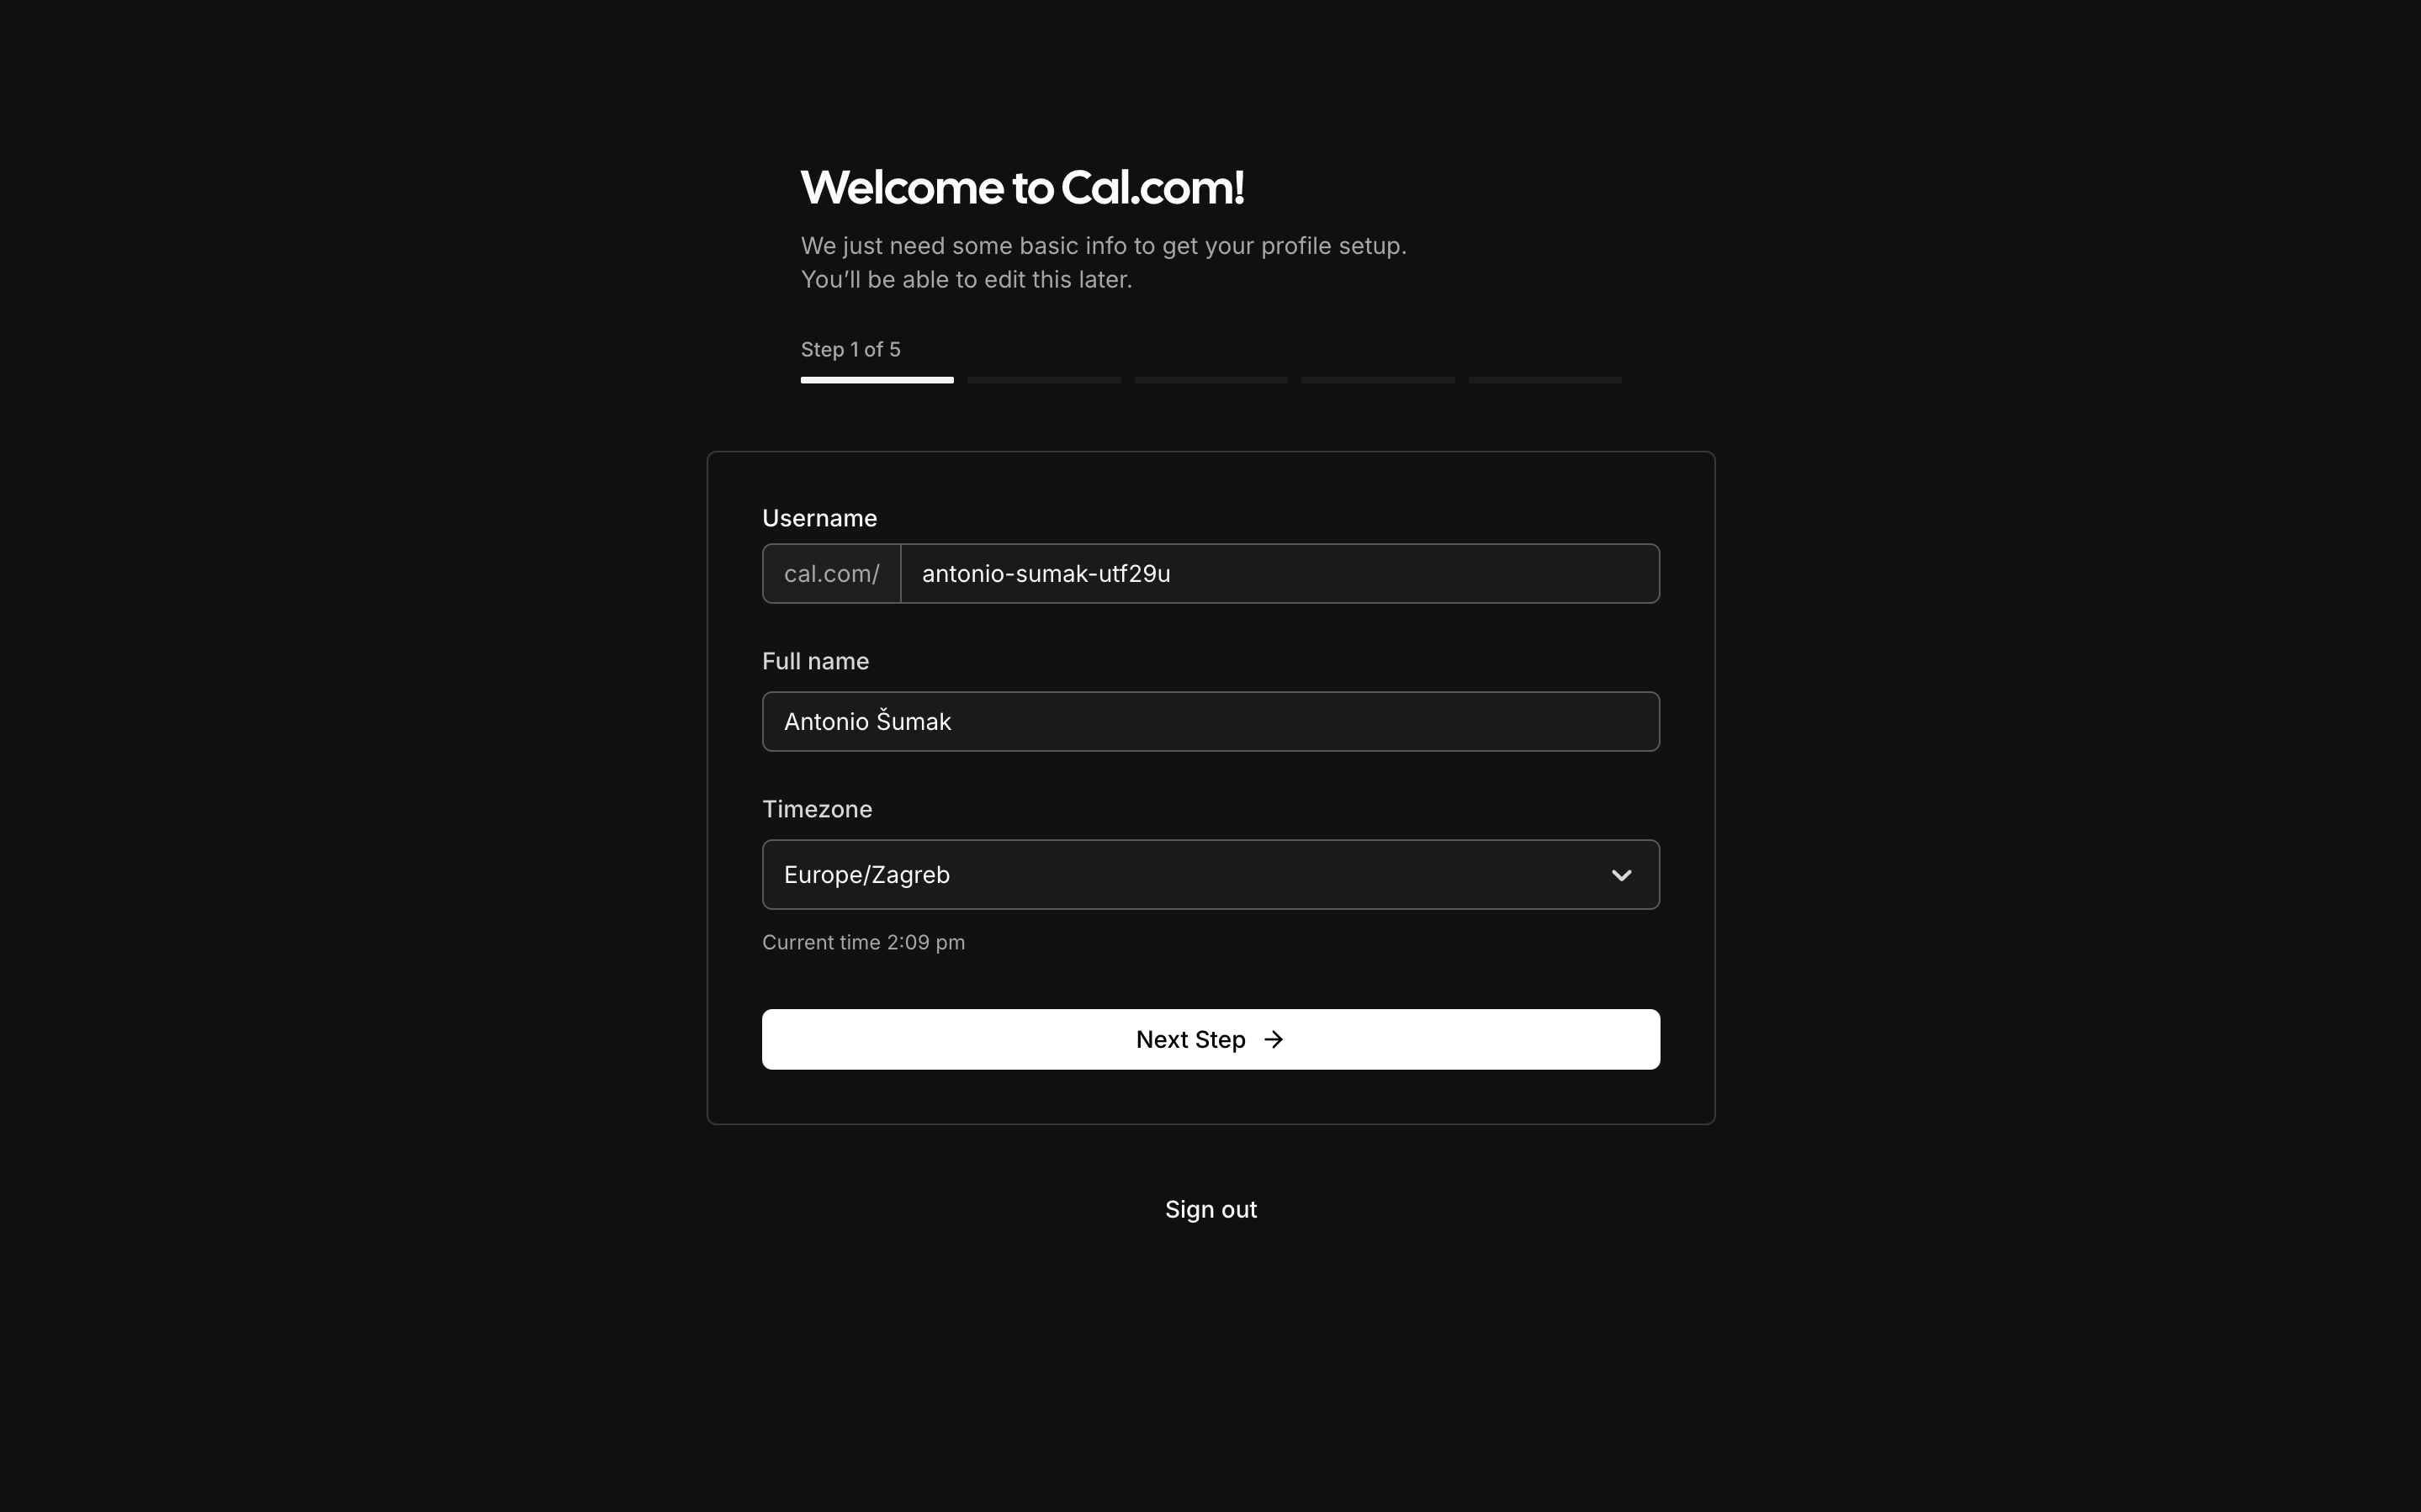
Slika: Step 1 of creating the calendar
Here on this screen, we enter the basic information and the username, which is very important to us. Initially, the full name and a random ID are provided. To change this username, you need to type in your desired username and then click the button next to the input field, which will open a confirmation window.

Slika: Confirmation button
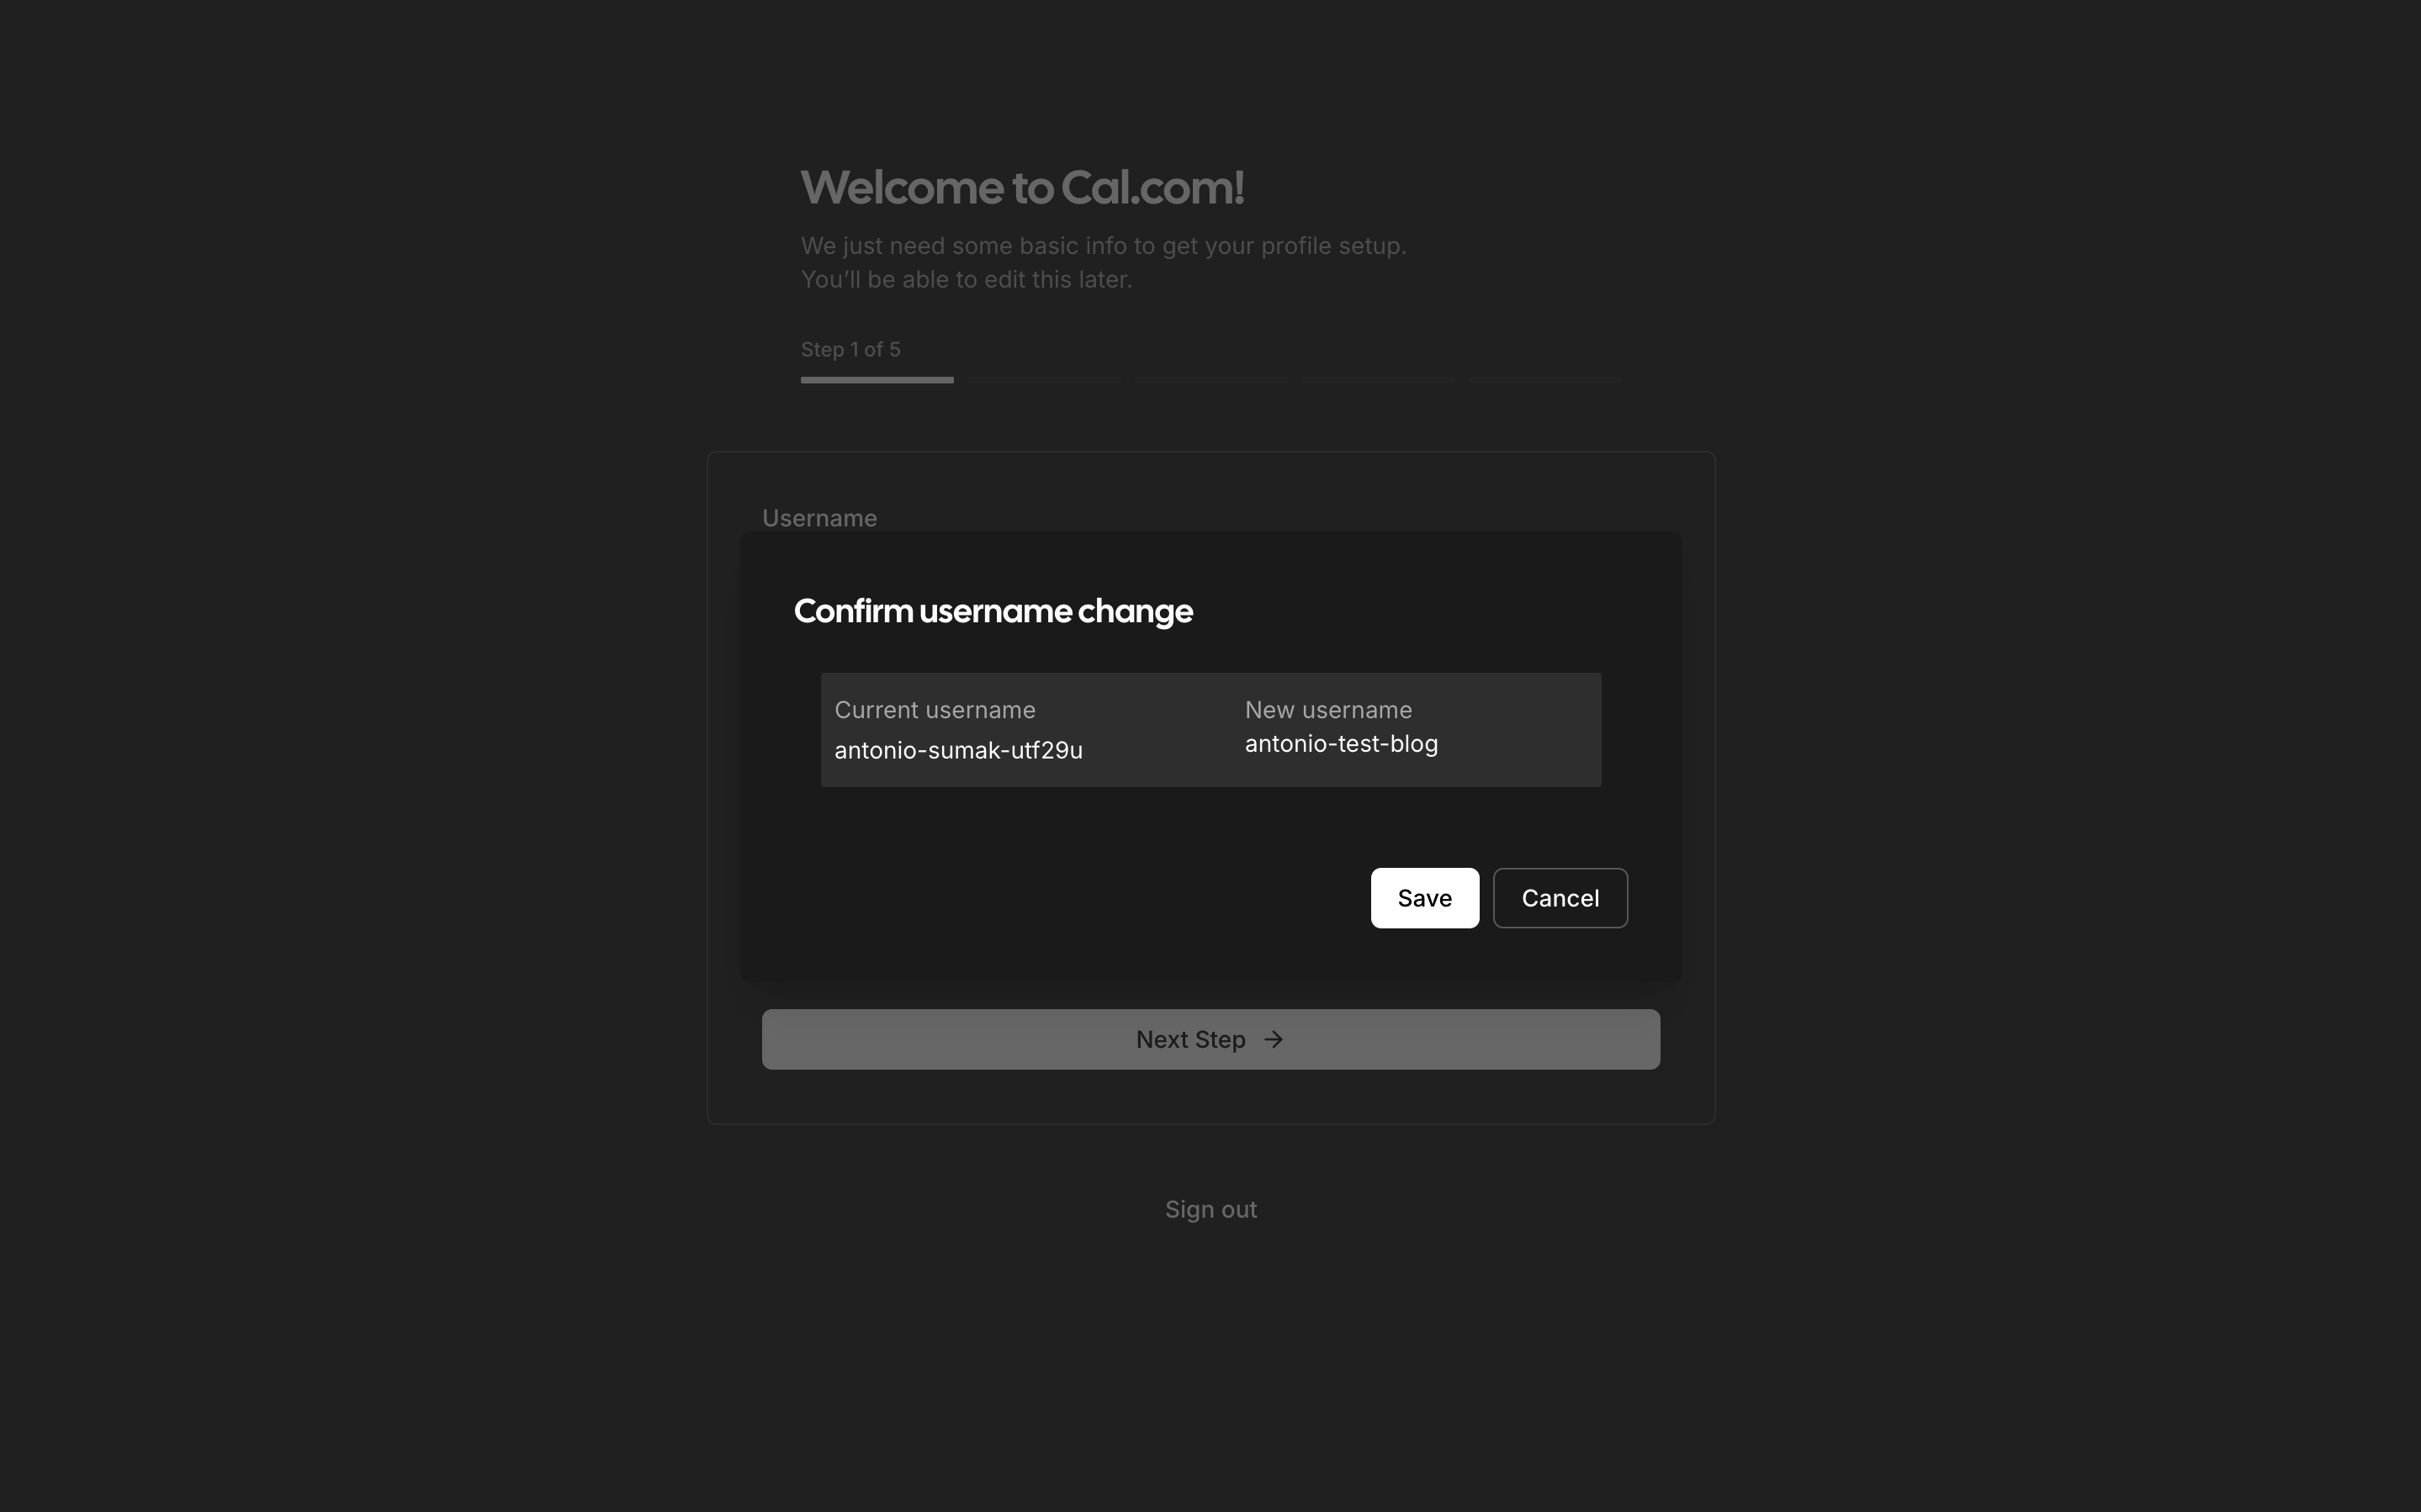
Slika: Confirmation window
Here, we click on "Save" and then on "Next Step."
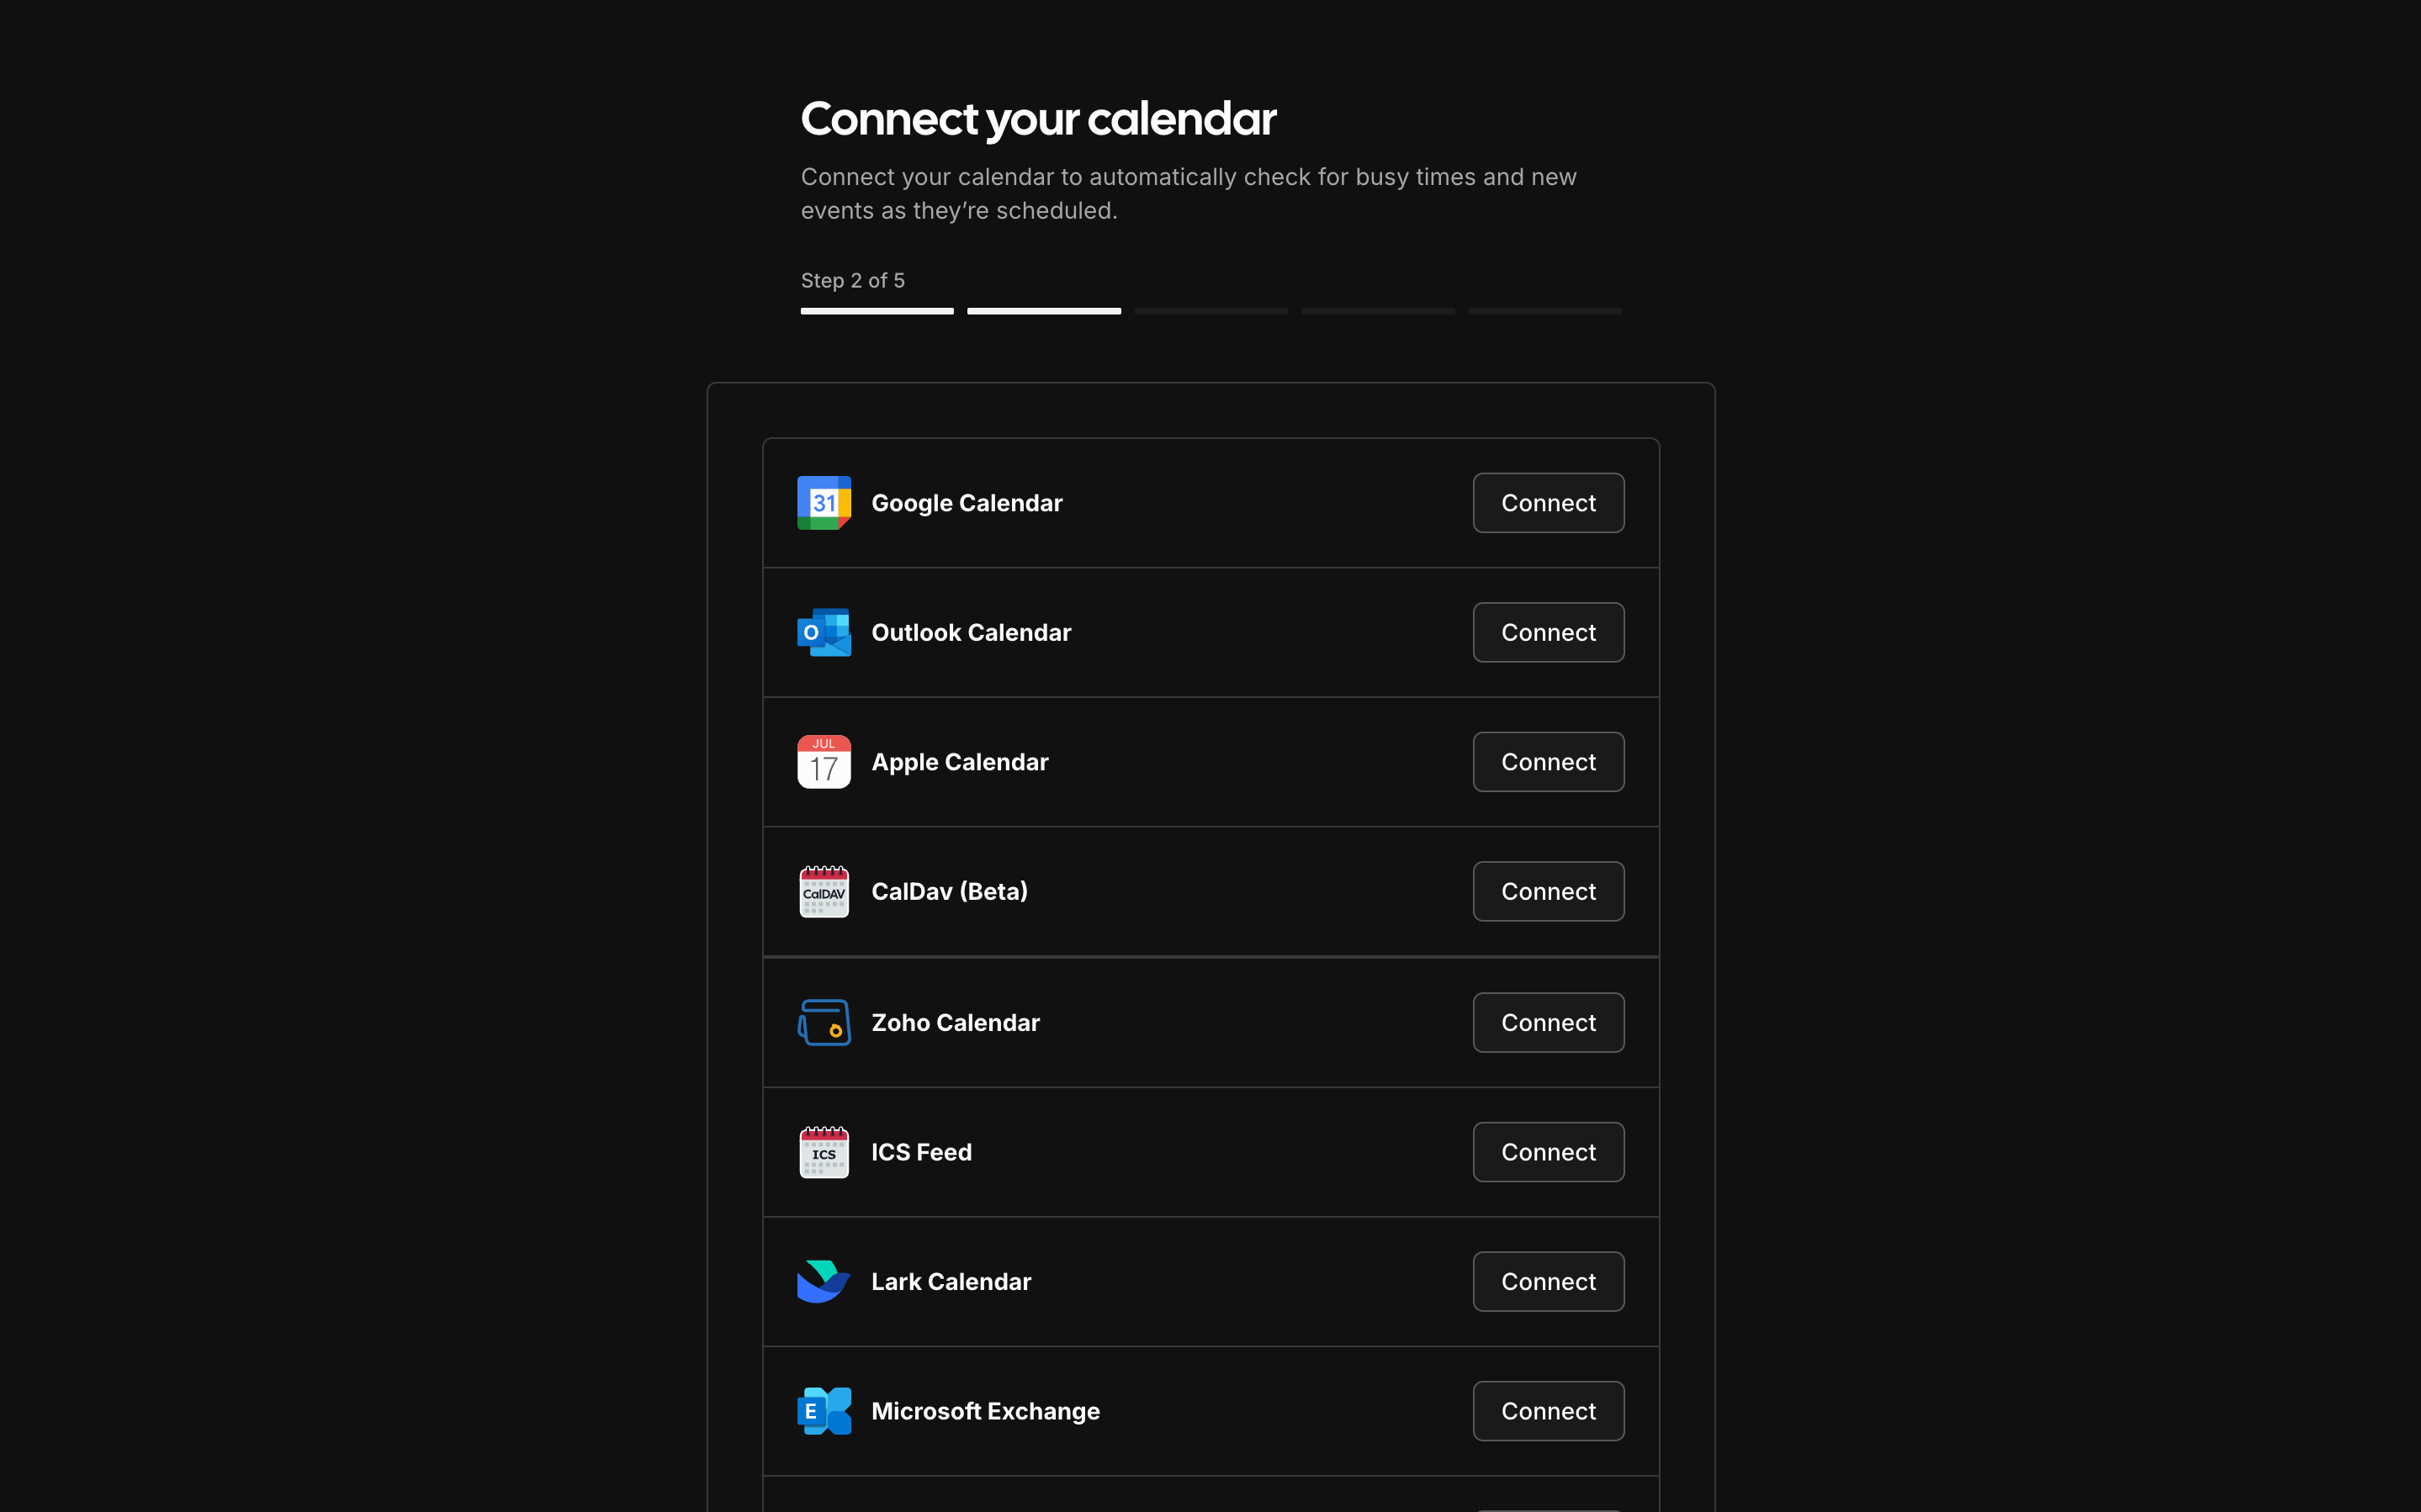
Slika: Calendar selection
In the second step, you need to select the desired calendar, and you can choose more than one. This is the calendar where your bookings will be saved for later review. We will select Google Calendar and click on "Connect."
The standard Google sign-in process will open again, and you will need to choose the Google account where Cal.com will save your bookings. In the final step, the following screen will appear.
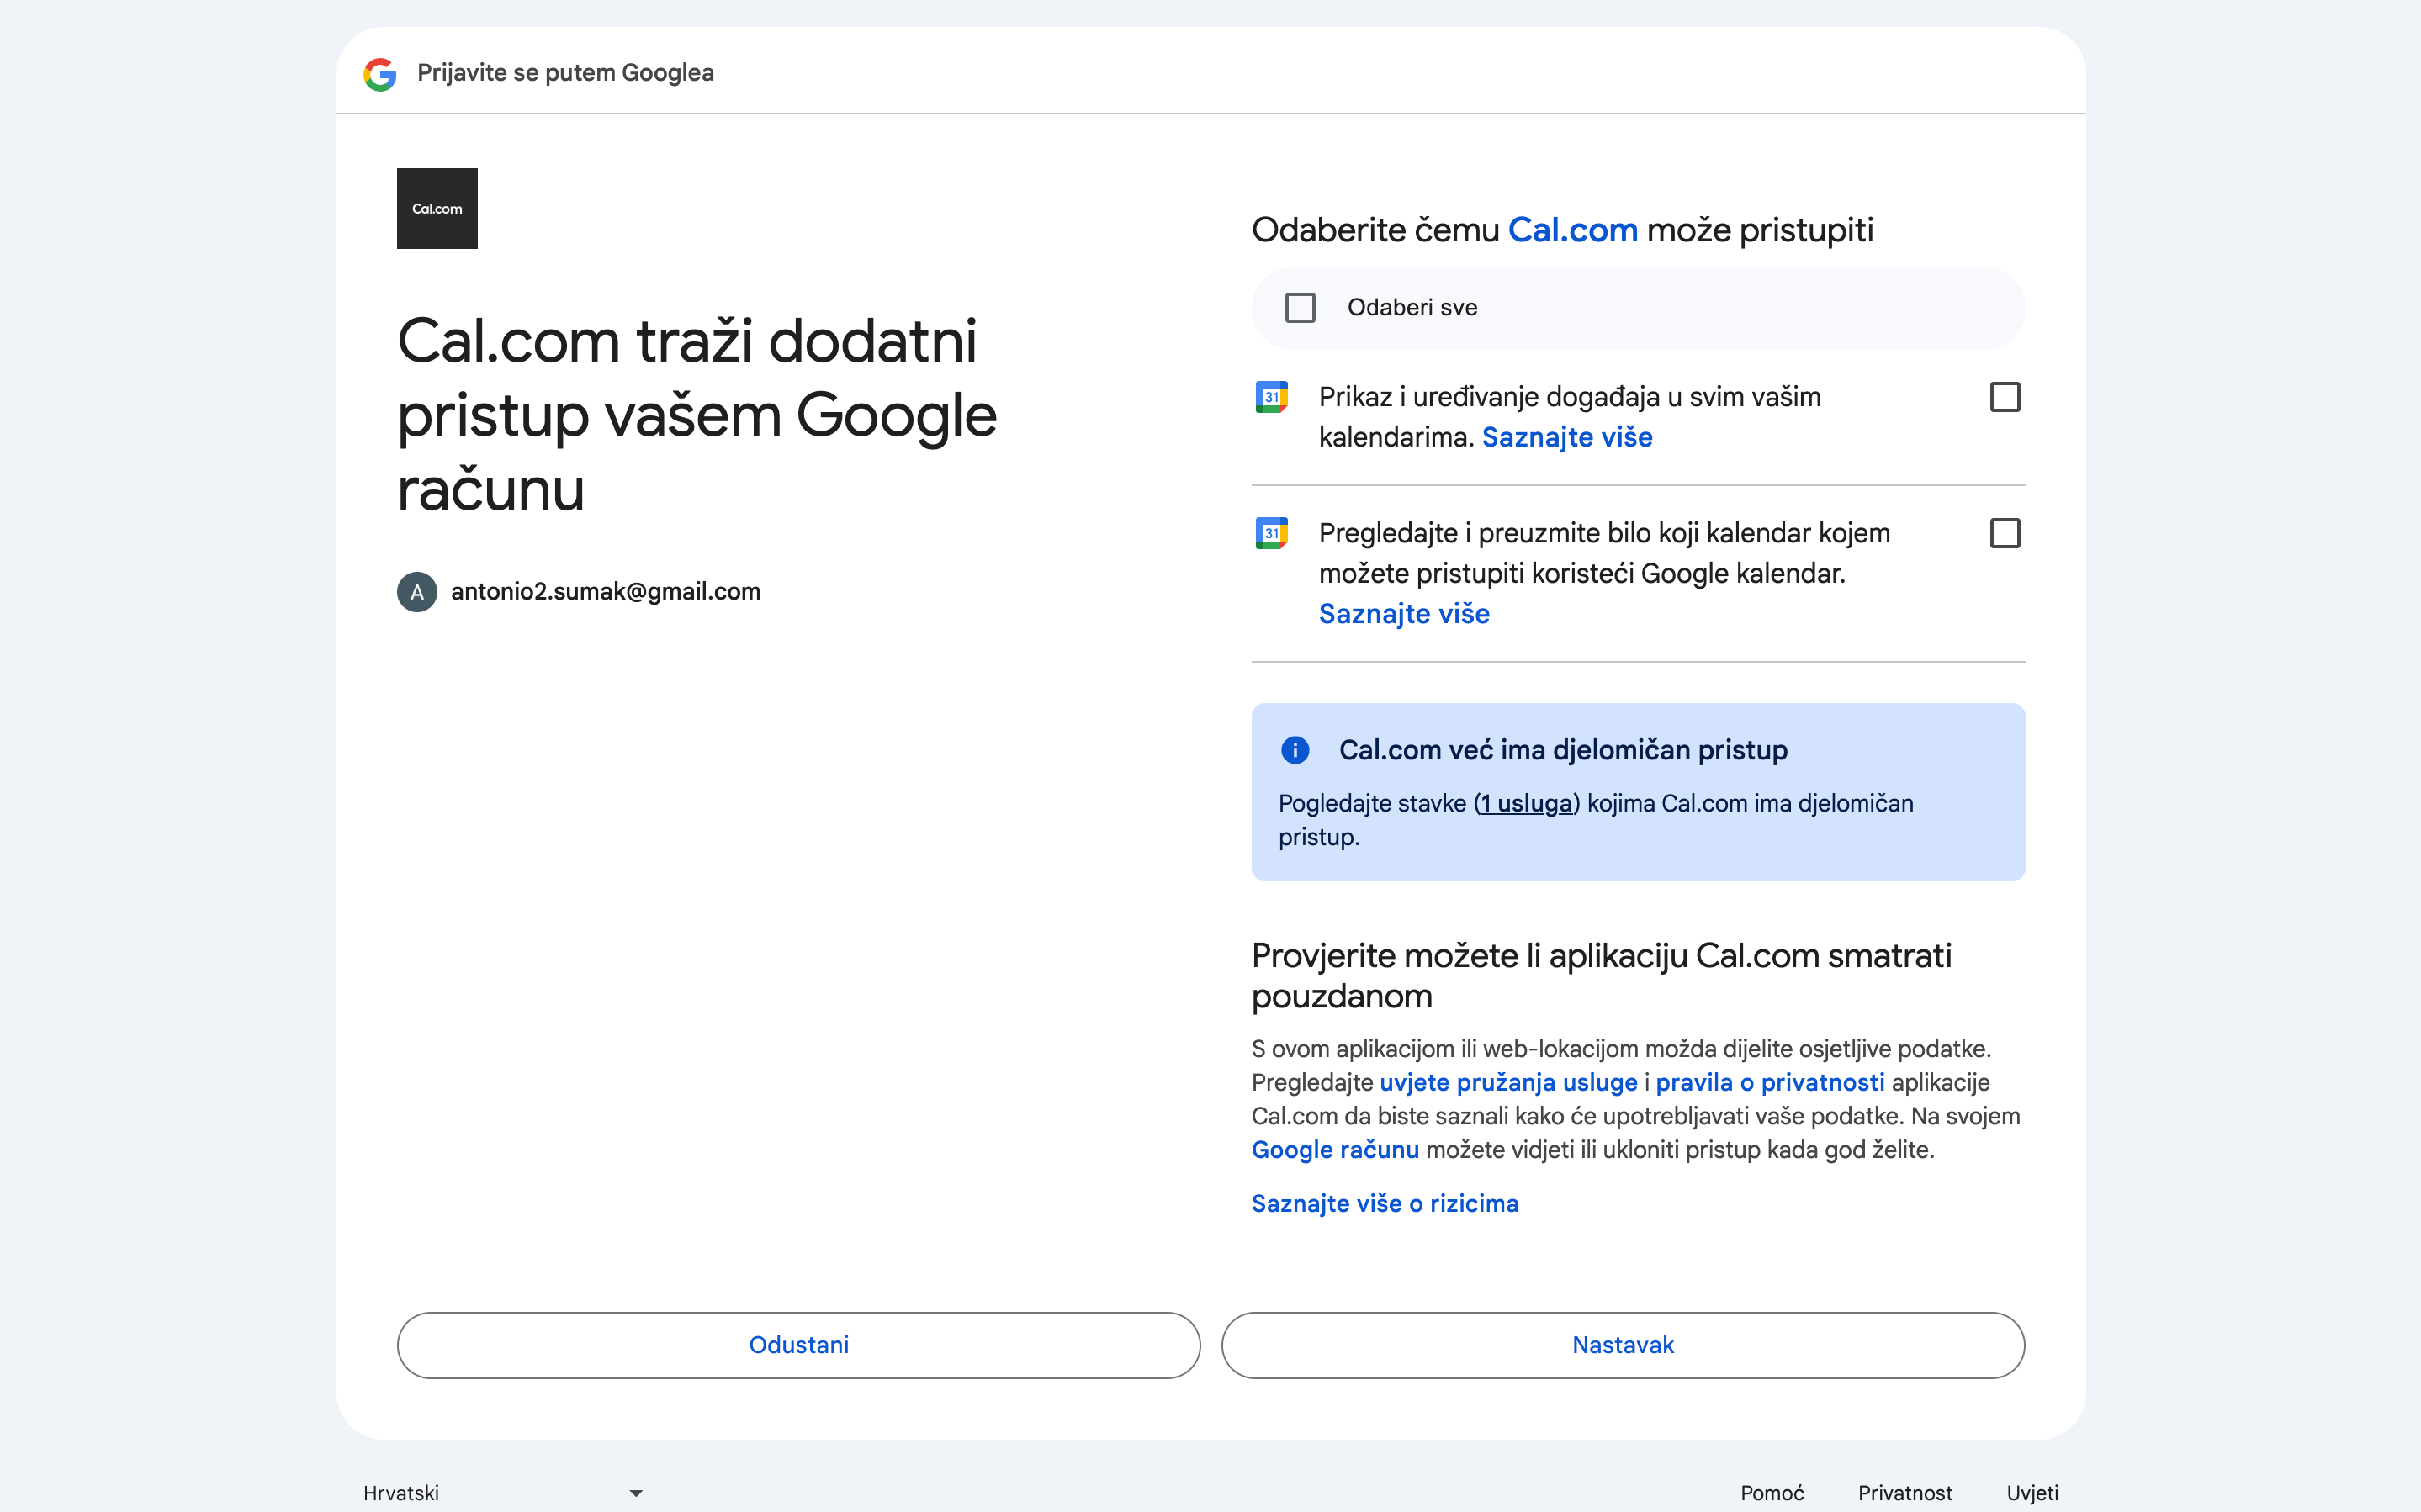
Slika: Granting Cal.com permission to save and manage meetings
You need to select all the permissions, which can be done by clicking "Select all." This will allow Cal.com to edit and create meetings, but the editing will only apply to meetings created through this platform.
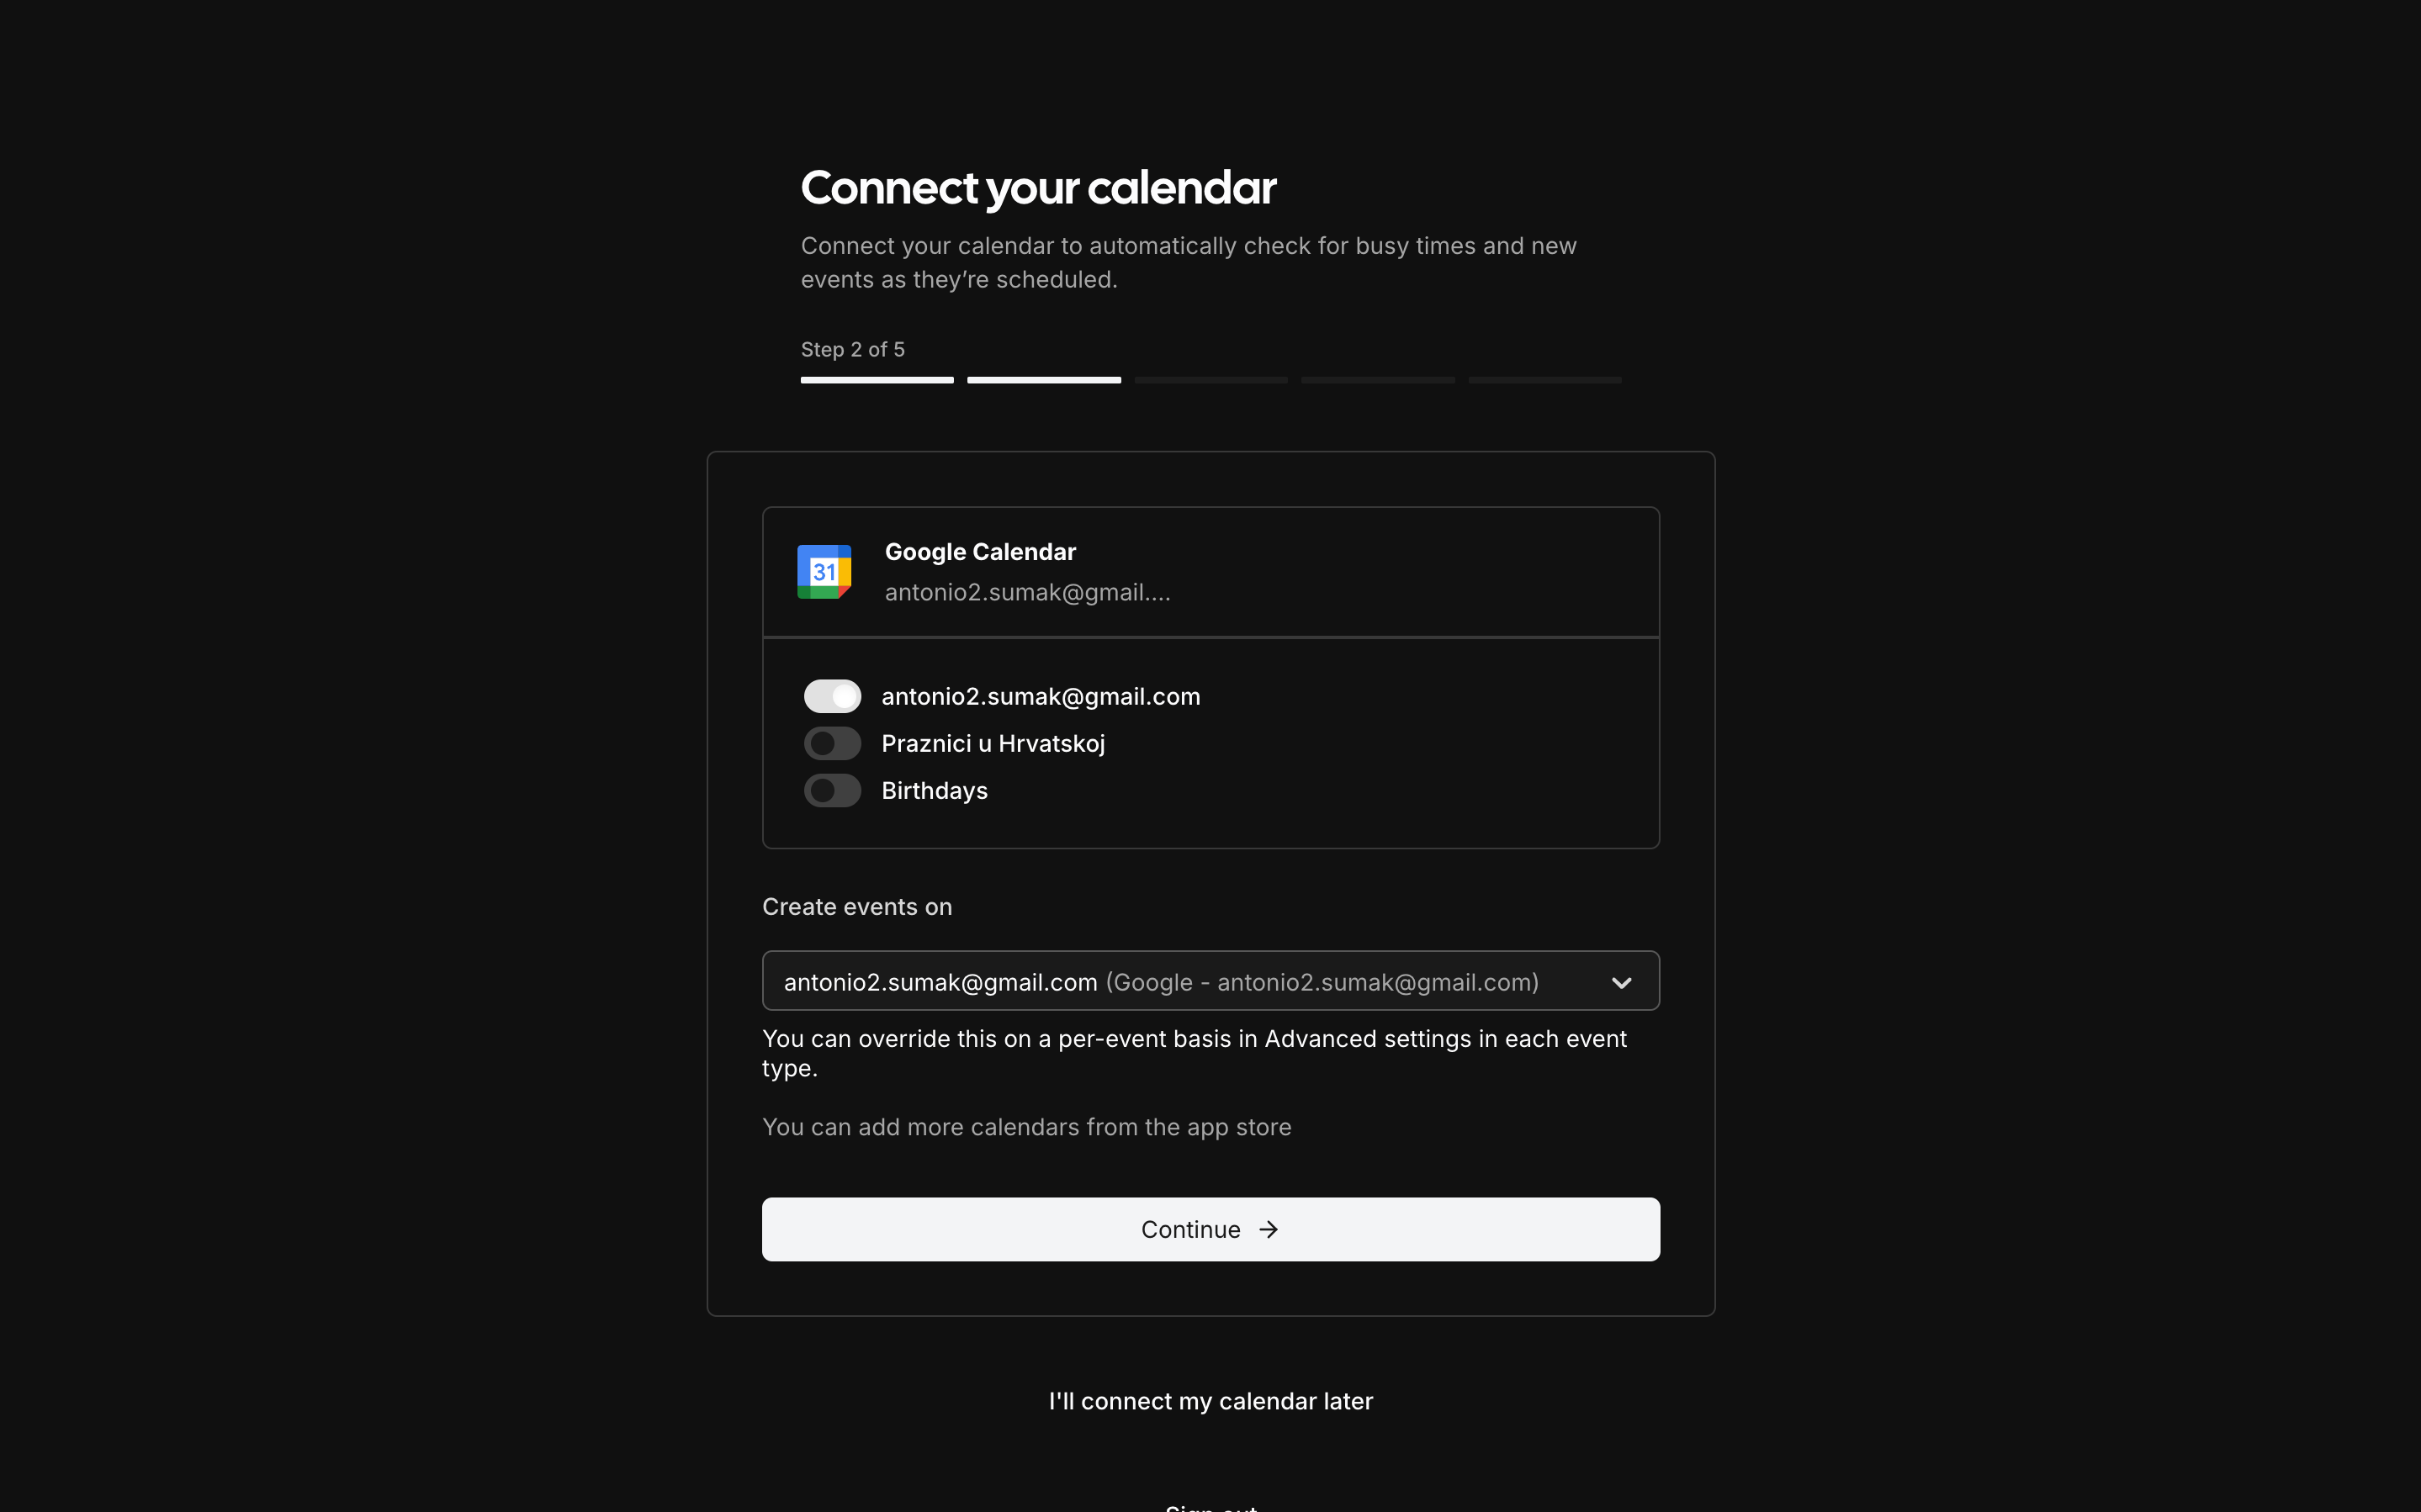
Slika: Select a calendar grupation
Once you confirm everything, the next screen will open, where you can choose which group your meetings will be saved to.
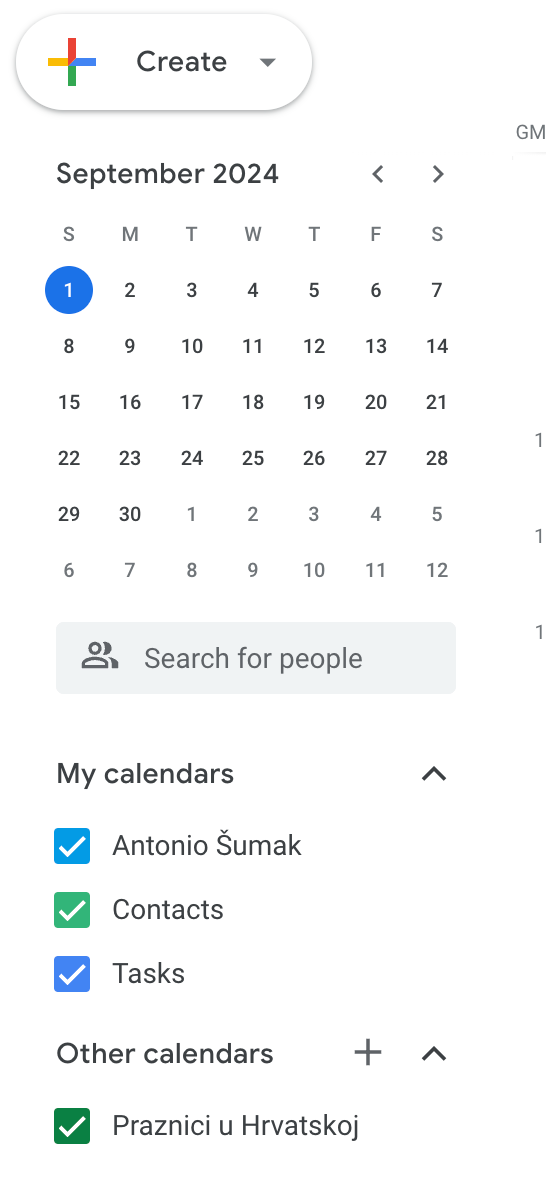
Slika: View in google calendar
This is how it looks in Google Calendar, where you can create a new group by clicking on the "+" sign.
After selecting your group and clicking on "Continue," the next window will open, where you can choose the meeting application.
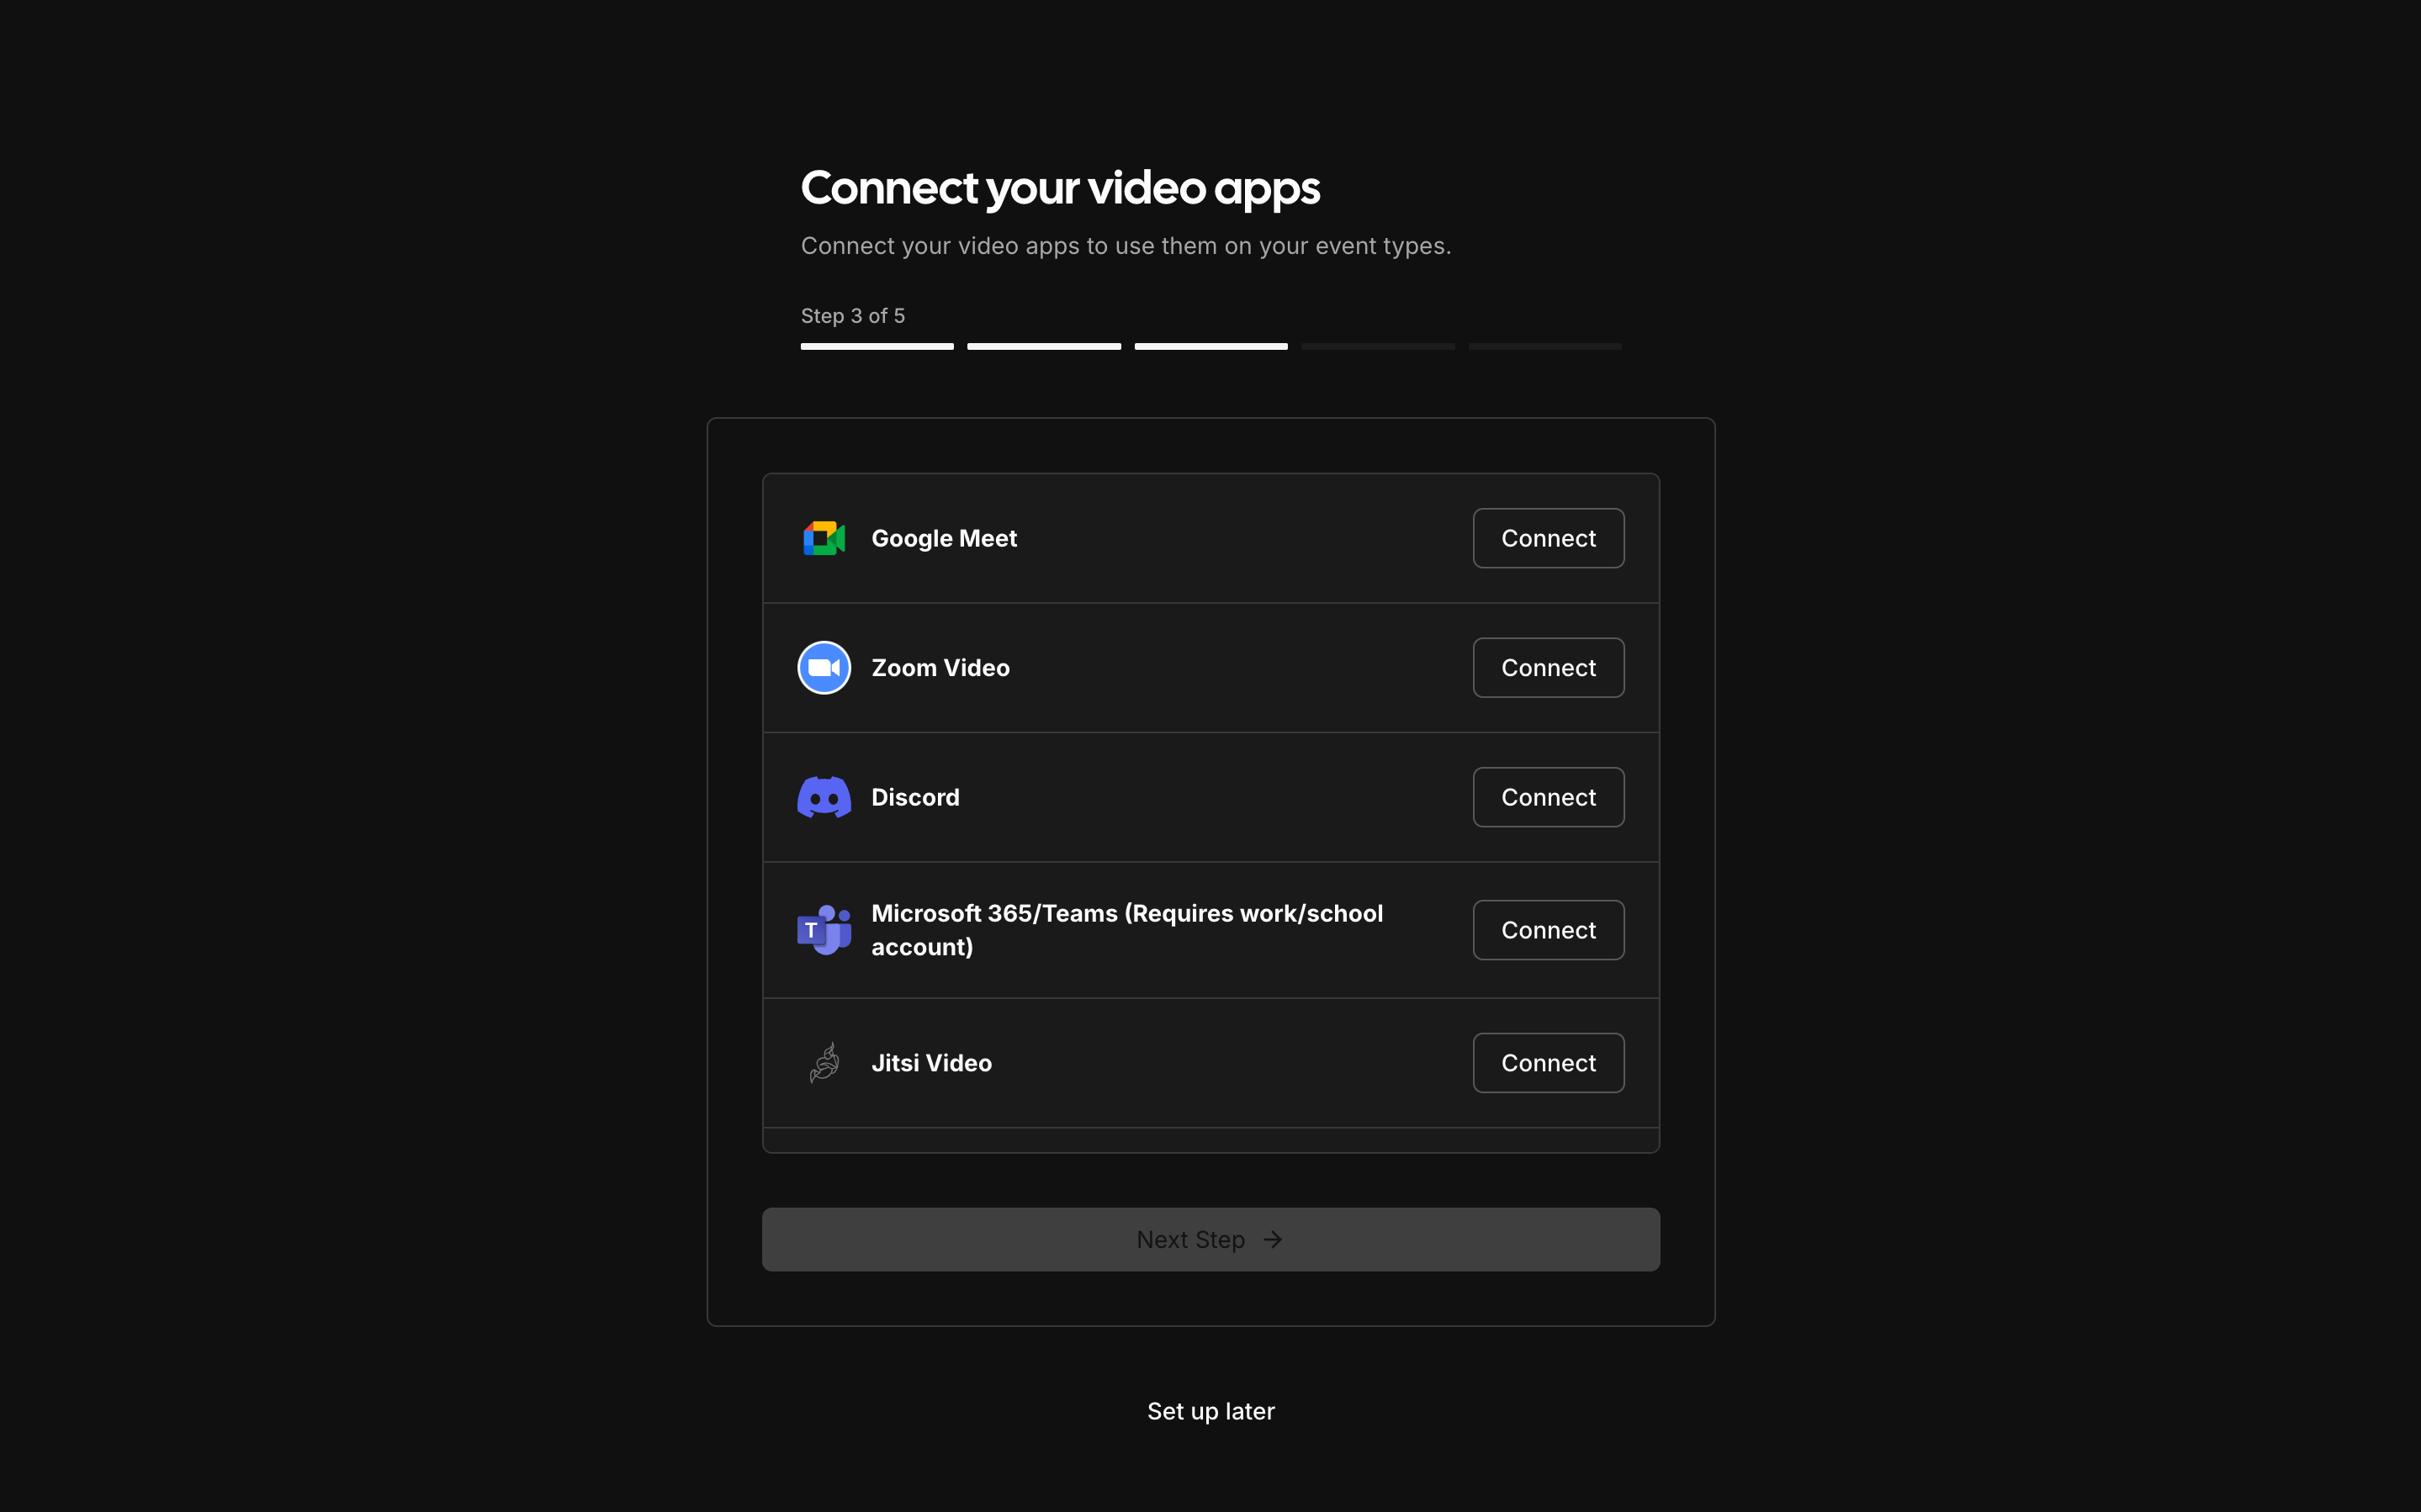
Slika: Video app selection
These are just a few options; there is a wide range of possible applications, so you may need to scroll through the list. We will choose Google Meet because it doesn't require an app for someone to join, and the integration with Google Calendar allows the person to simply select "Join with Google Meet" in the calendar to connect to the meeting. Click on "Connect," and this time it won't require you to go through Google's authorization system again; it will automatically select the desired option. When you're satisfied with your choice, click "Next Step," and you'll be taken to the next screen.
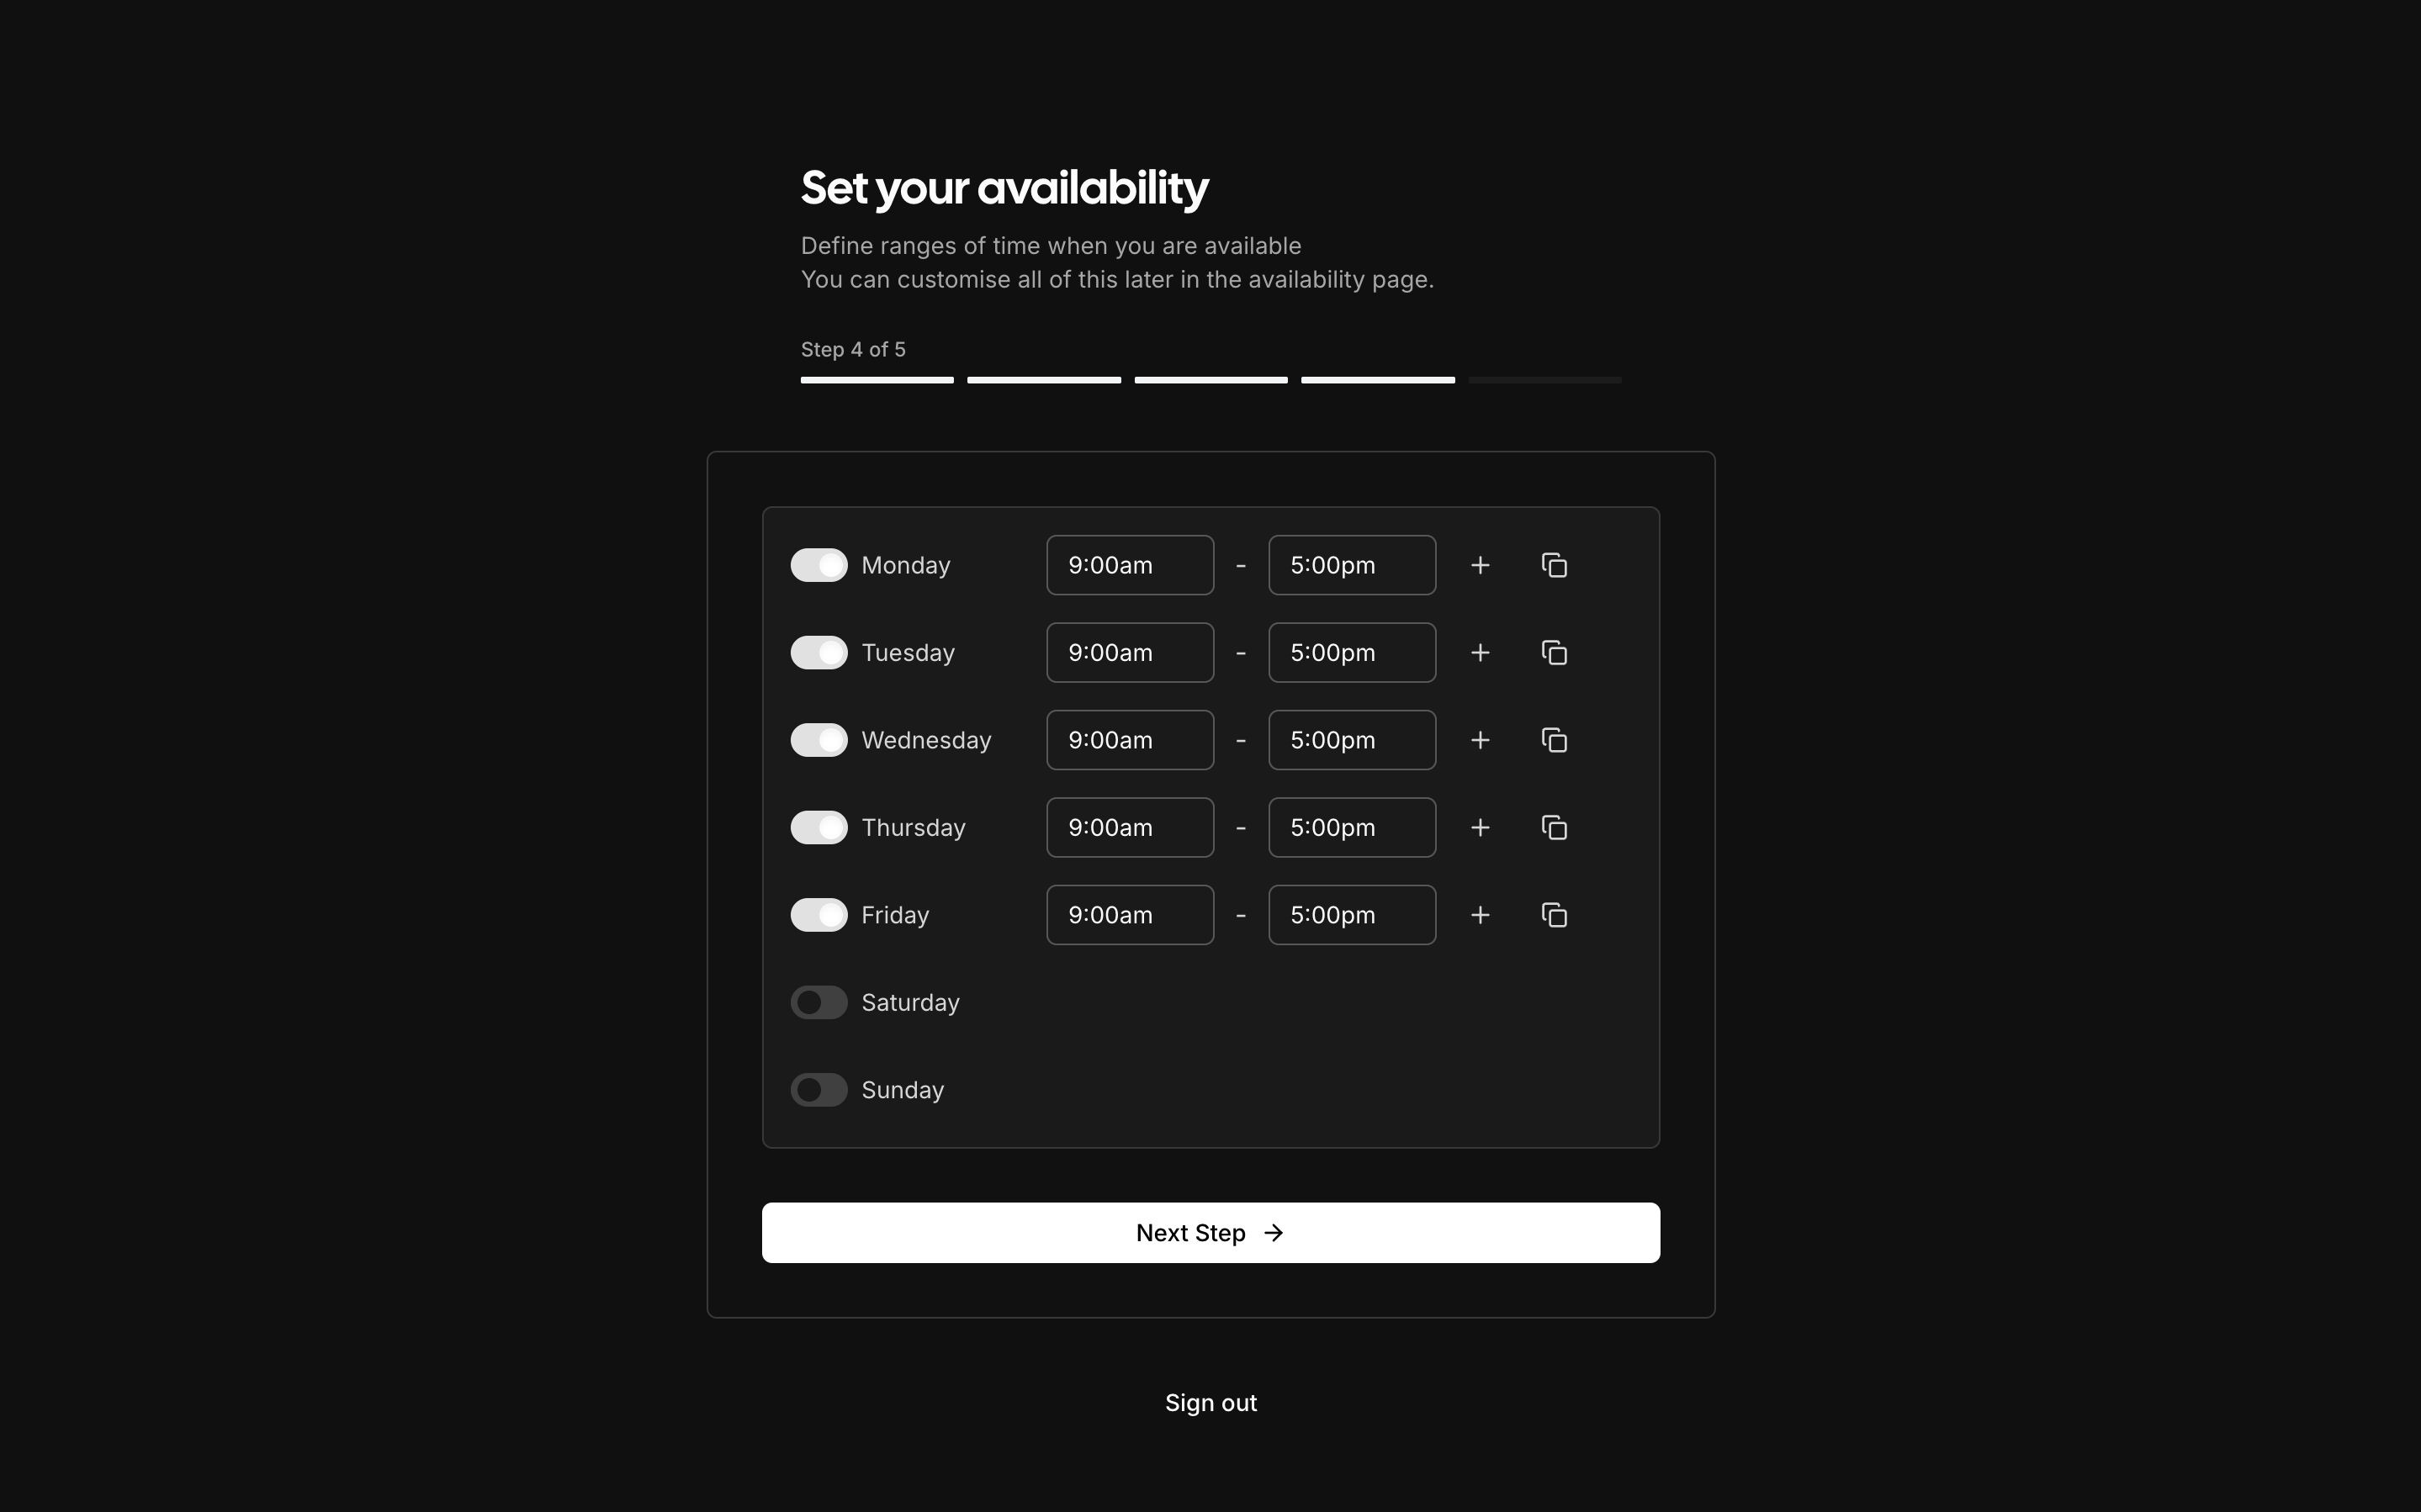
Slika: Working hours configuration
In the 4th step, you choose the days and time periods during which a client can book a meeting with you. For example, if you select 07:00 - 15:00, the client will only be able to make a reservation during those times. Once you have selected your availability for bookings, click on "Next Step."
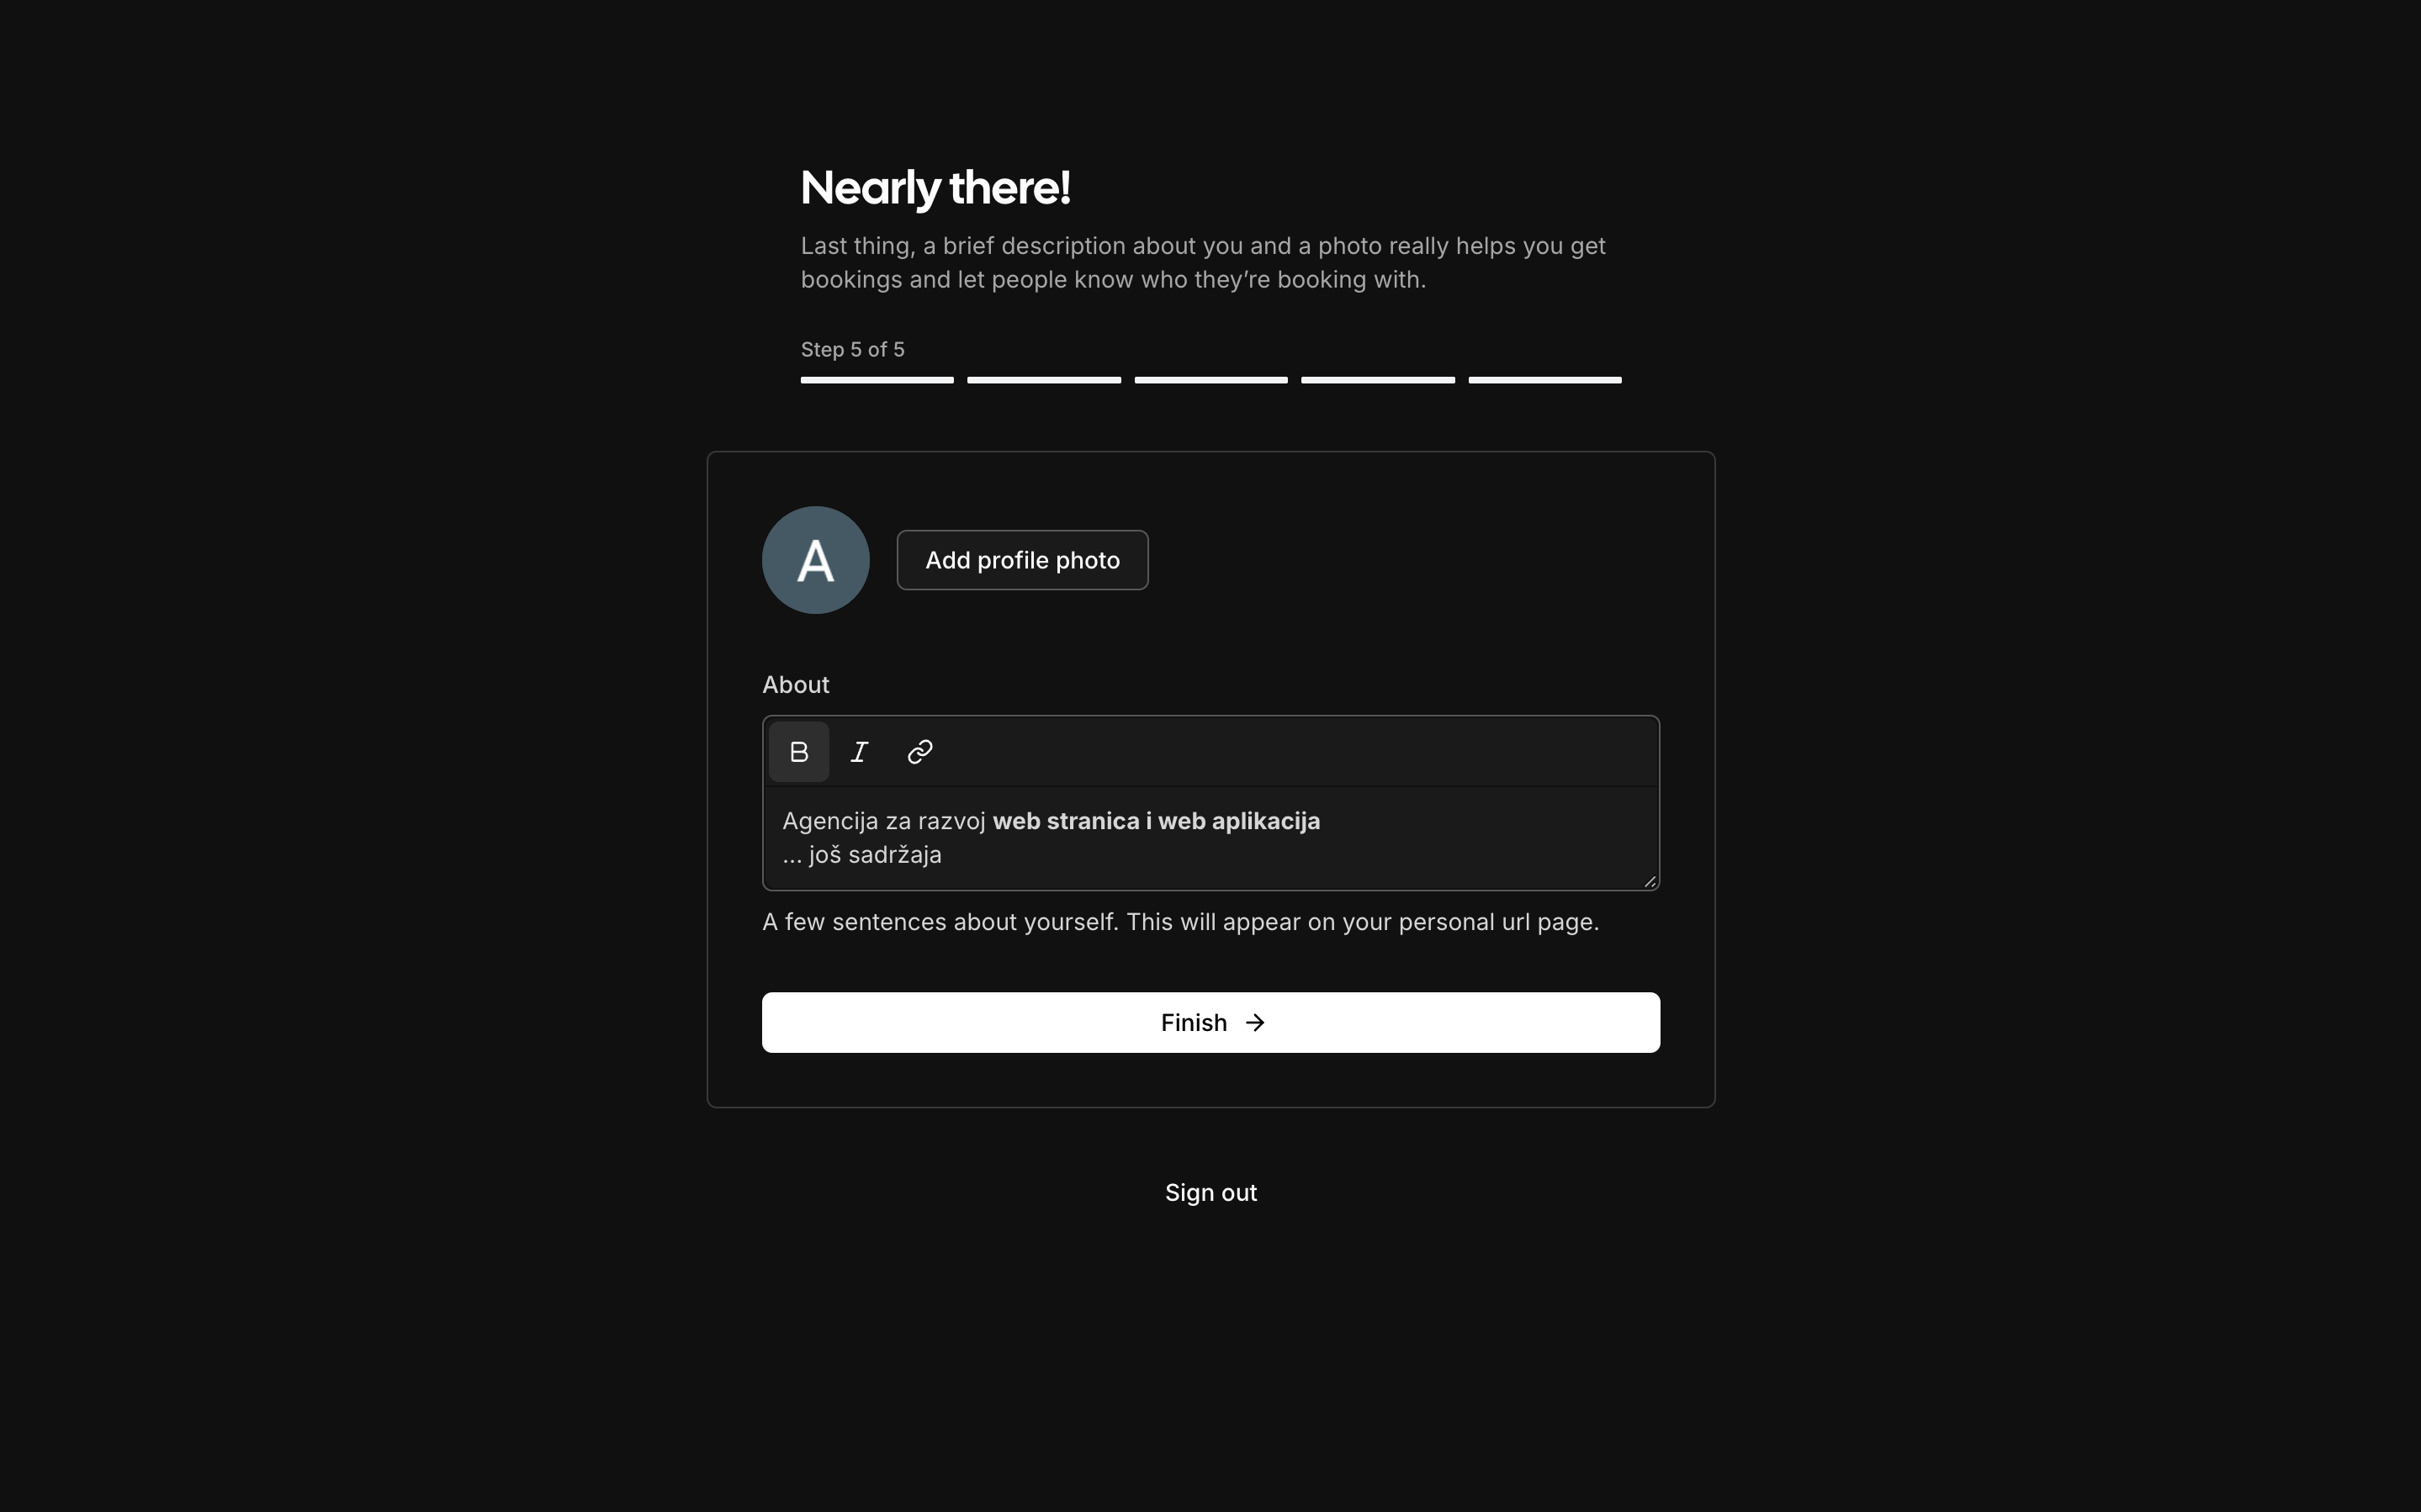
Slika: Entering a description and changing your profile picture
In the final step, write a bit more about yourself; this description will be displayed on your calendar, along with your profile picture. Once you're satisfied with your description and photo, click on "Finish" to complete the account setup process.
3.2 Creating a meeting
After you have completed the initial account setup process, the following page will open.
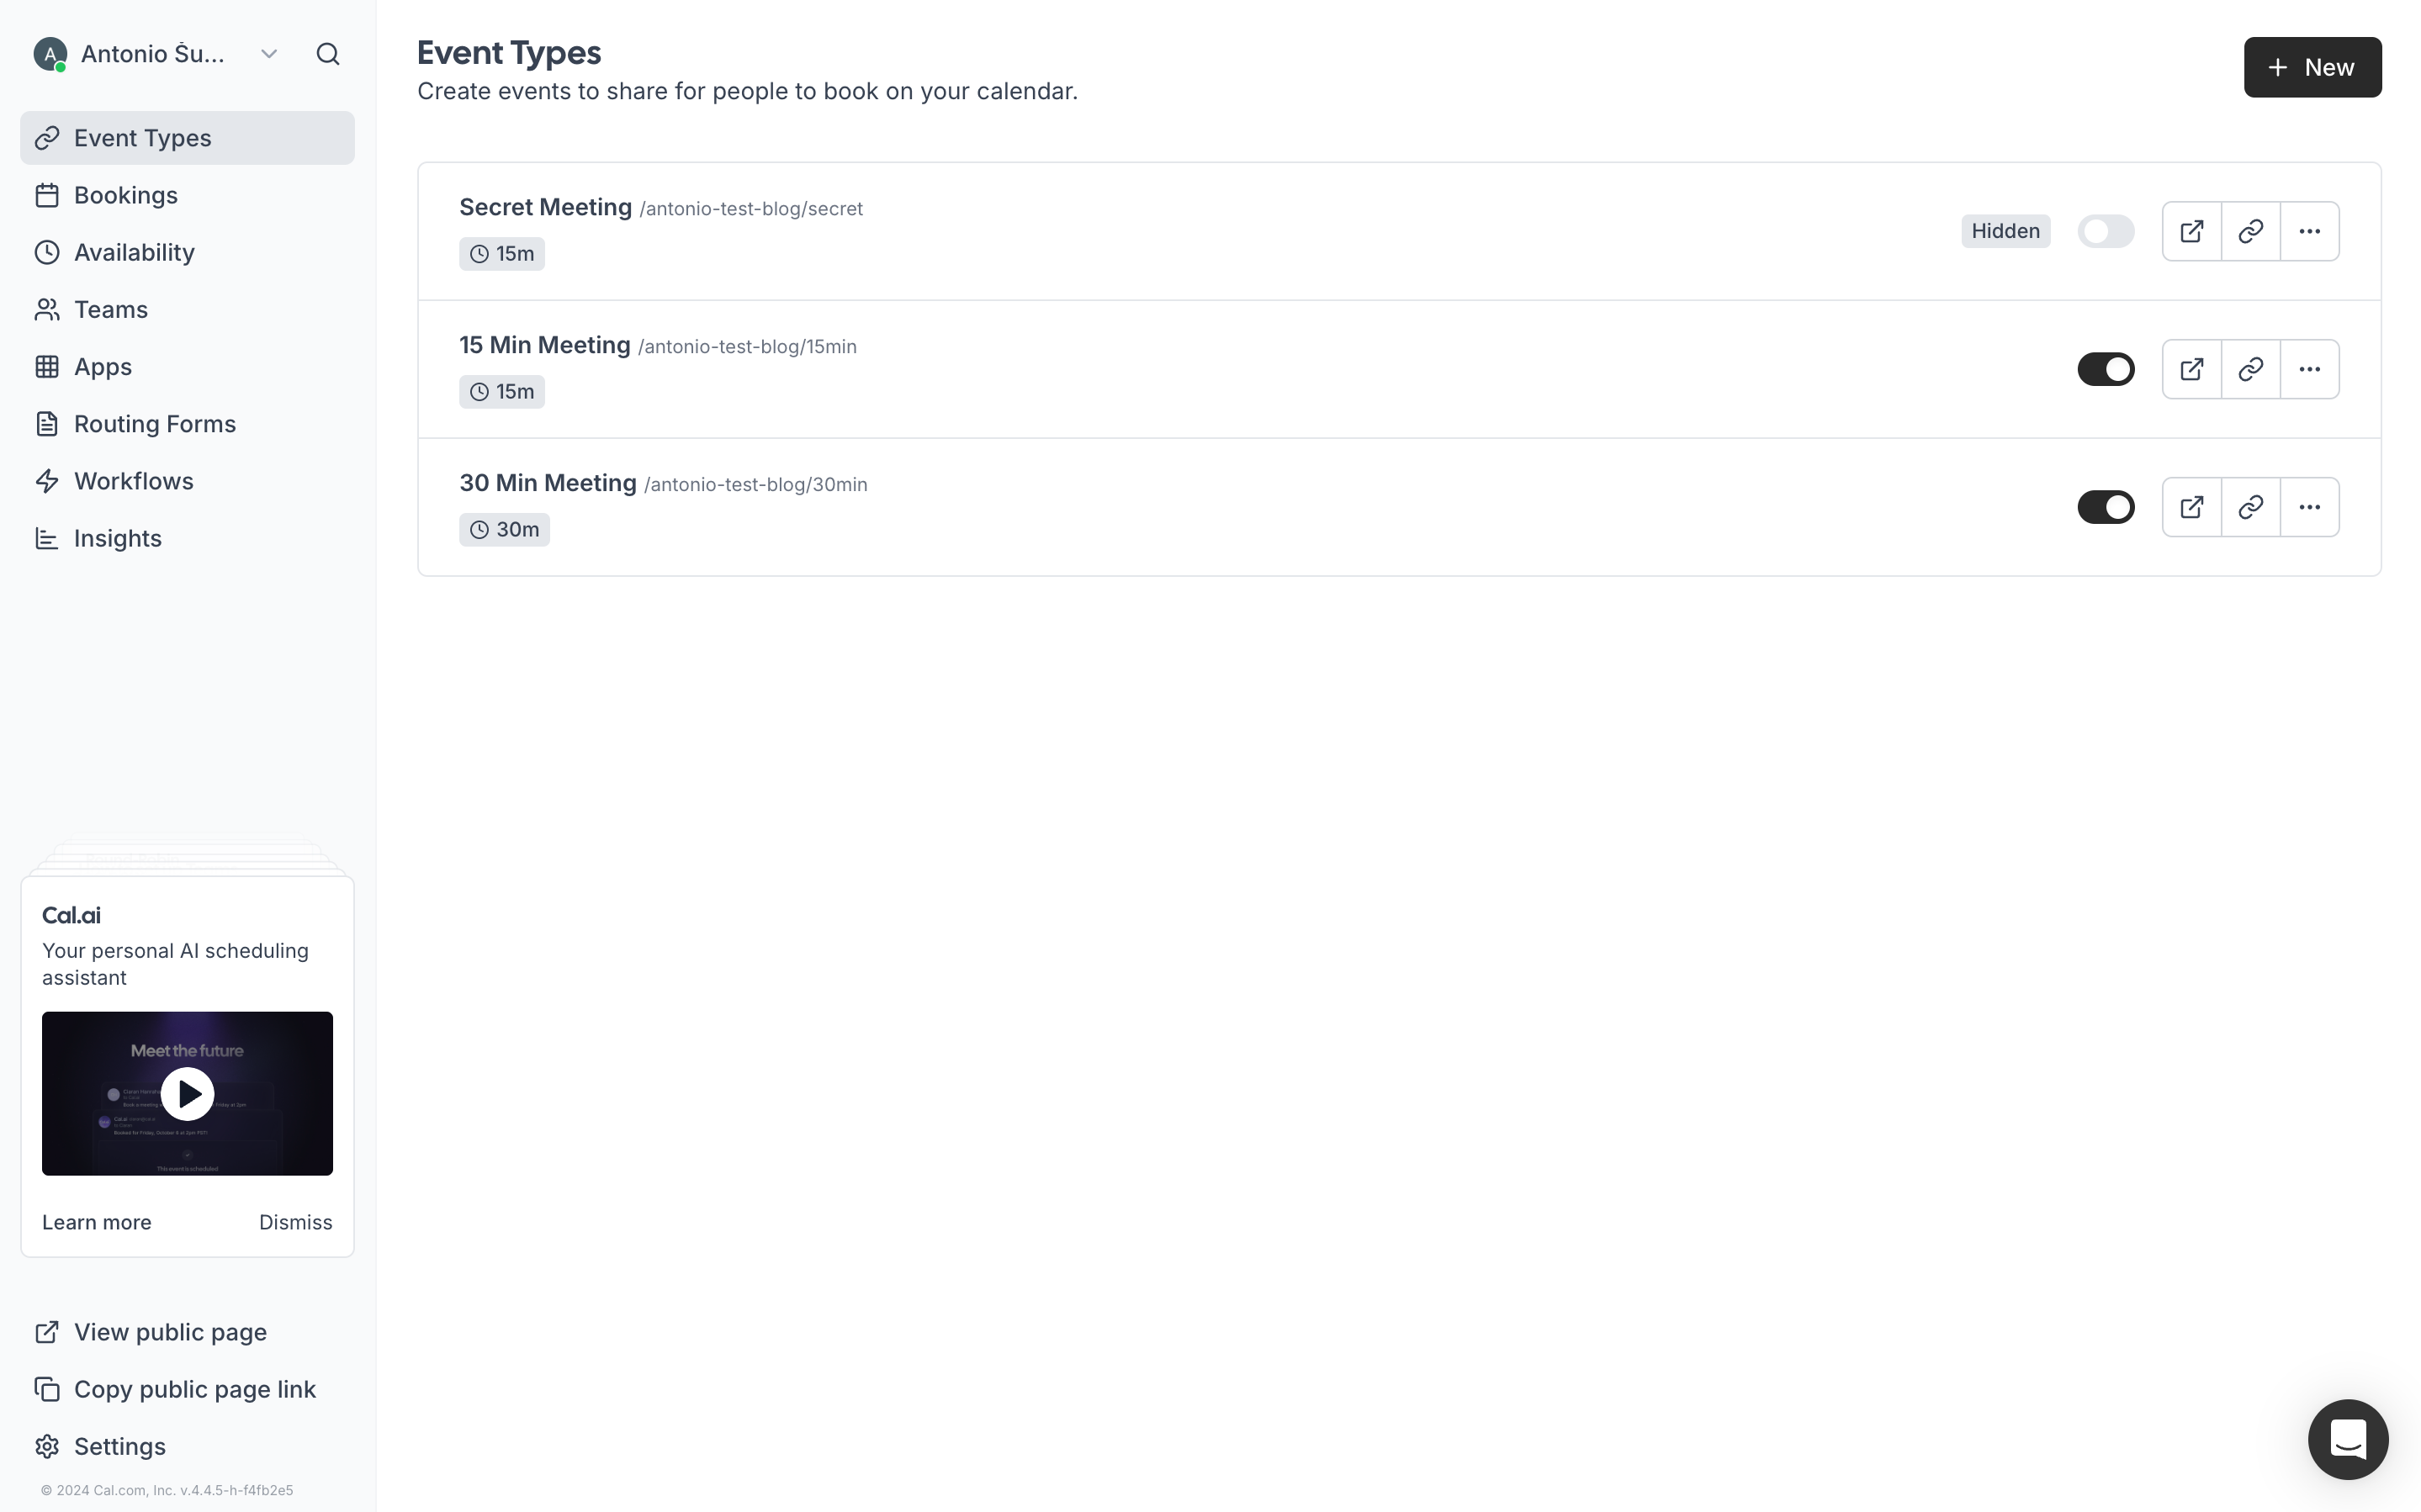
Slika: Meeting type list
This is a display of all the meeting types you have. Initially, 15-minute, 30-minute, and secret meetings are created for you. If you want a meeting that lasts 1 hour, but also want to keep the 15-minute and 30-minute options, click on the "+ New" button in the upper right corner.
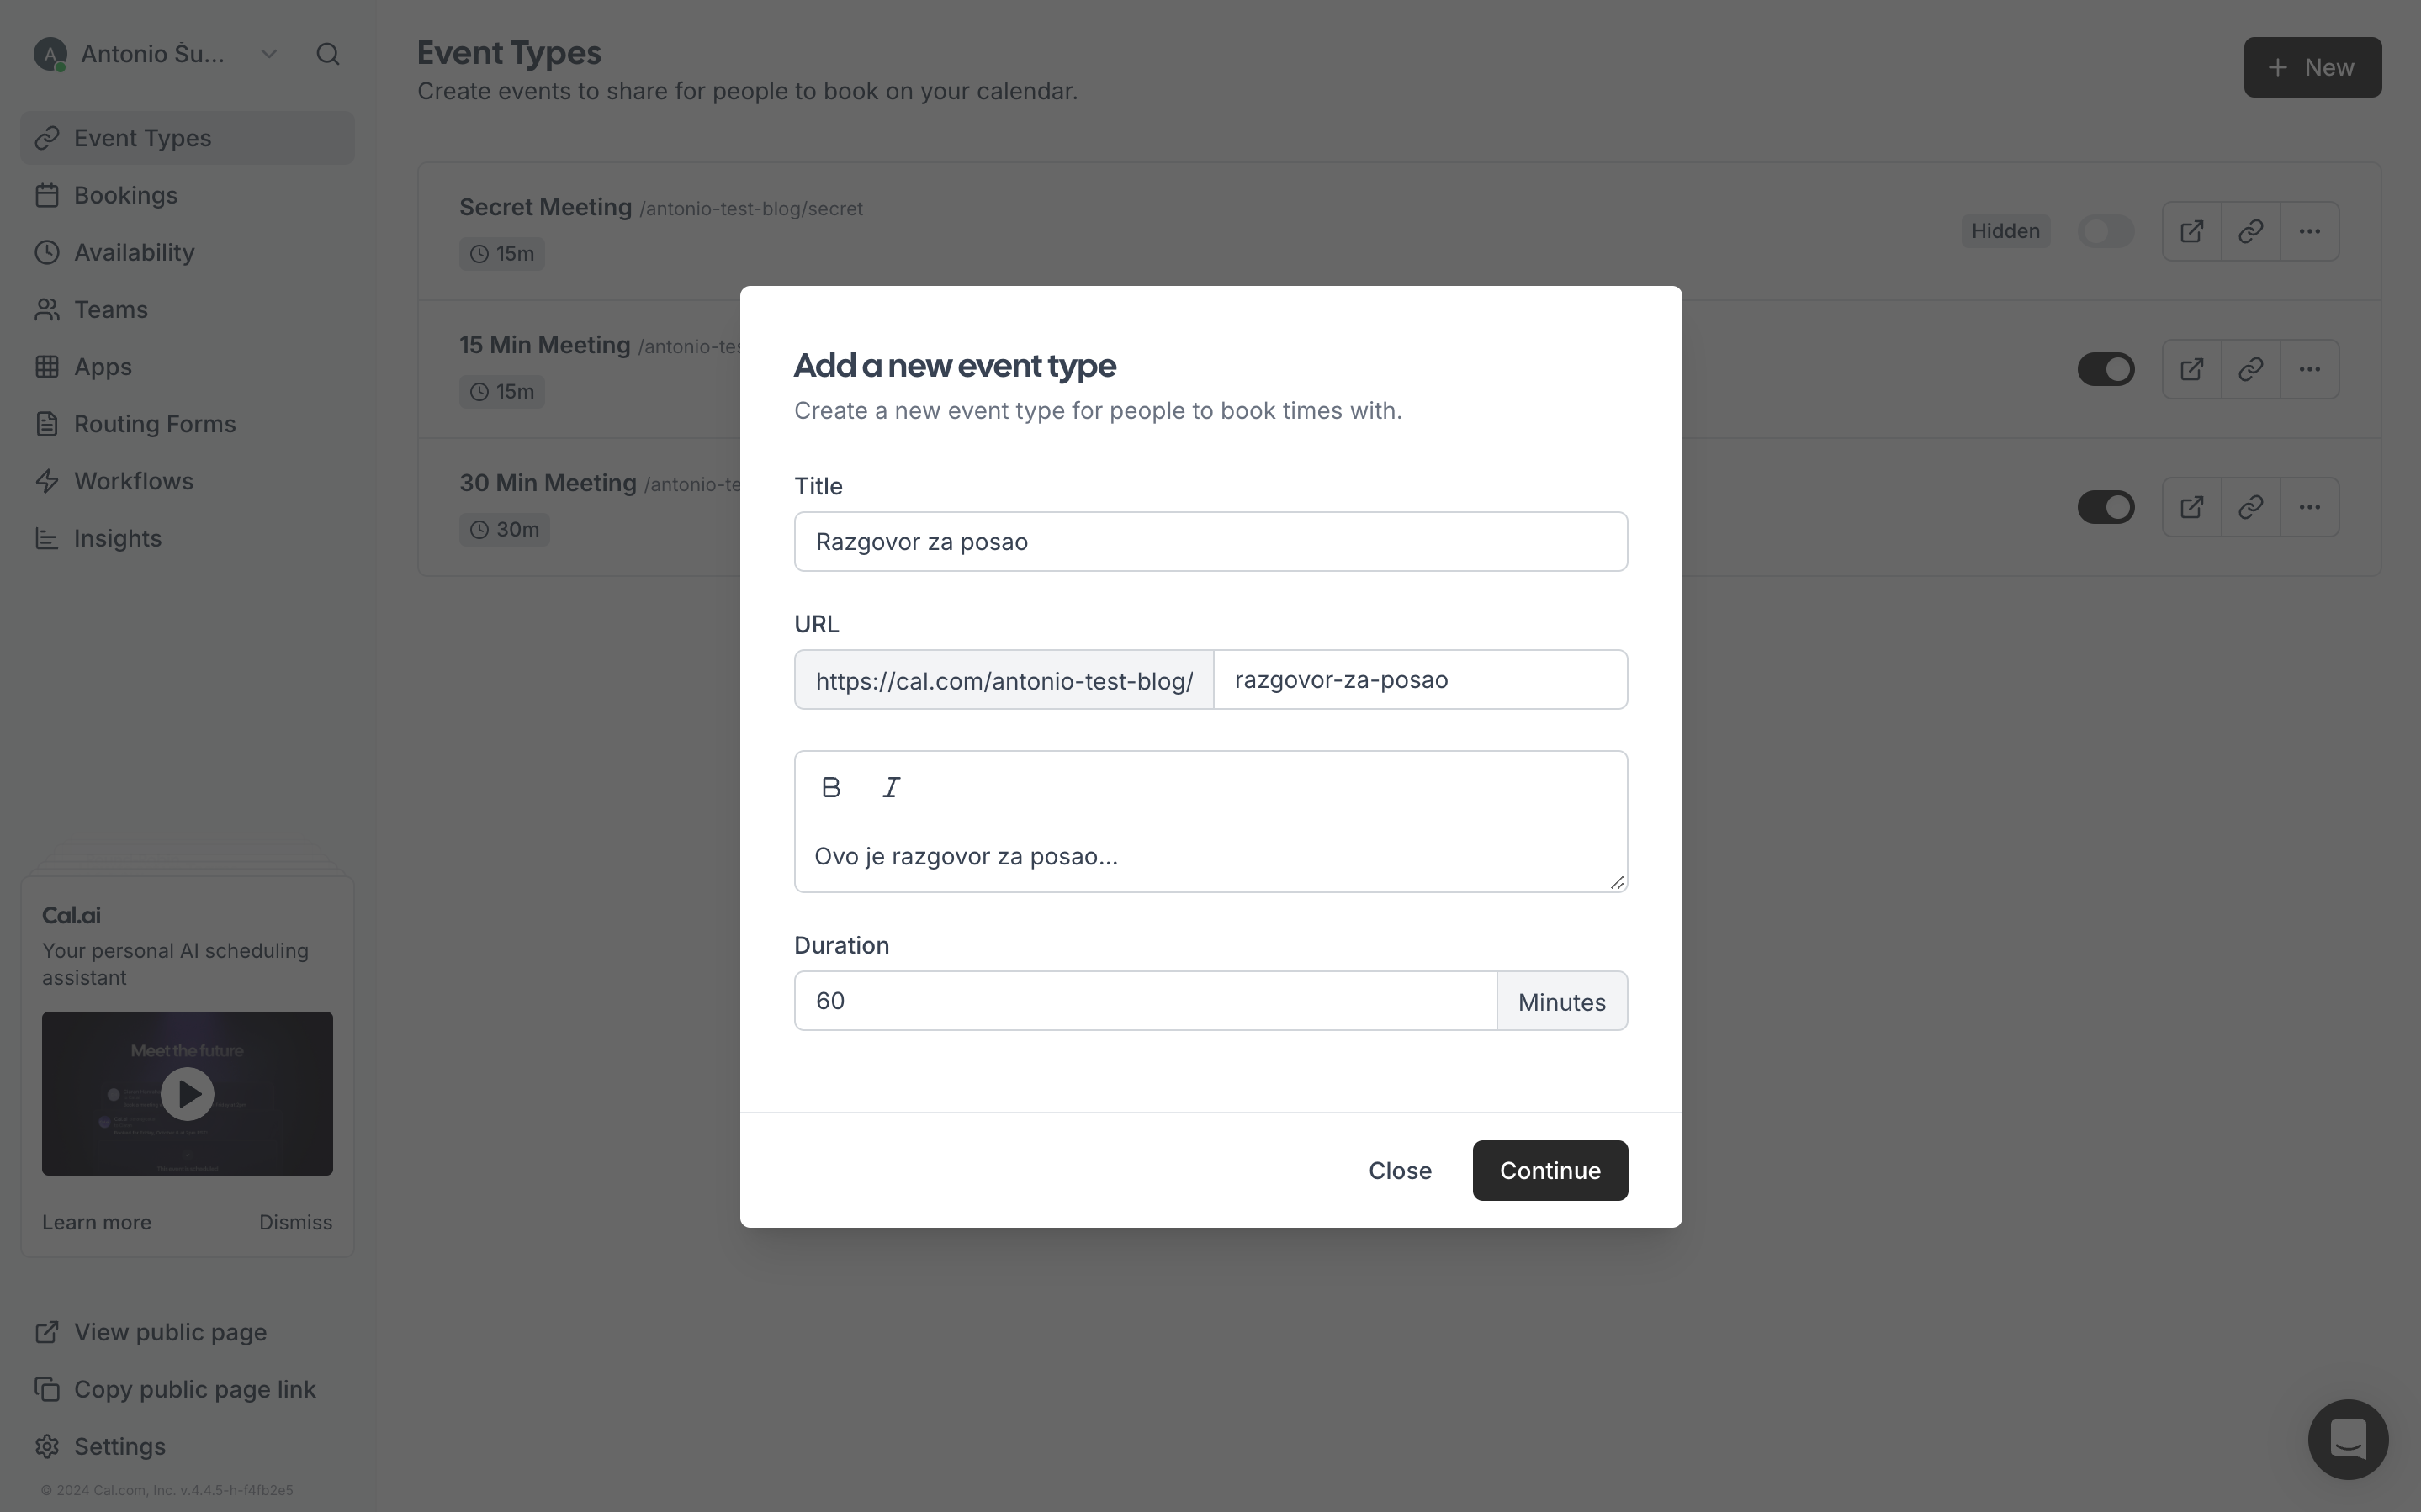
Slika: Creating a new meeting type
A new window will open where you can fill in your details, and once you're satisfied with the information entered, click on "Continue."
3.3. Customizing the meeting to your requirements
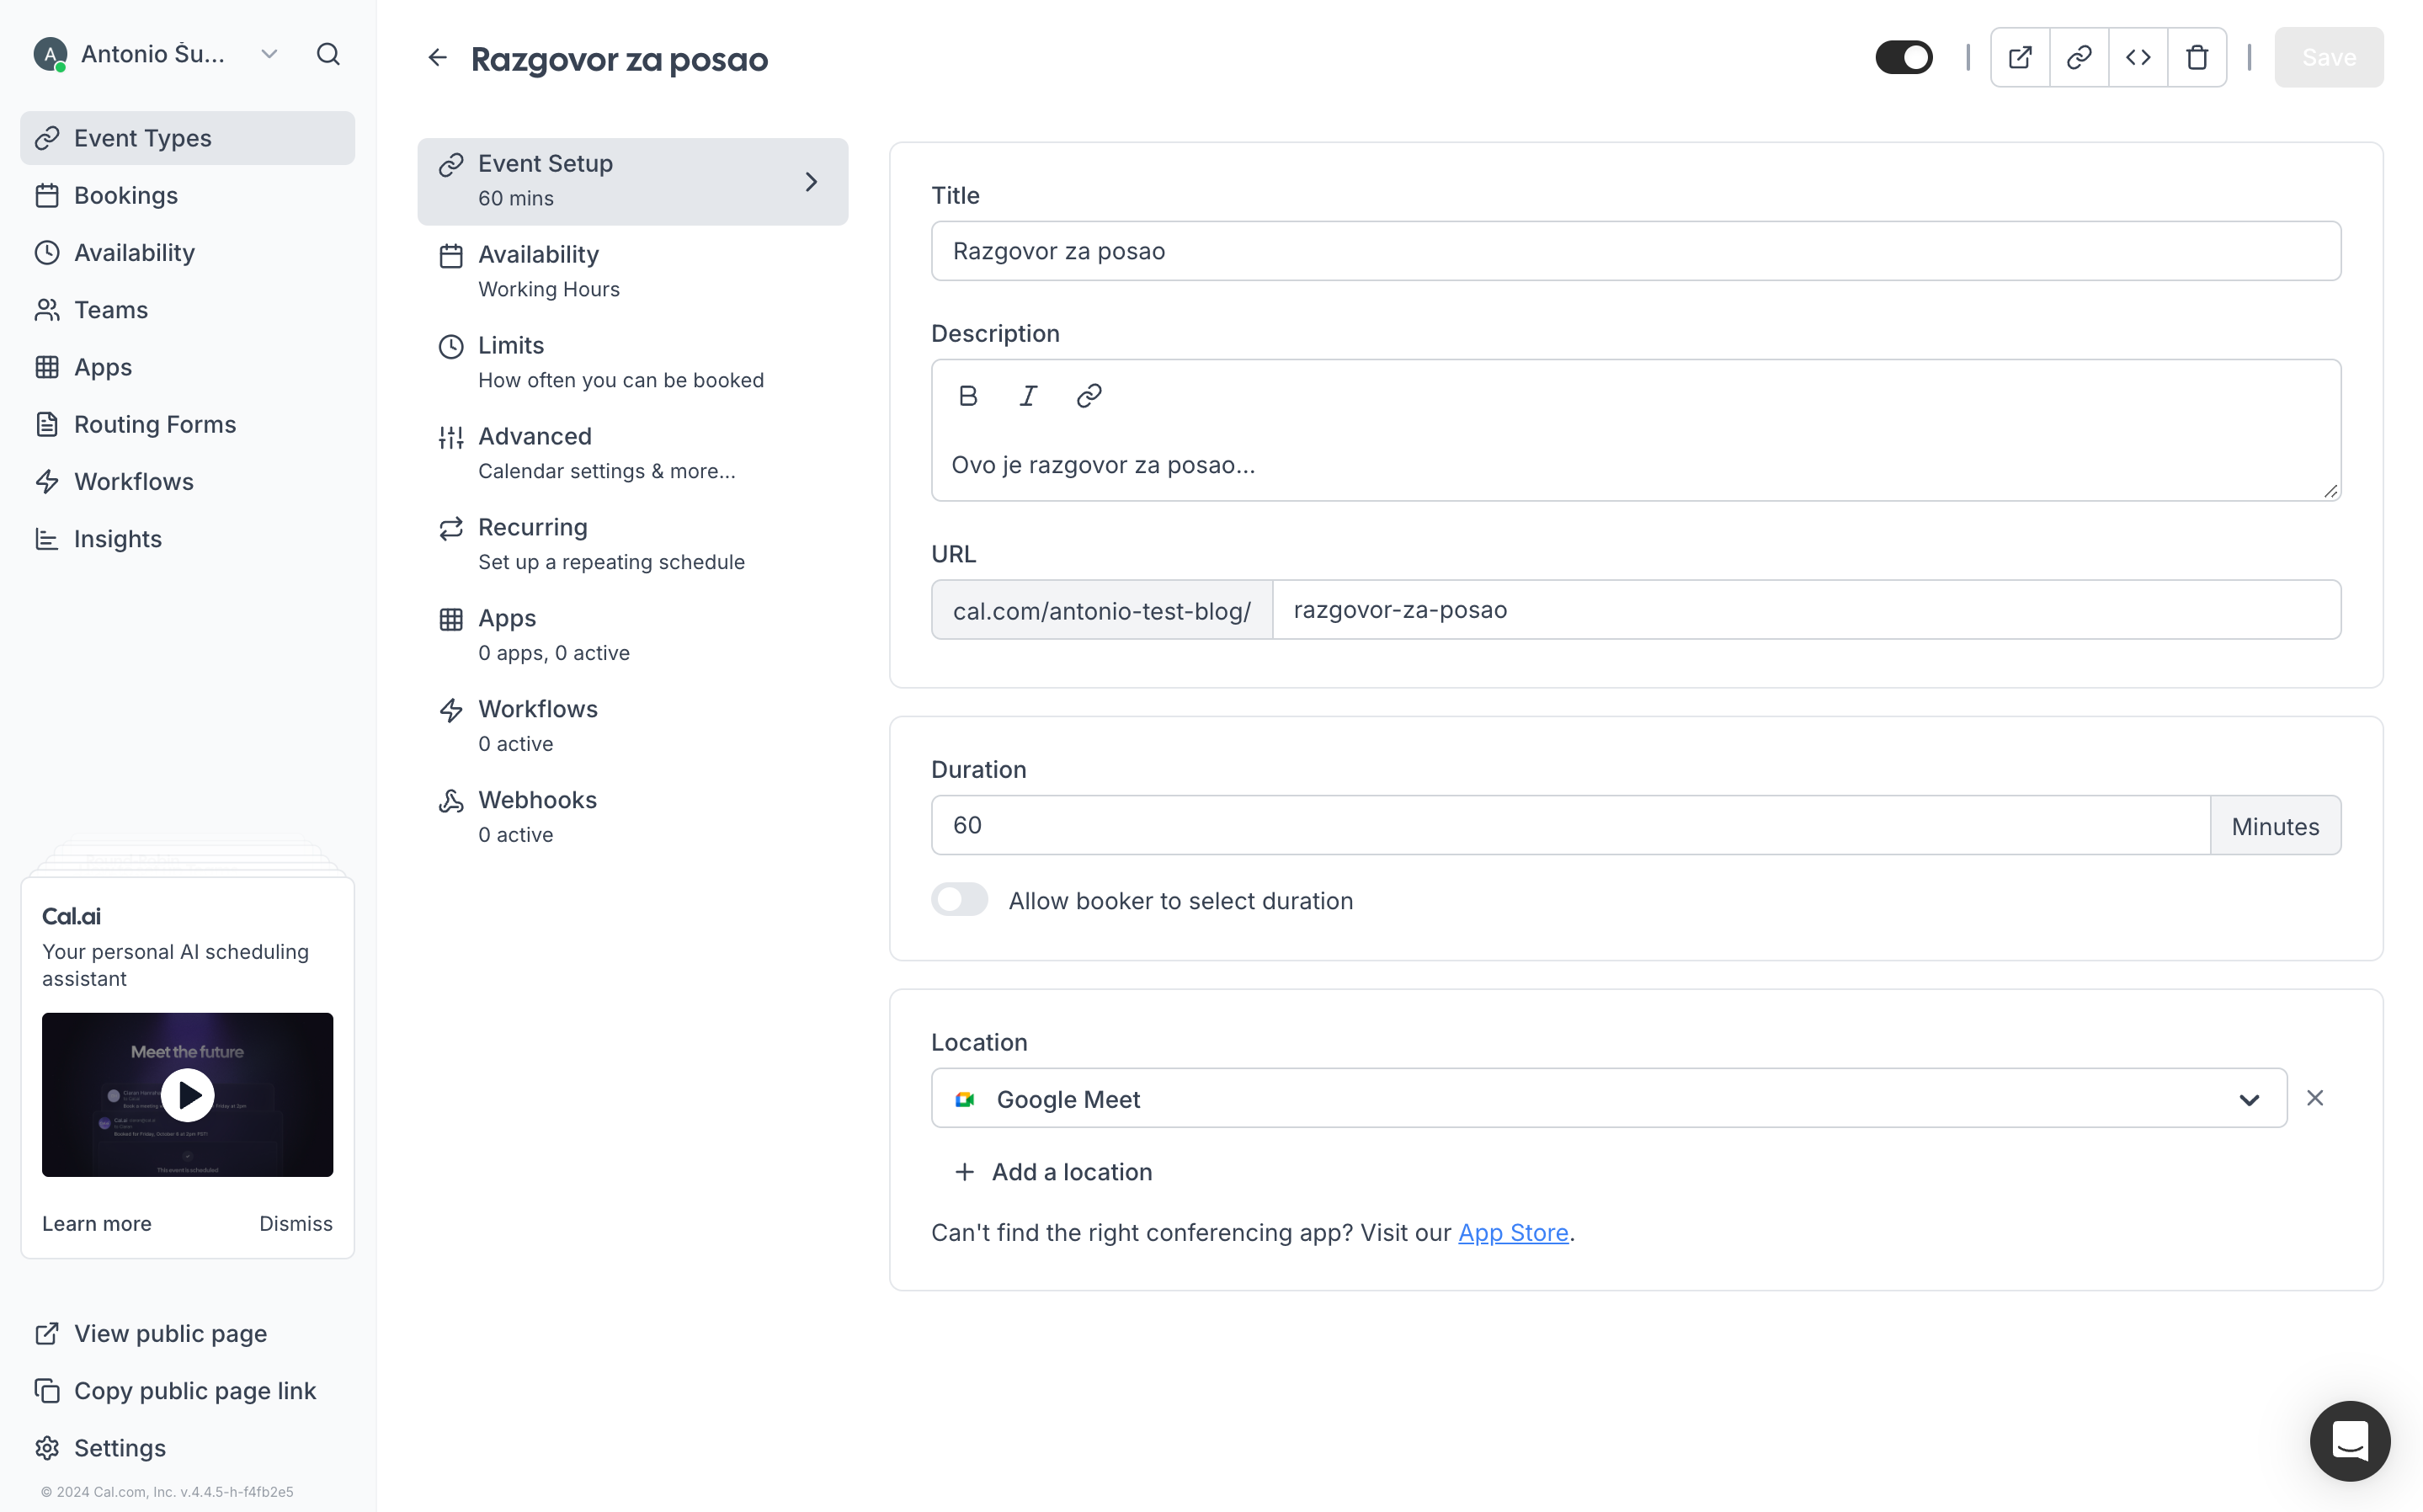
Slika: Editing the basic details of the meeting
Once you've created the meeting, a screen will appear as shown in the image. Here, you can edit the basic details that you entered during the meeting creation process. The next step, which is important to us, can be accessed by clicking on "Advanced" in the left navigation bar.
3.4. Adding questions and selecting the calendar layout
To change the appearance and colors of the calendar, you need to follow the link marked with a purple square.
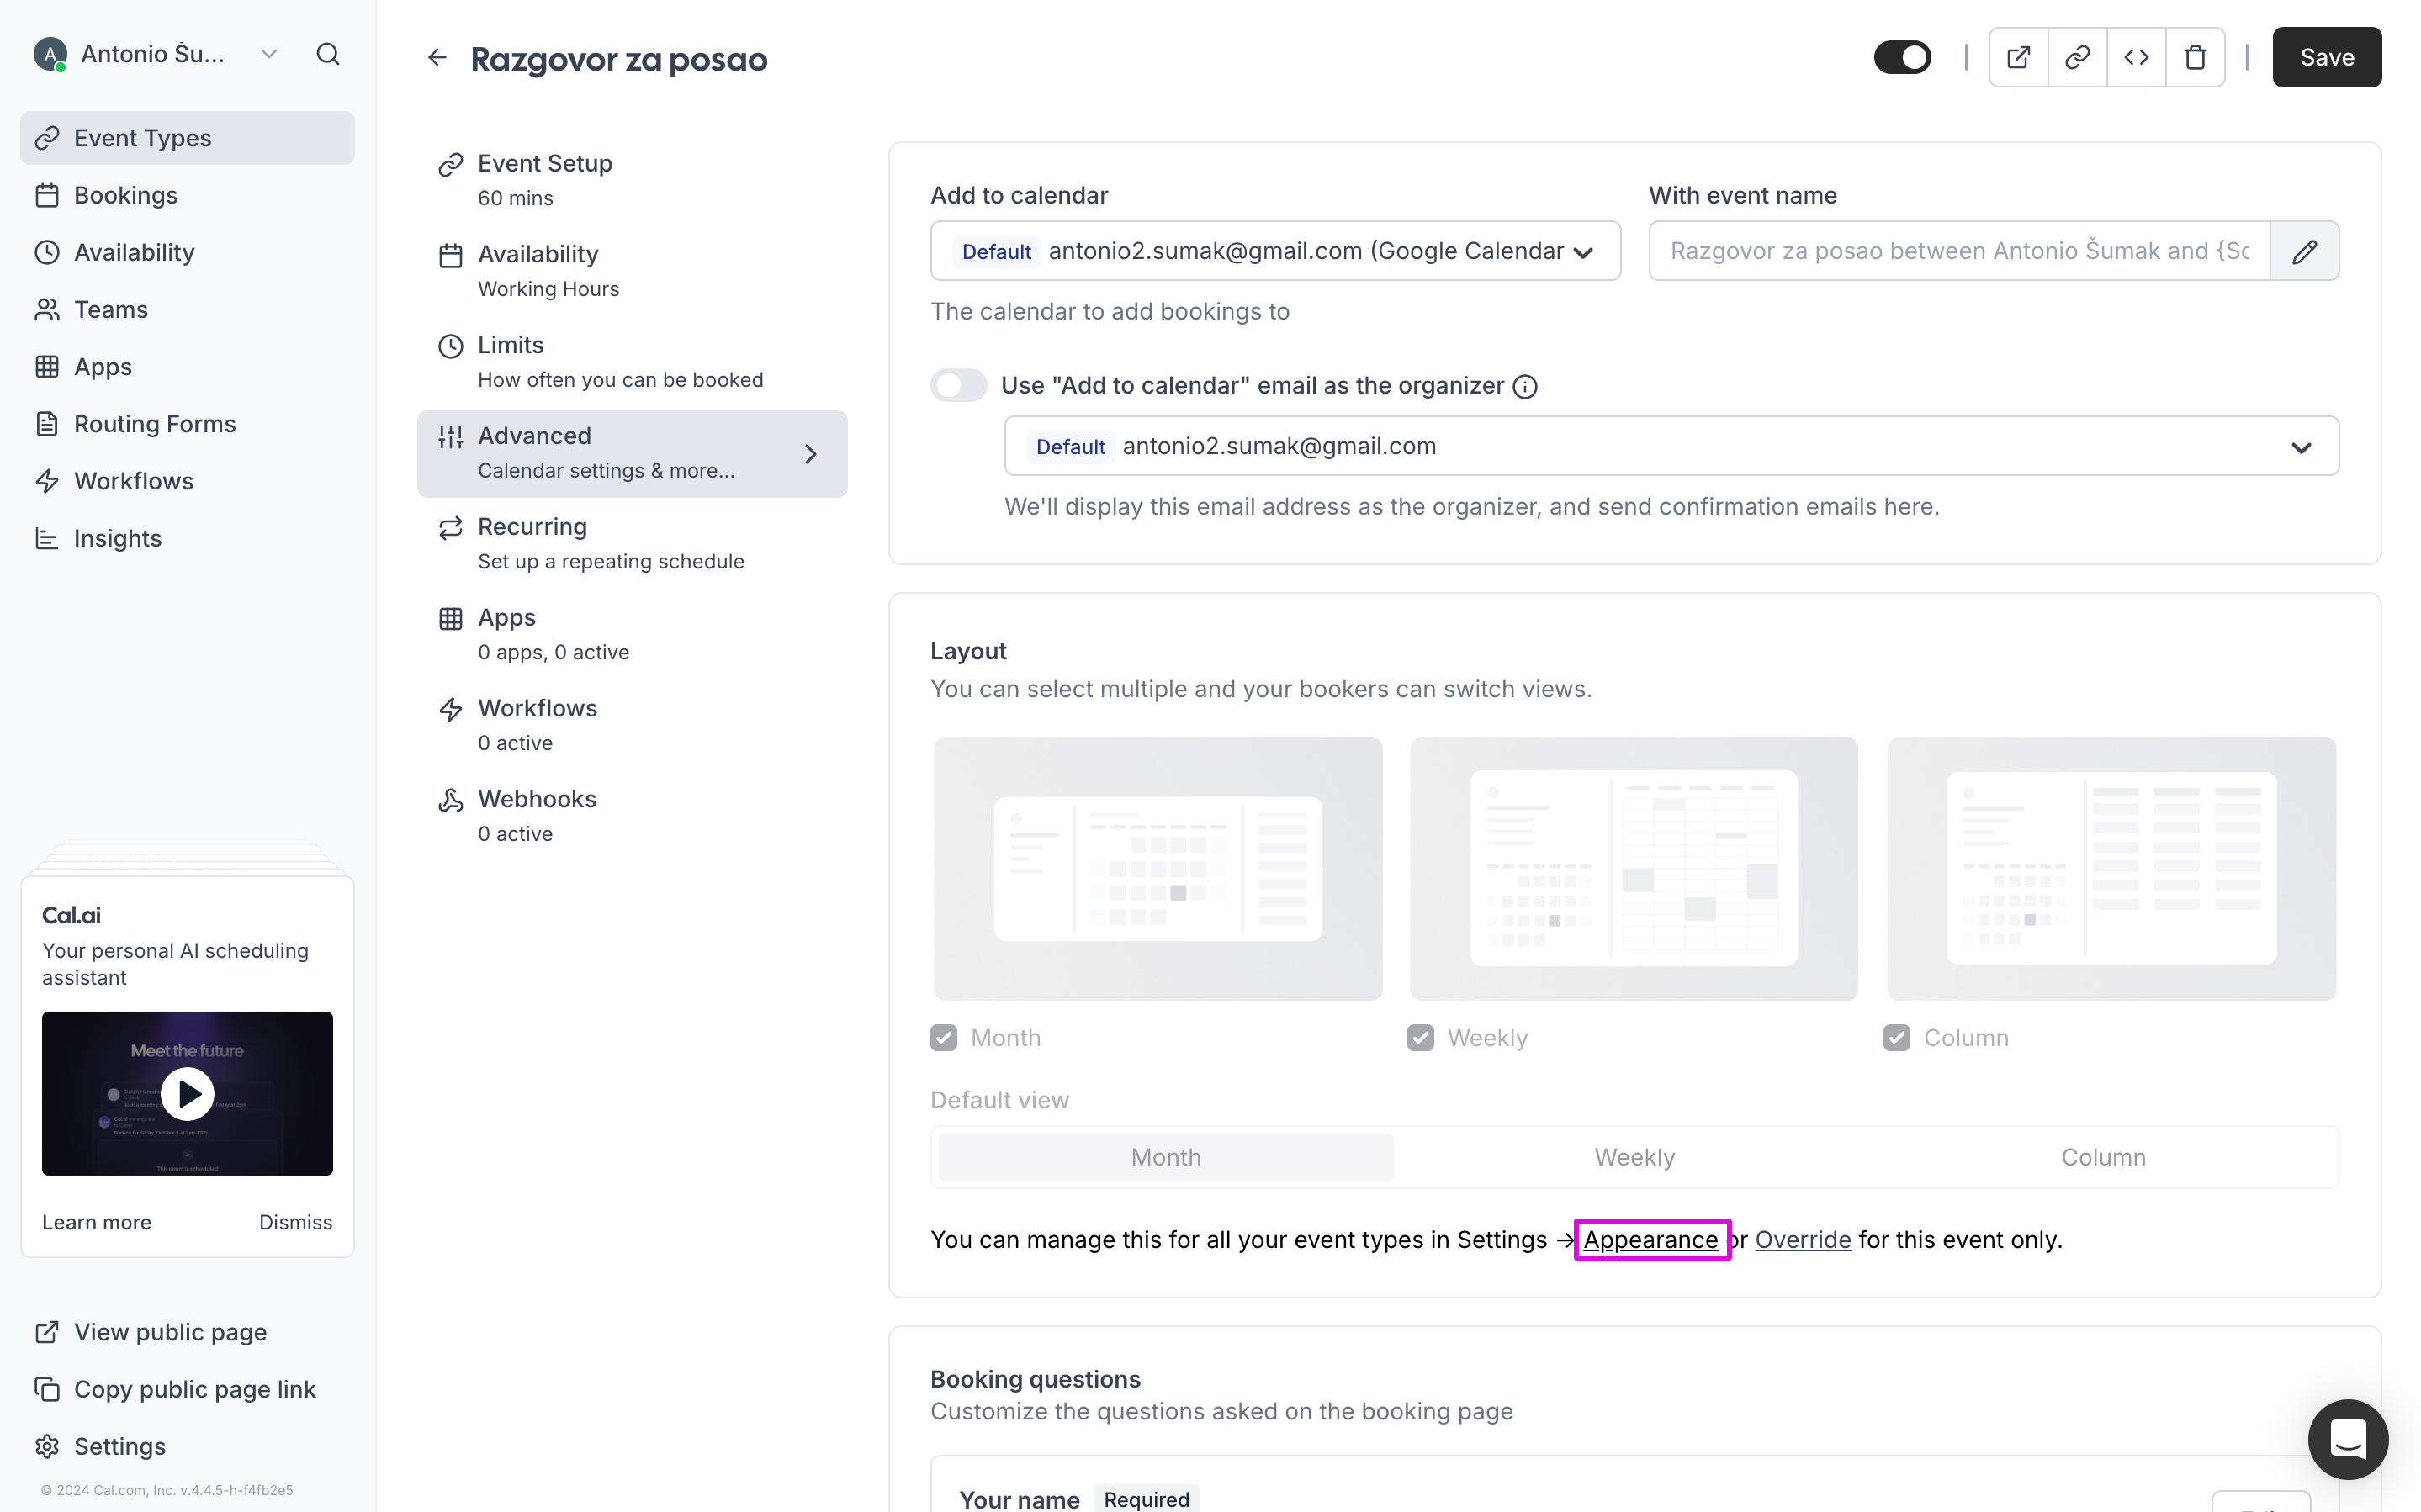
Slika: Selecting the calendar layout
When you click on "Appearance," you will be taken to the following page.
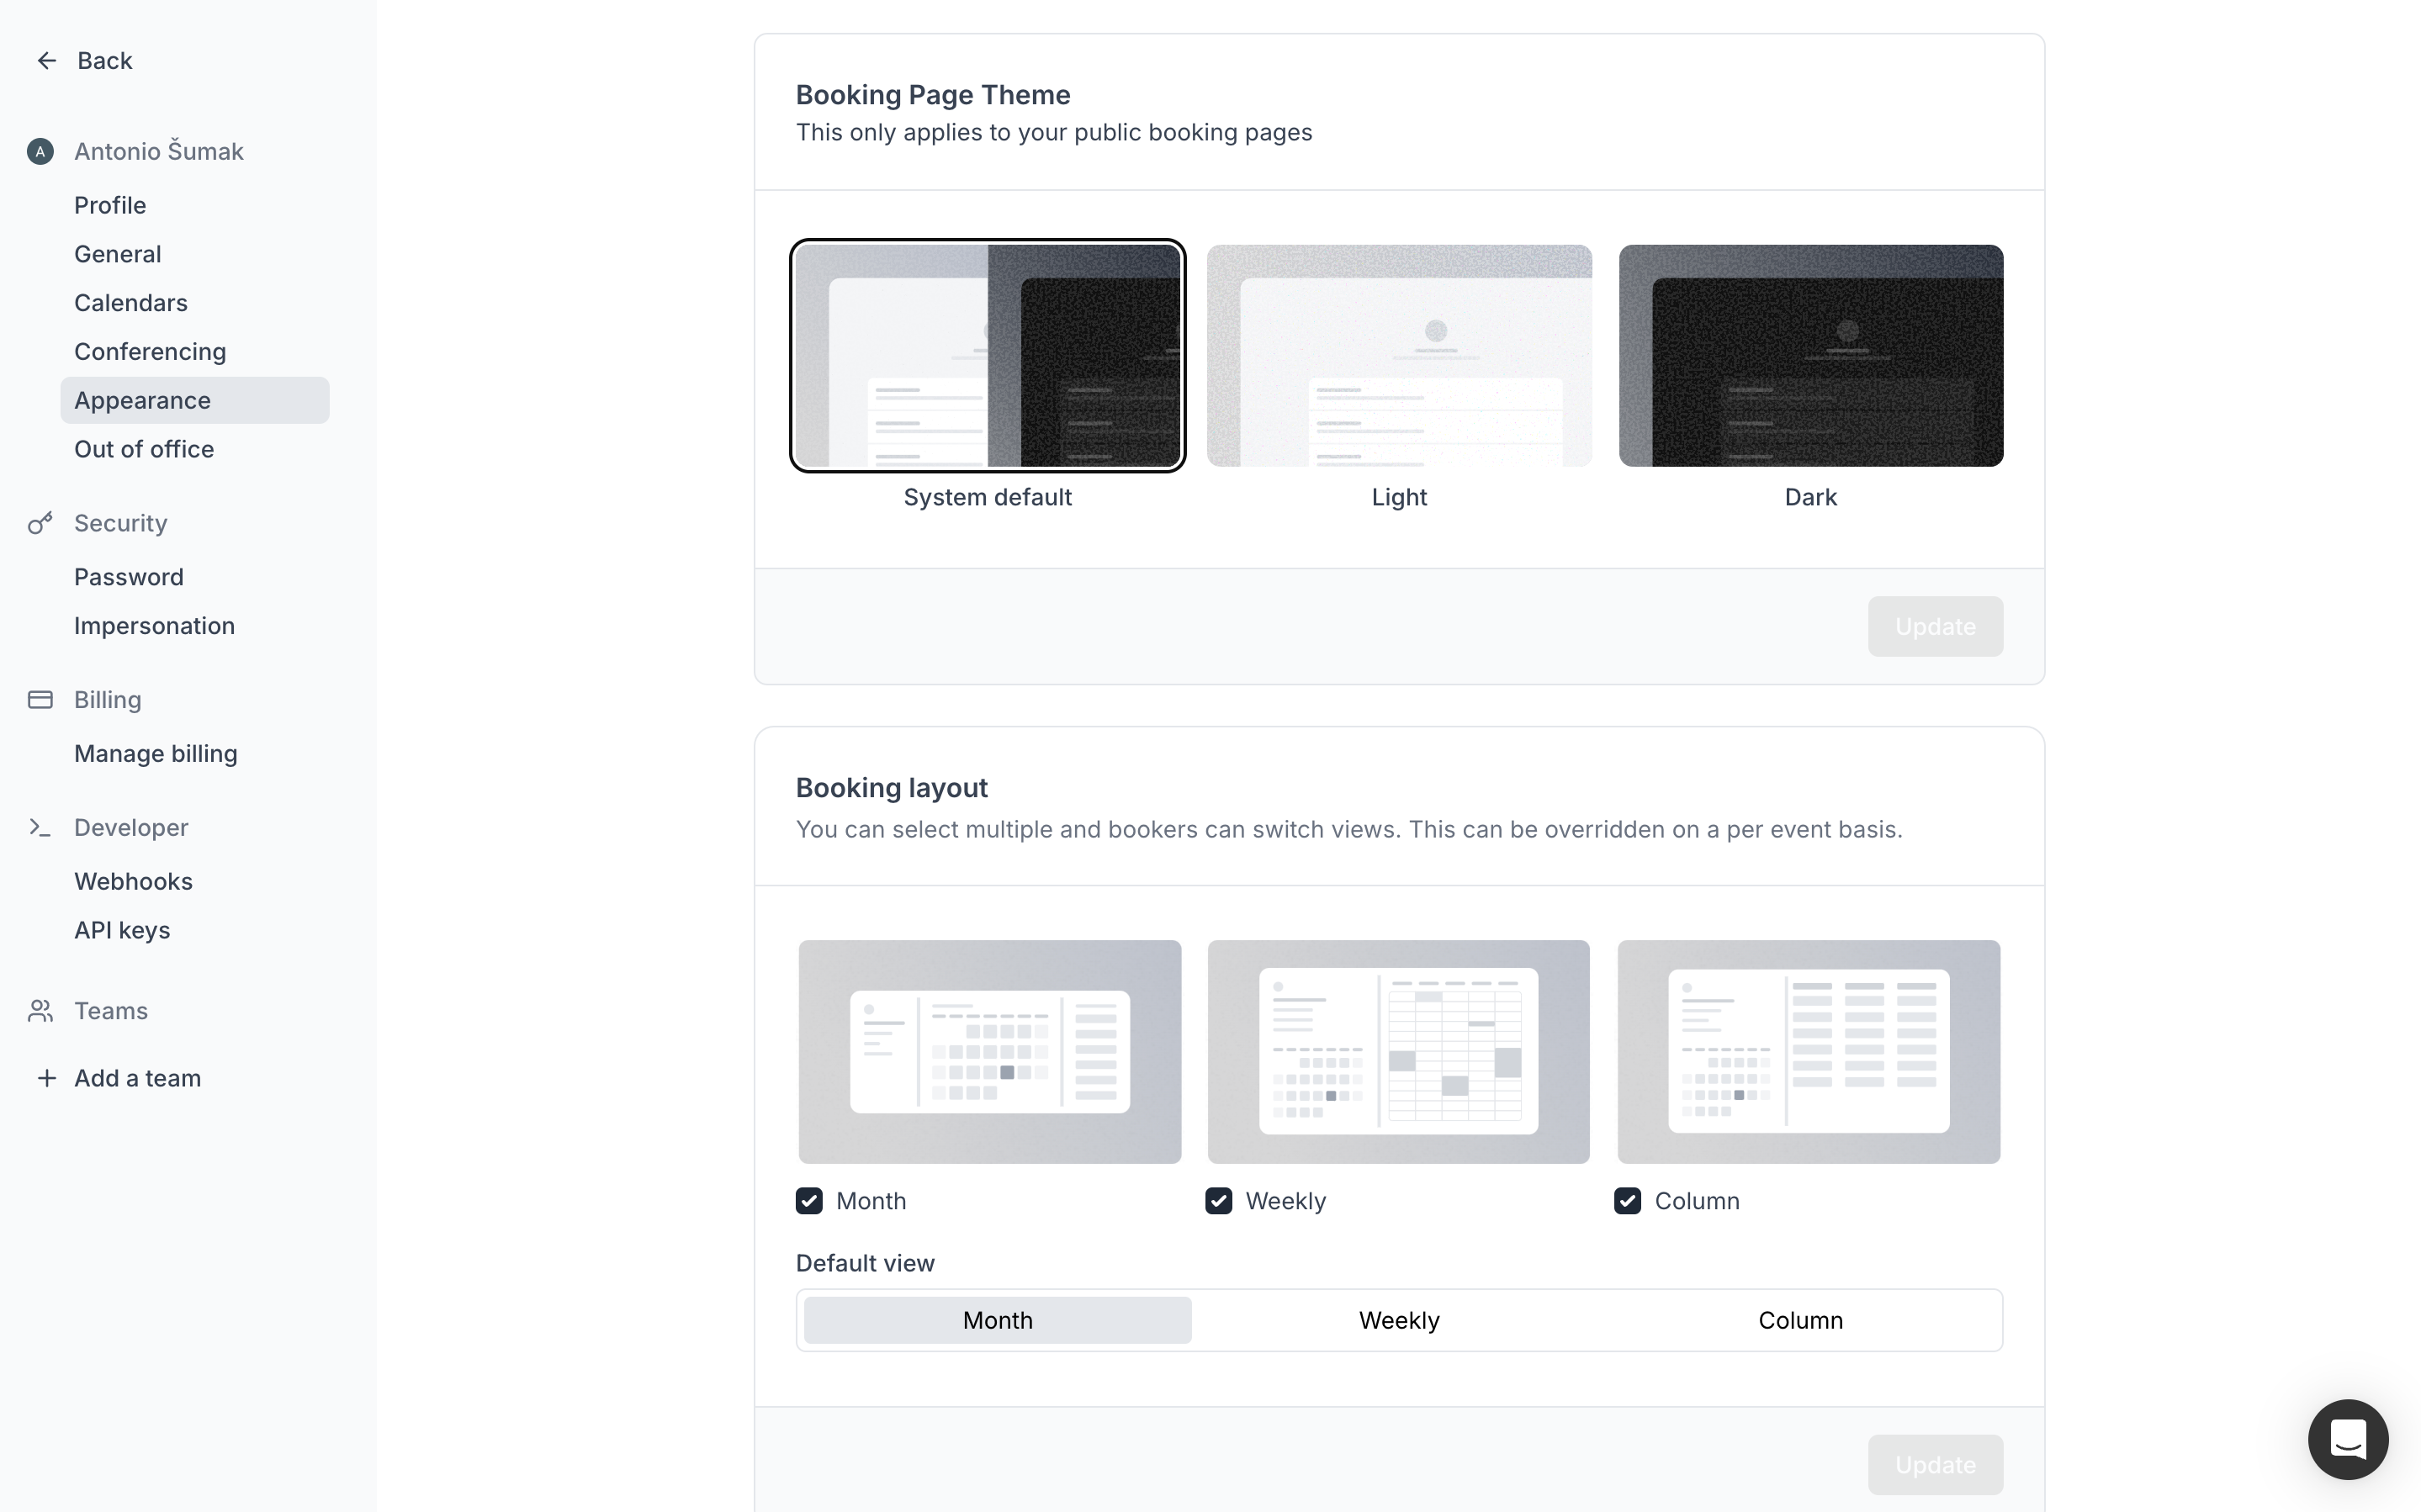
Slika: Changing the theme color and calendar appearance
Here, you can choose the theme of the calendar, whether it will be a Light or Dark theme, and select the calendar layout by choosing "Month," "Weekly," or "Column" in the "Default view" section. Additionally, you can customize the calendar colors to match your brand's colors. This option is available on the same page if you scroll down below the "Booking layout" section.
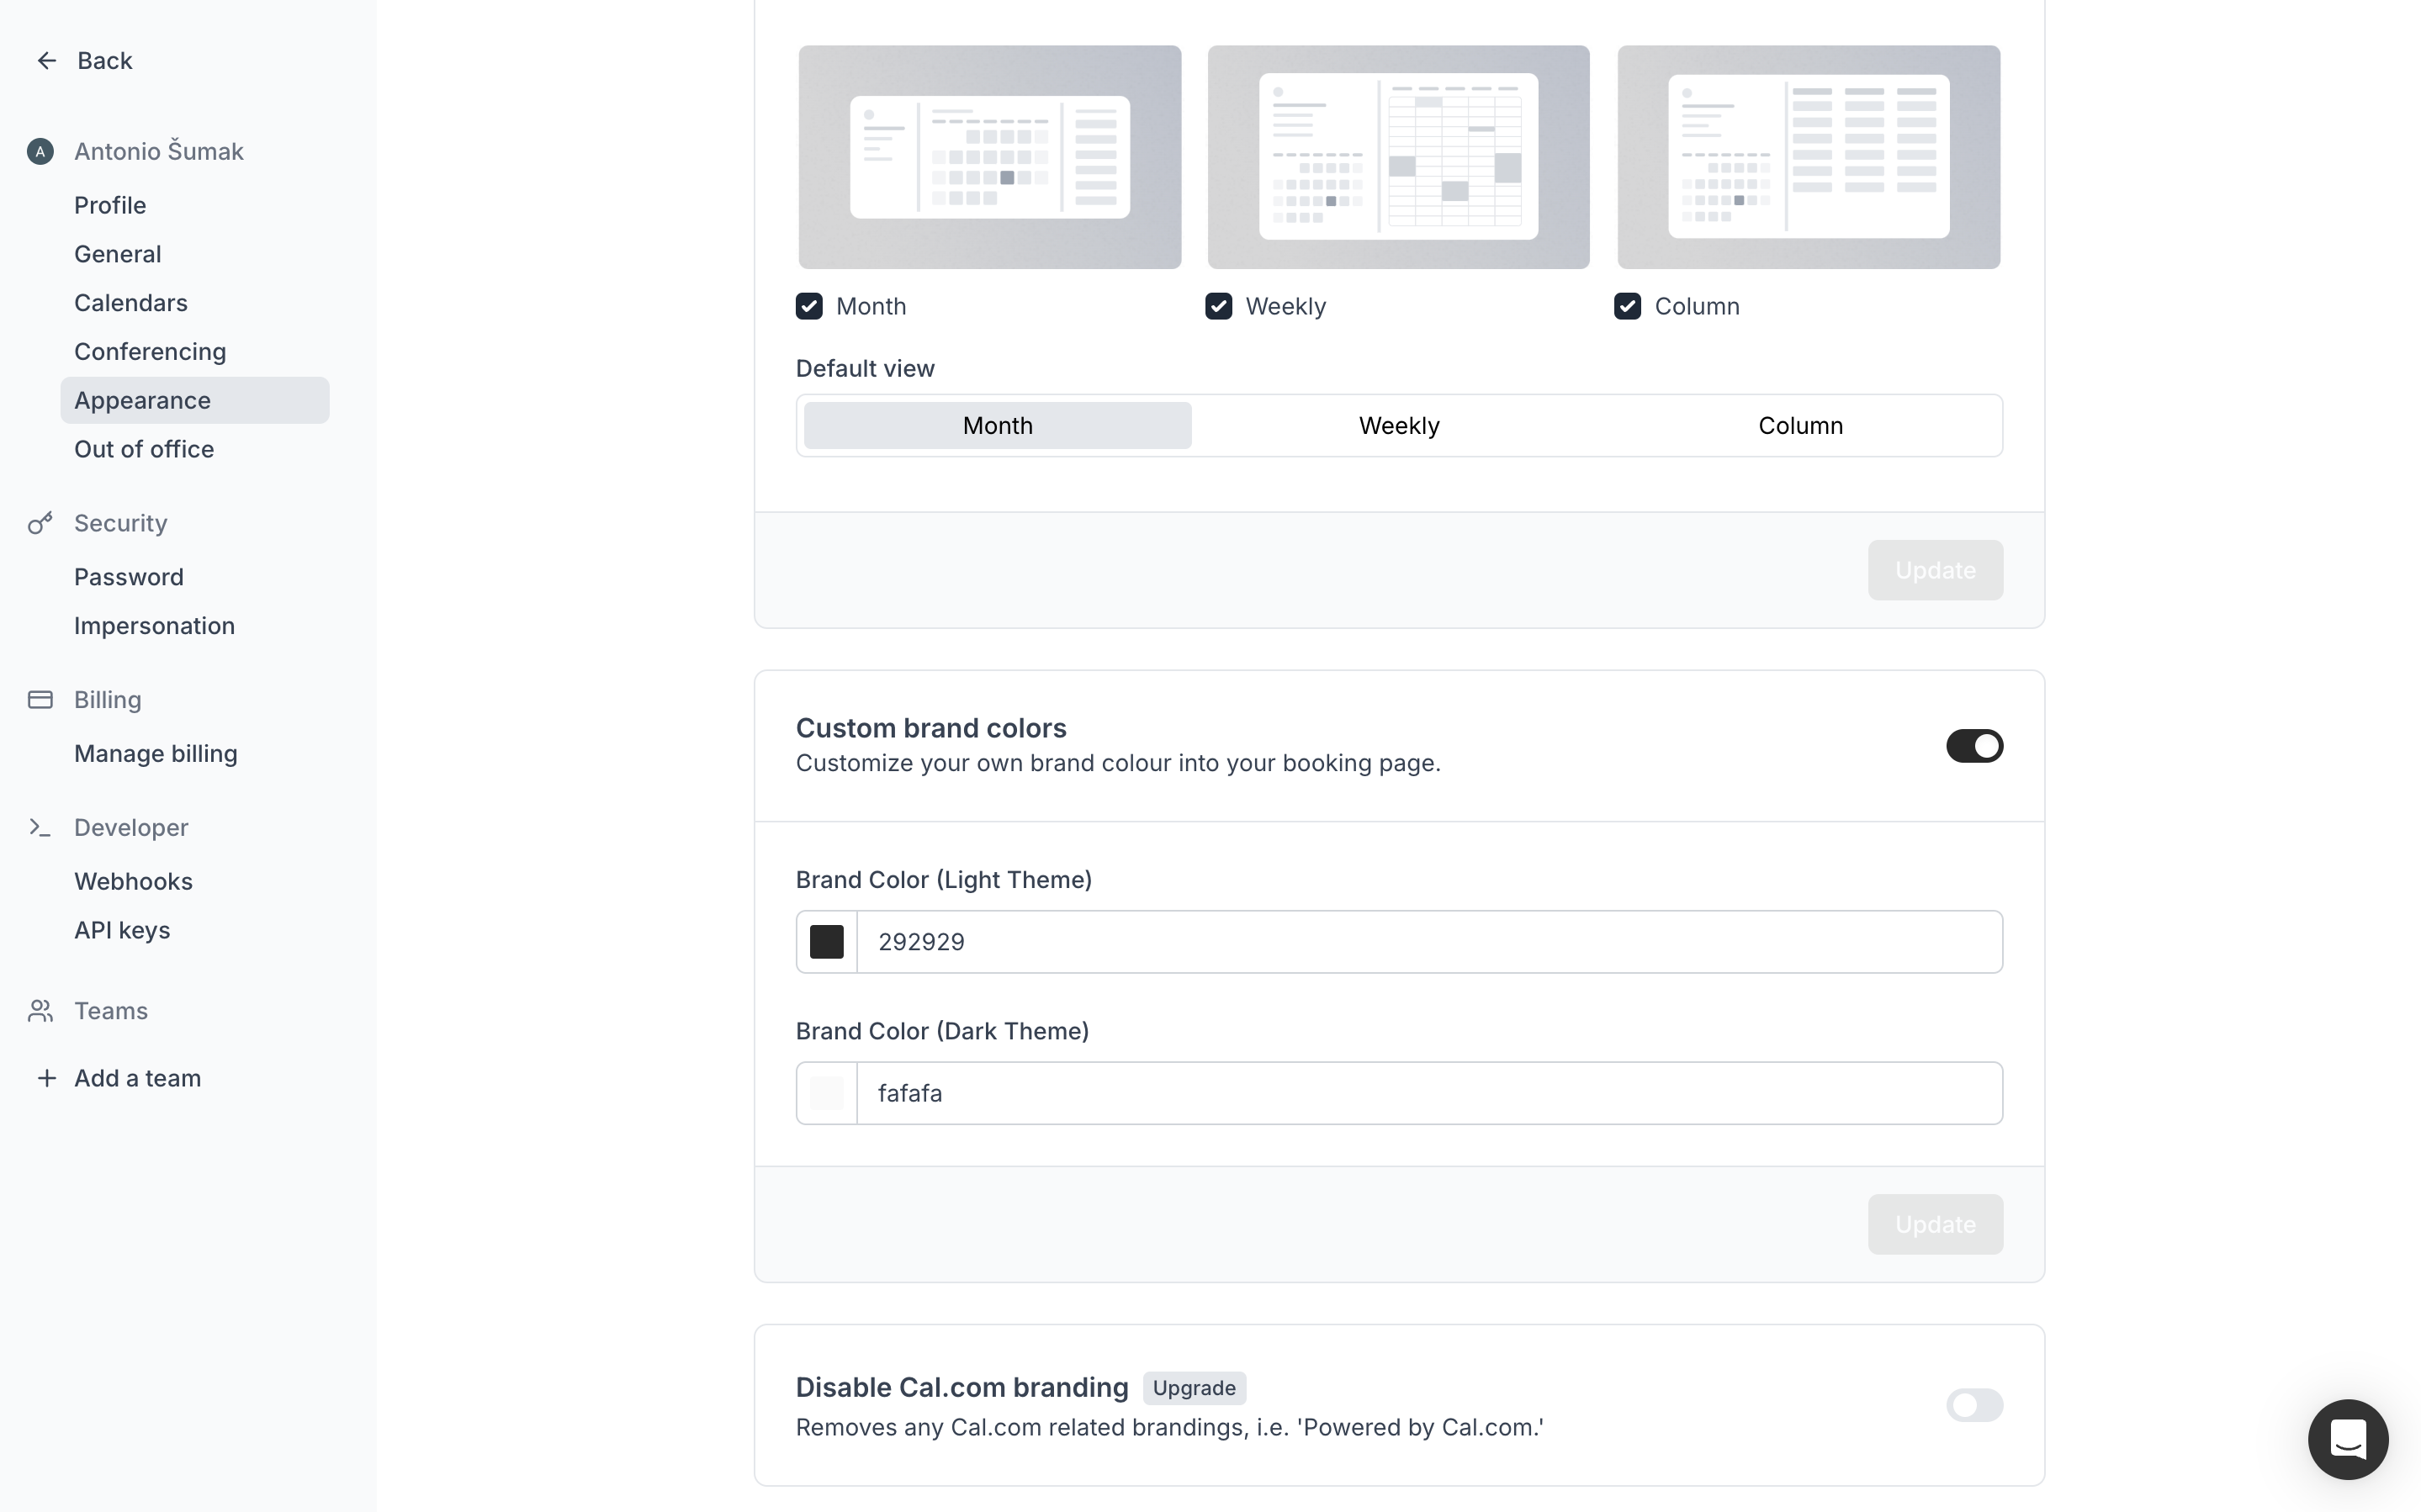
Slika: Brand color selection
Colors can be selected for both the Light and Dark themes.
Once you've chosen the desired appearance and colors, return to the previous screen where you'll select the questions you want to ask the client during the booking process. This will help you better prepare for the meeting and gather answers to the client's questions.
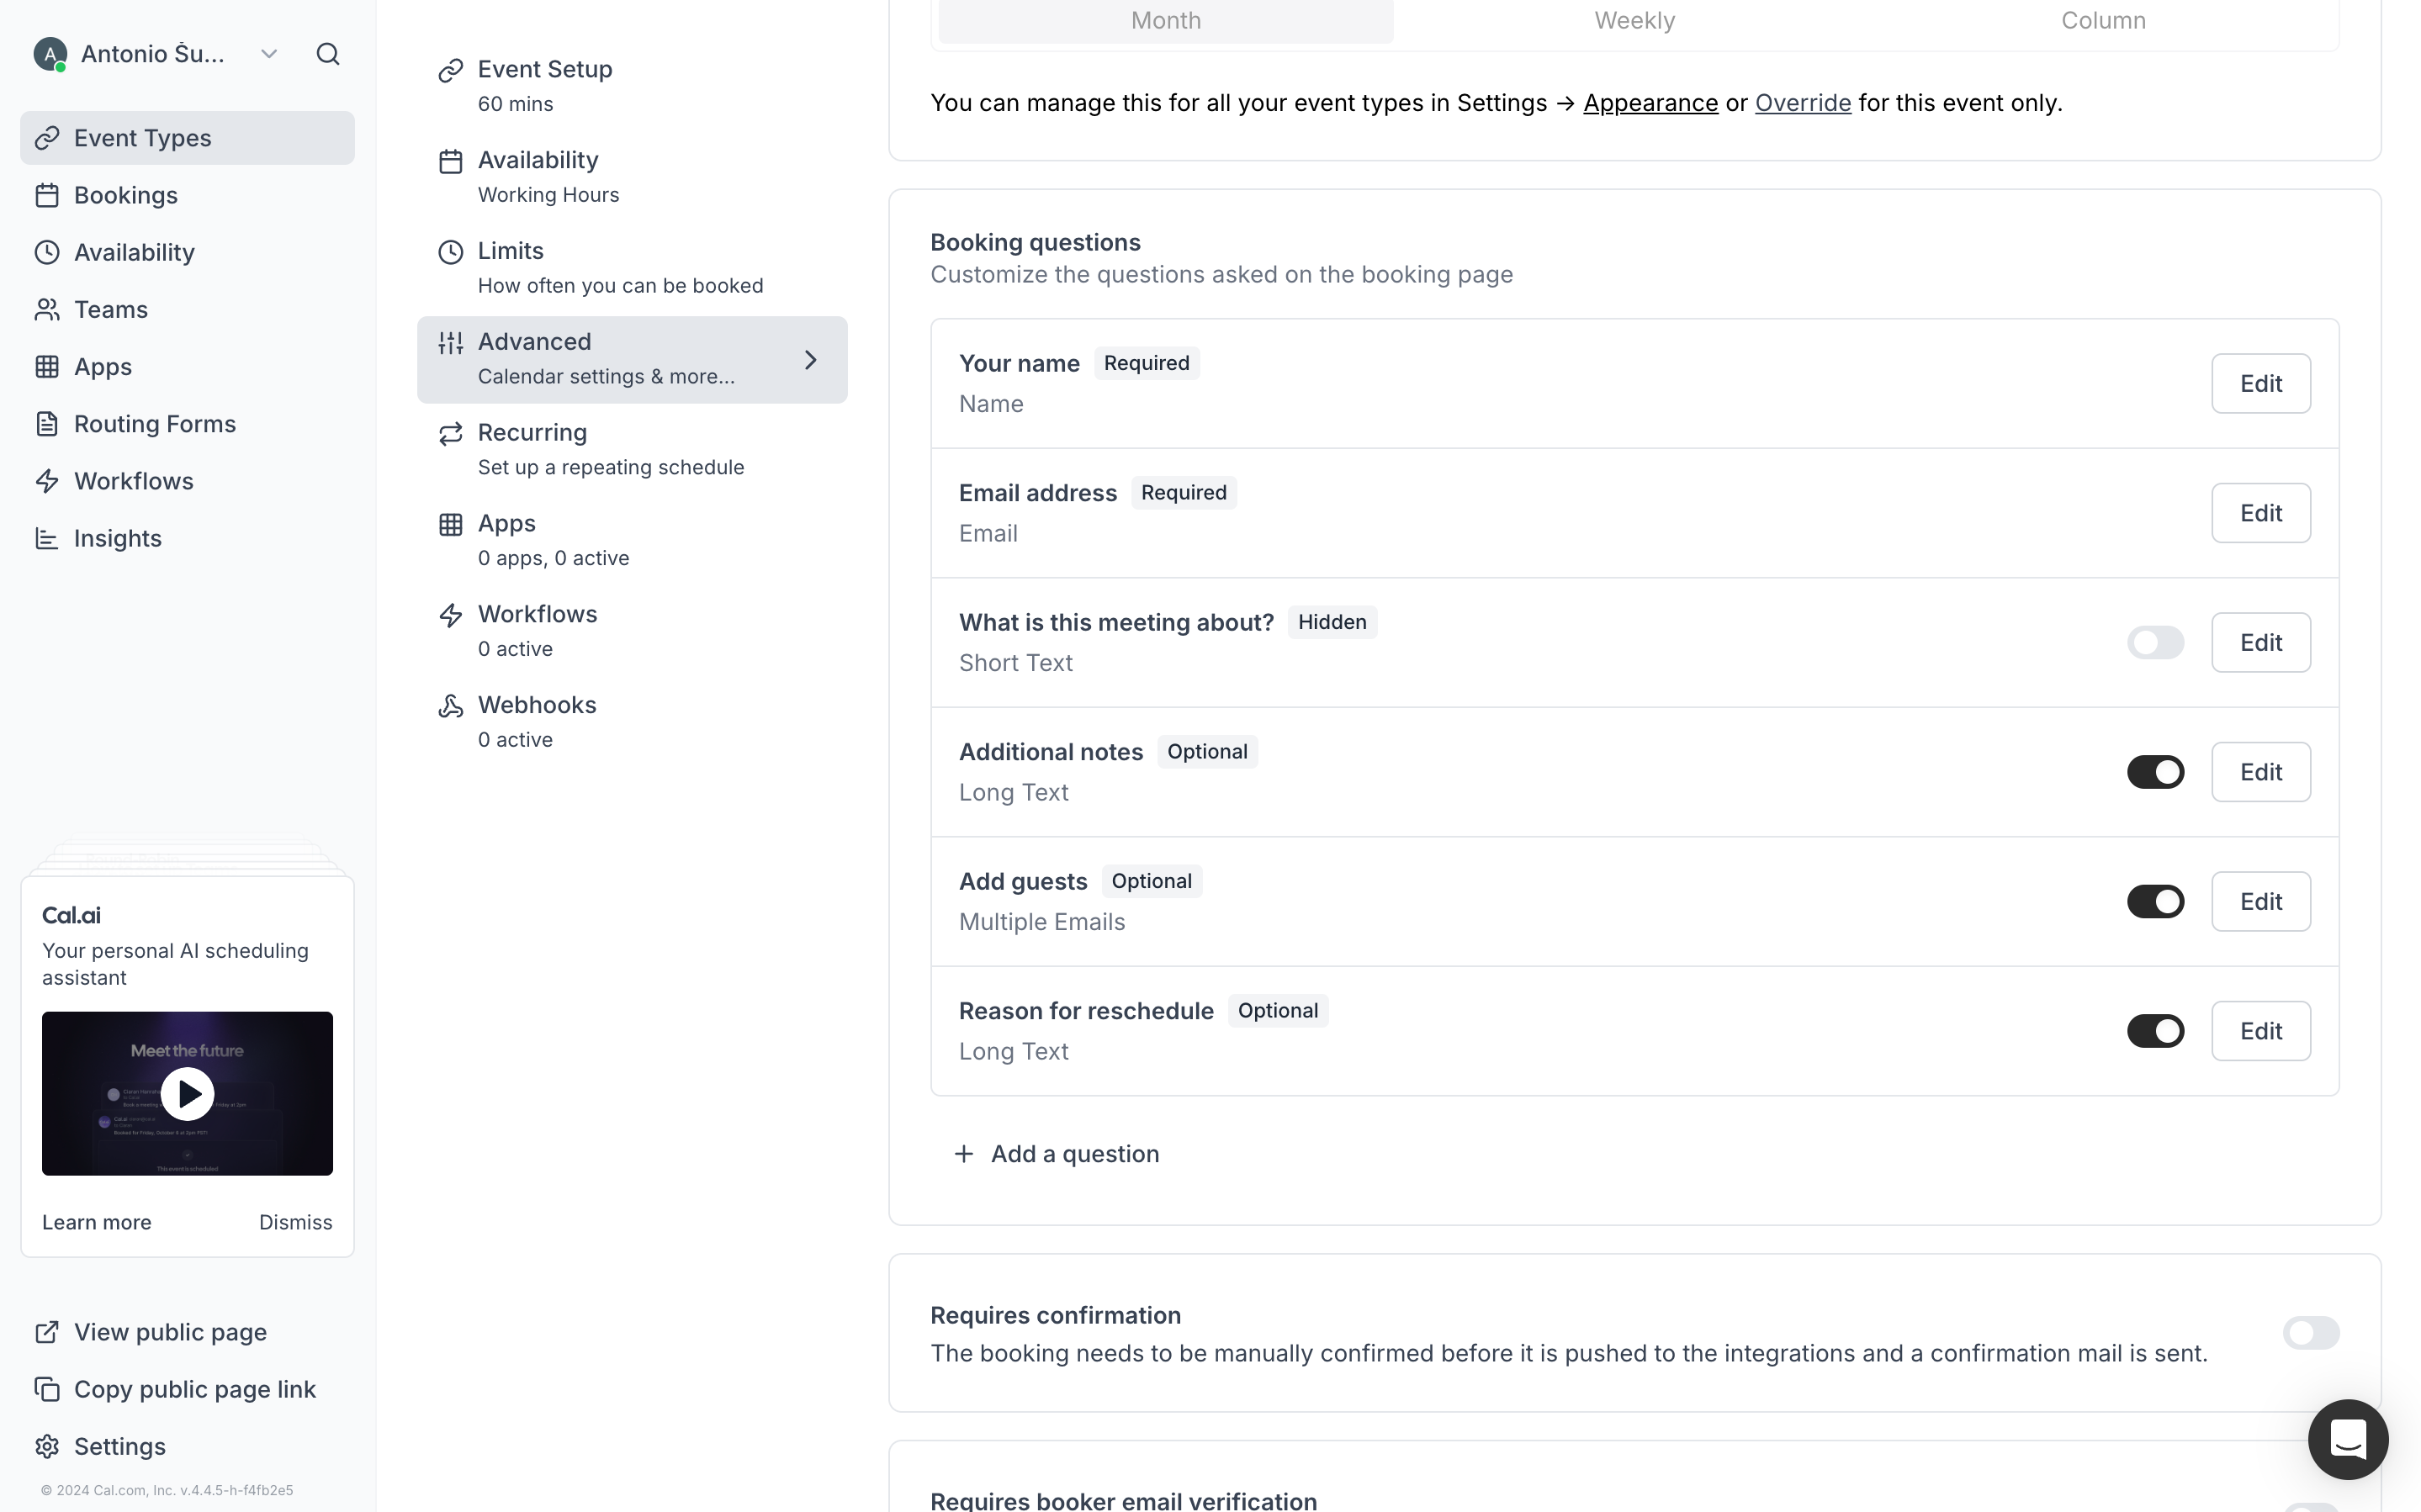
Slika: Questions for your clients
Here, you can see that some initial questions are already provided, which you can hide using the small slider (toggle component). You can create new questions by clicking the "+ Add a question" button.
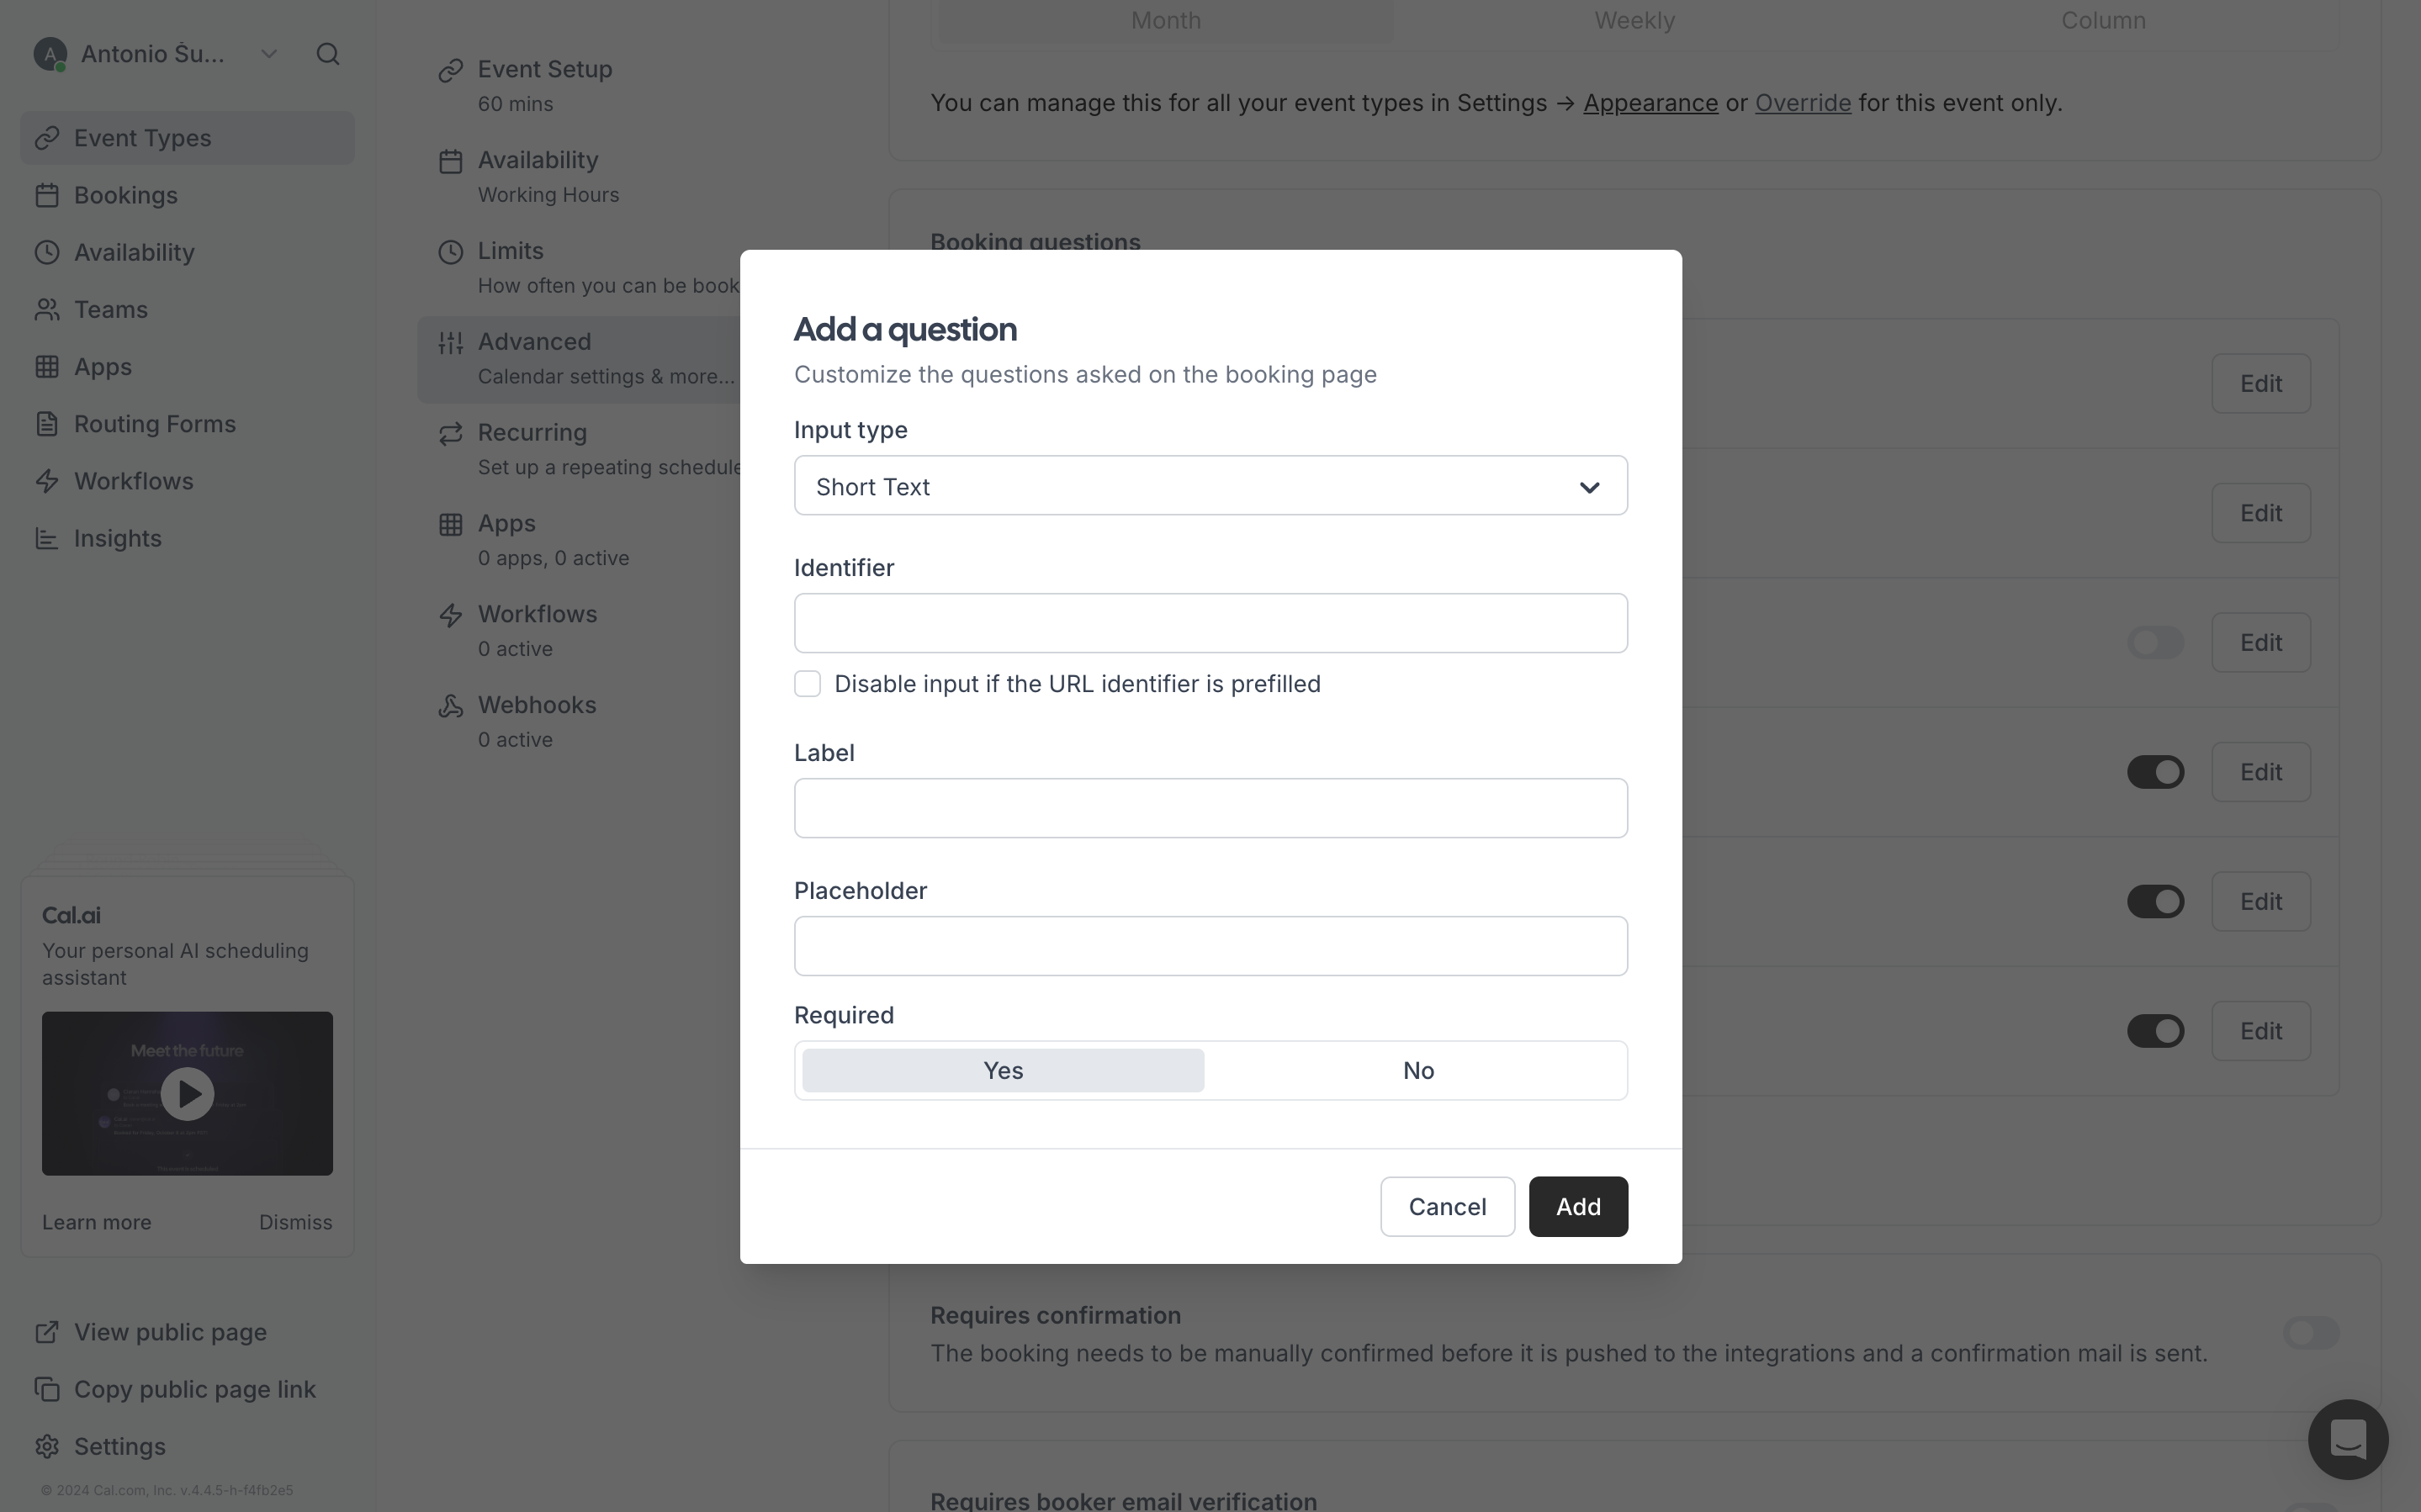
Slika: Creating a question
The input type determines the format of the input, whether it’s a simple text input, a single choice, multiple choices, etc. Depending on the information you need, you’ll choose the appropriate input type. In my example, I will create a field for selecting the desired job position.
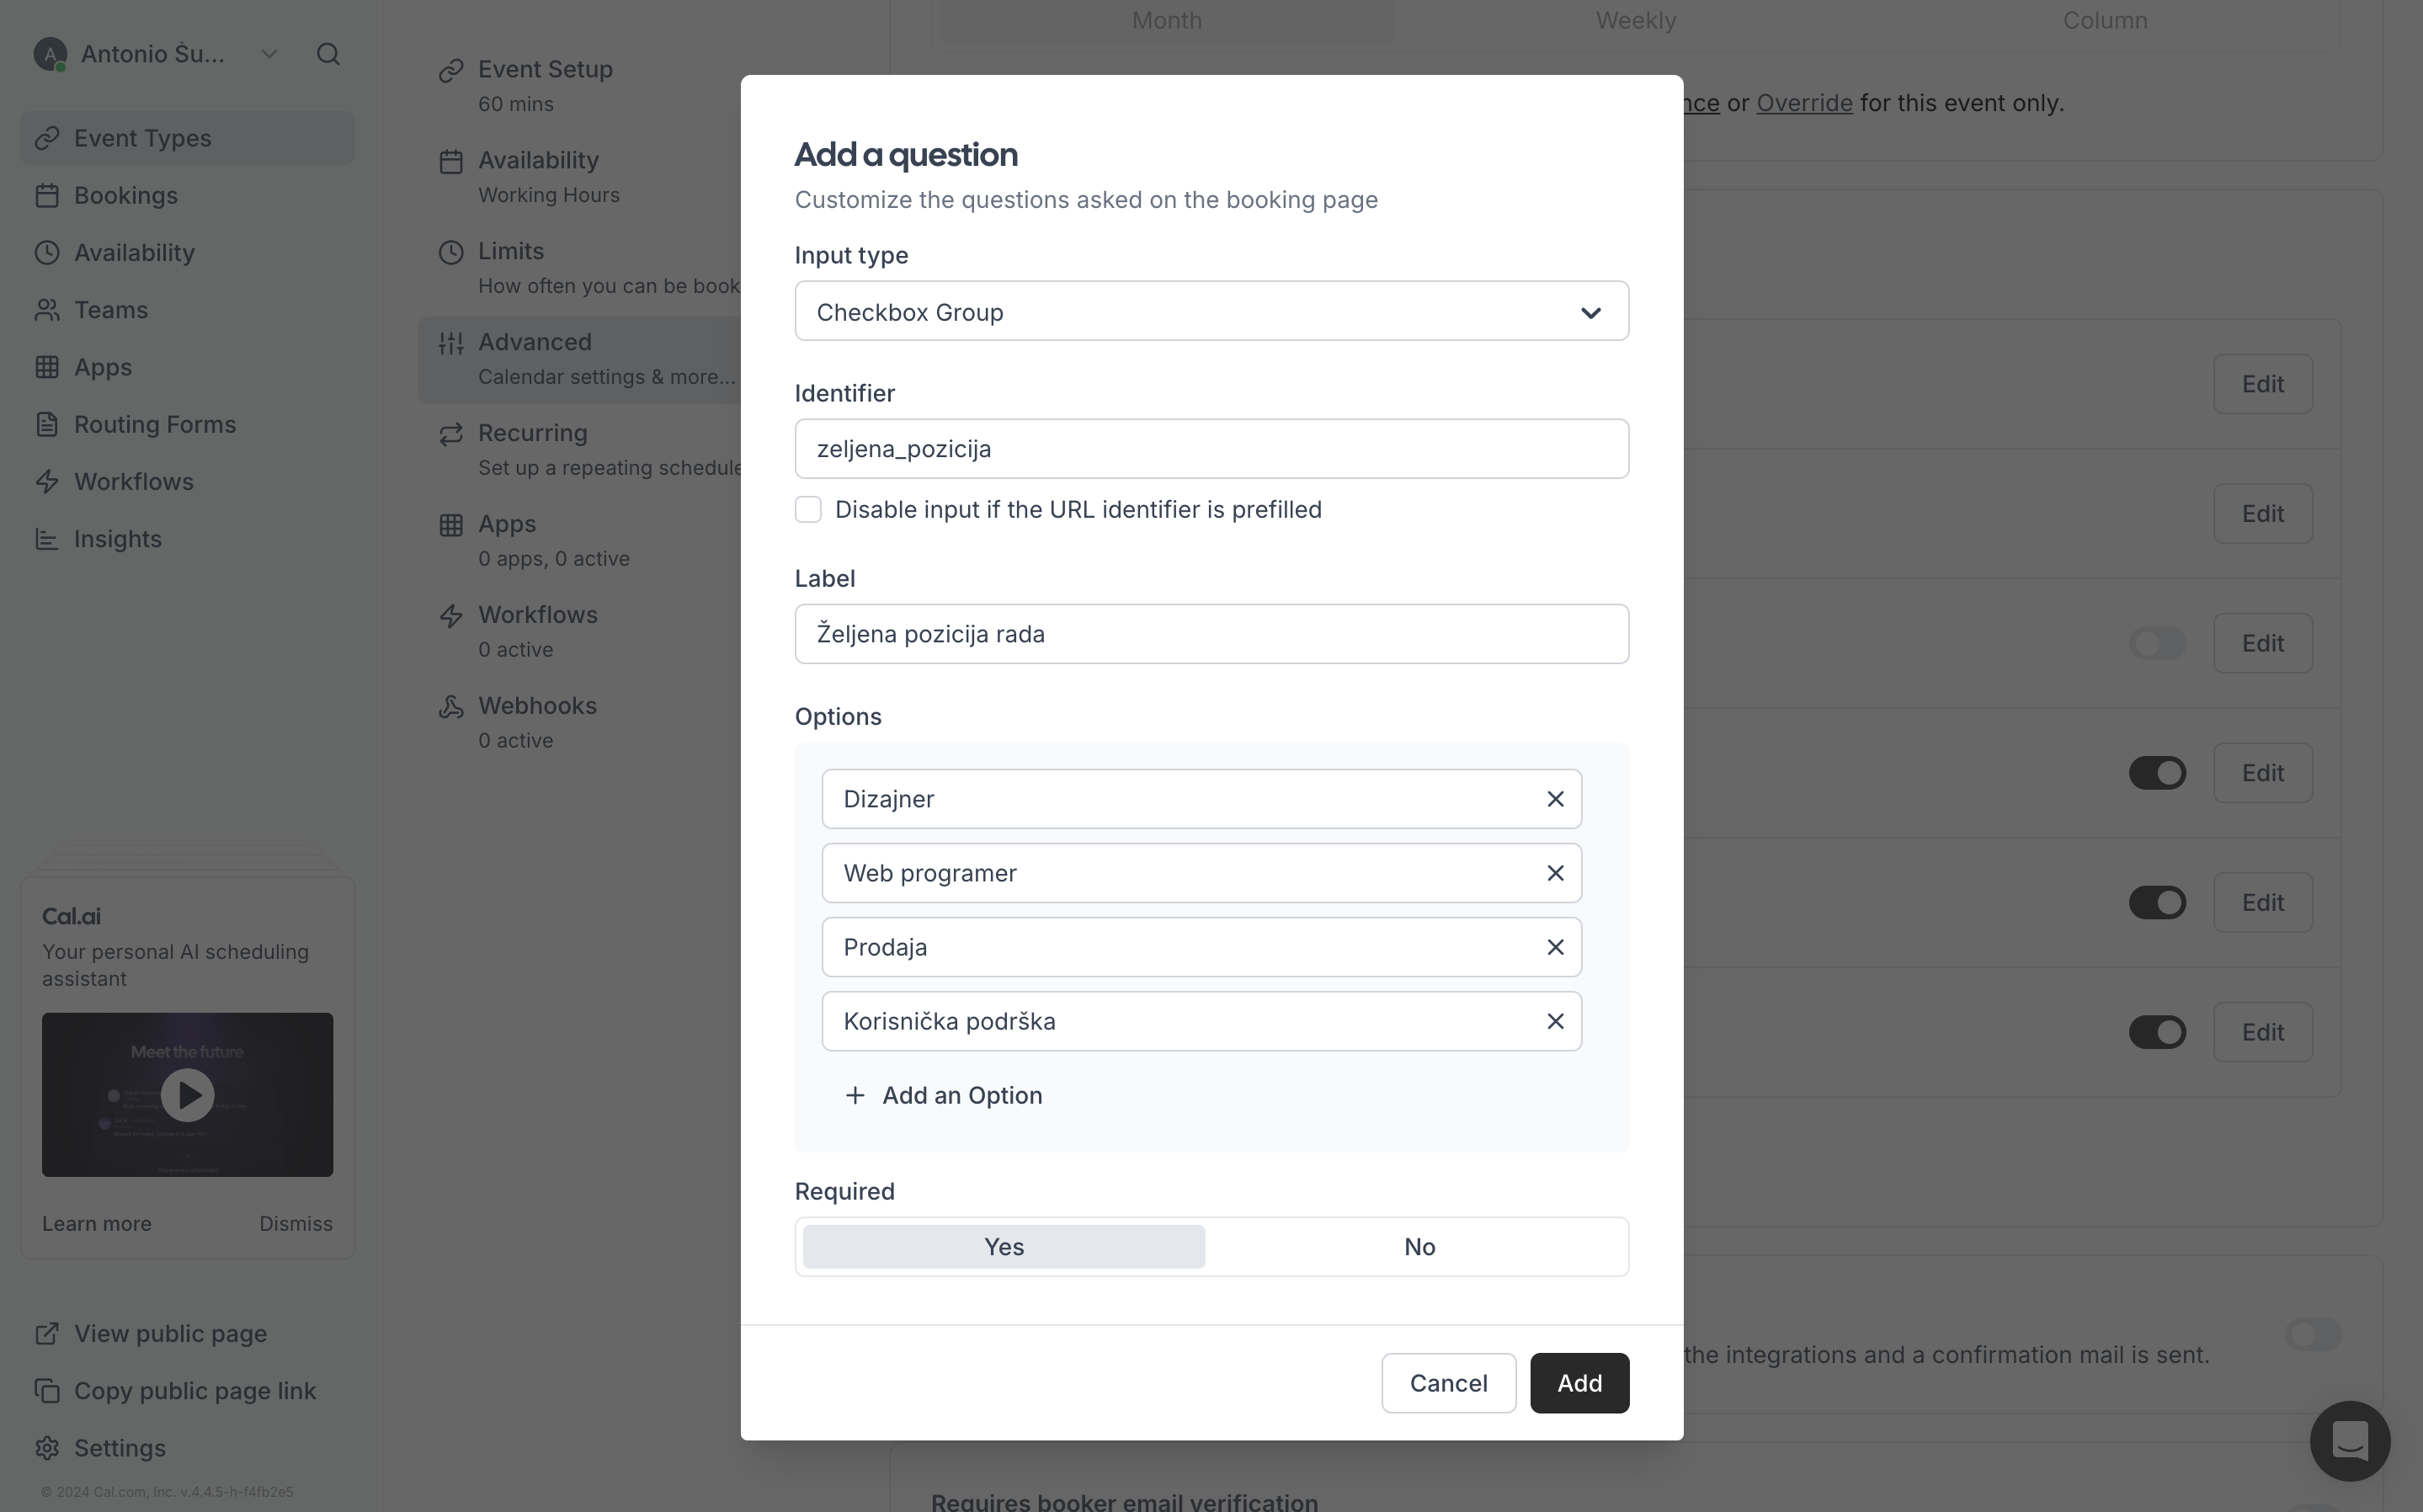
Slika: Multiple selection input example
In this case, the user can select multiple positions they are interested in. It's recommended to experiment with the different input types and choose the one that best suits your application.
Once you are satisfied with your questions, you can further customize additional functionalities, such as adding the meeting to the calendar only if the user has confirmed the invitation, disabling the option for clients to add guests, and many other options. These settings are available in the section below the questions. When you're happy with everything, click "Save" at the top right corner of the page. This is the final step, and you have successfully created your calendar.
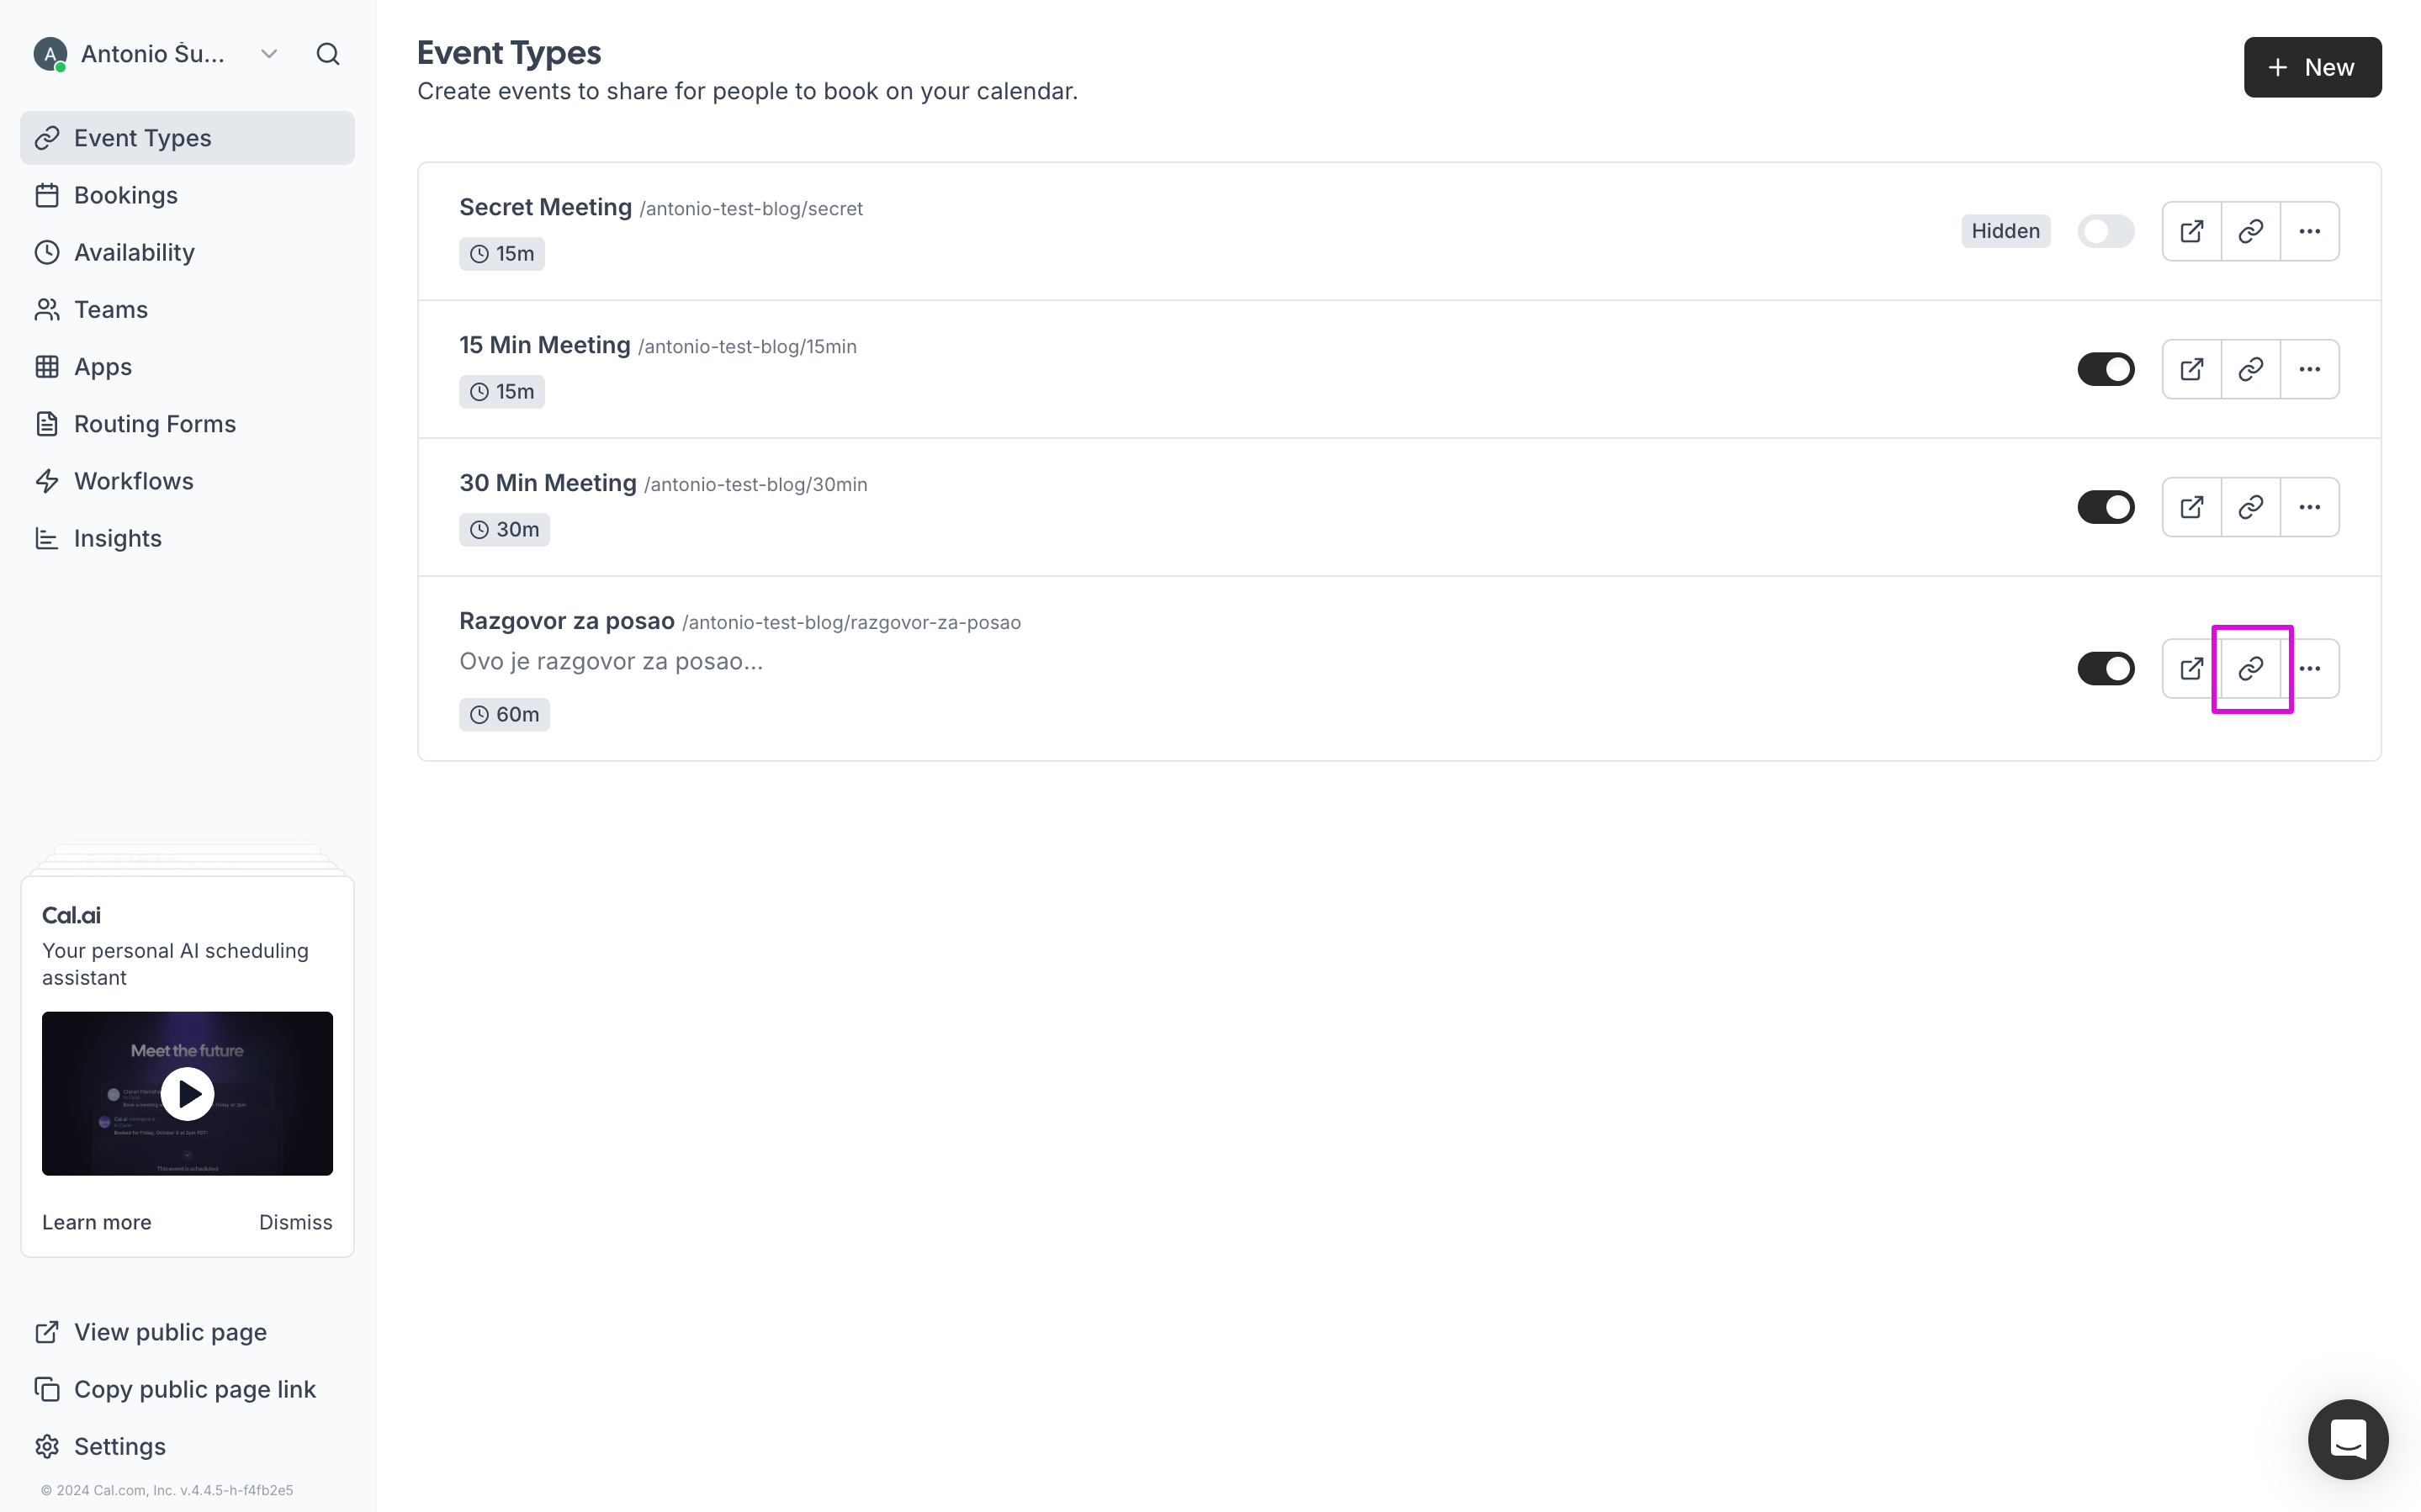
Slika: Link sharing
How to share the link? Go back to the Event Types page and select the highlighted button. By clicking on it, the link to your calendar will be copied, which you can then share with clients. You can place this link in your Instagram bio, share it on social media, and more.
Final look:
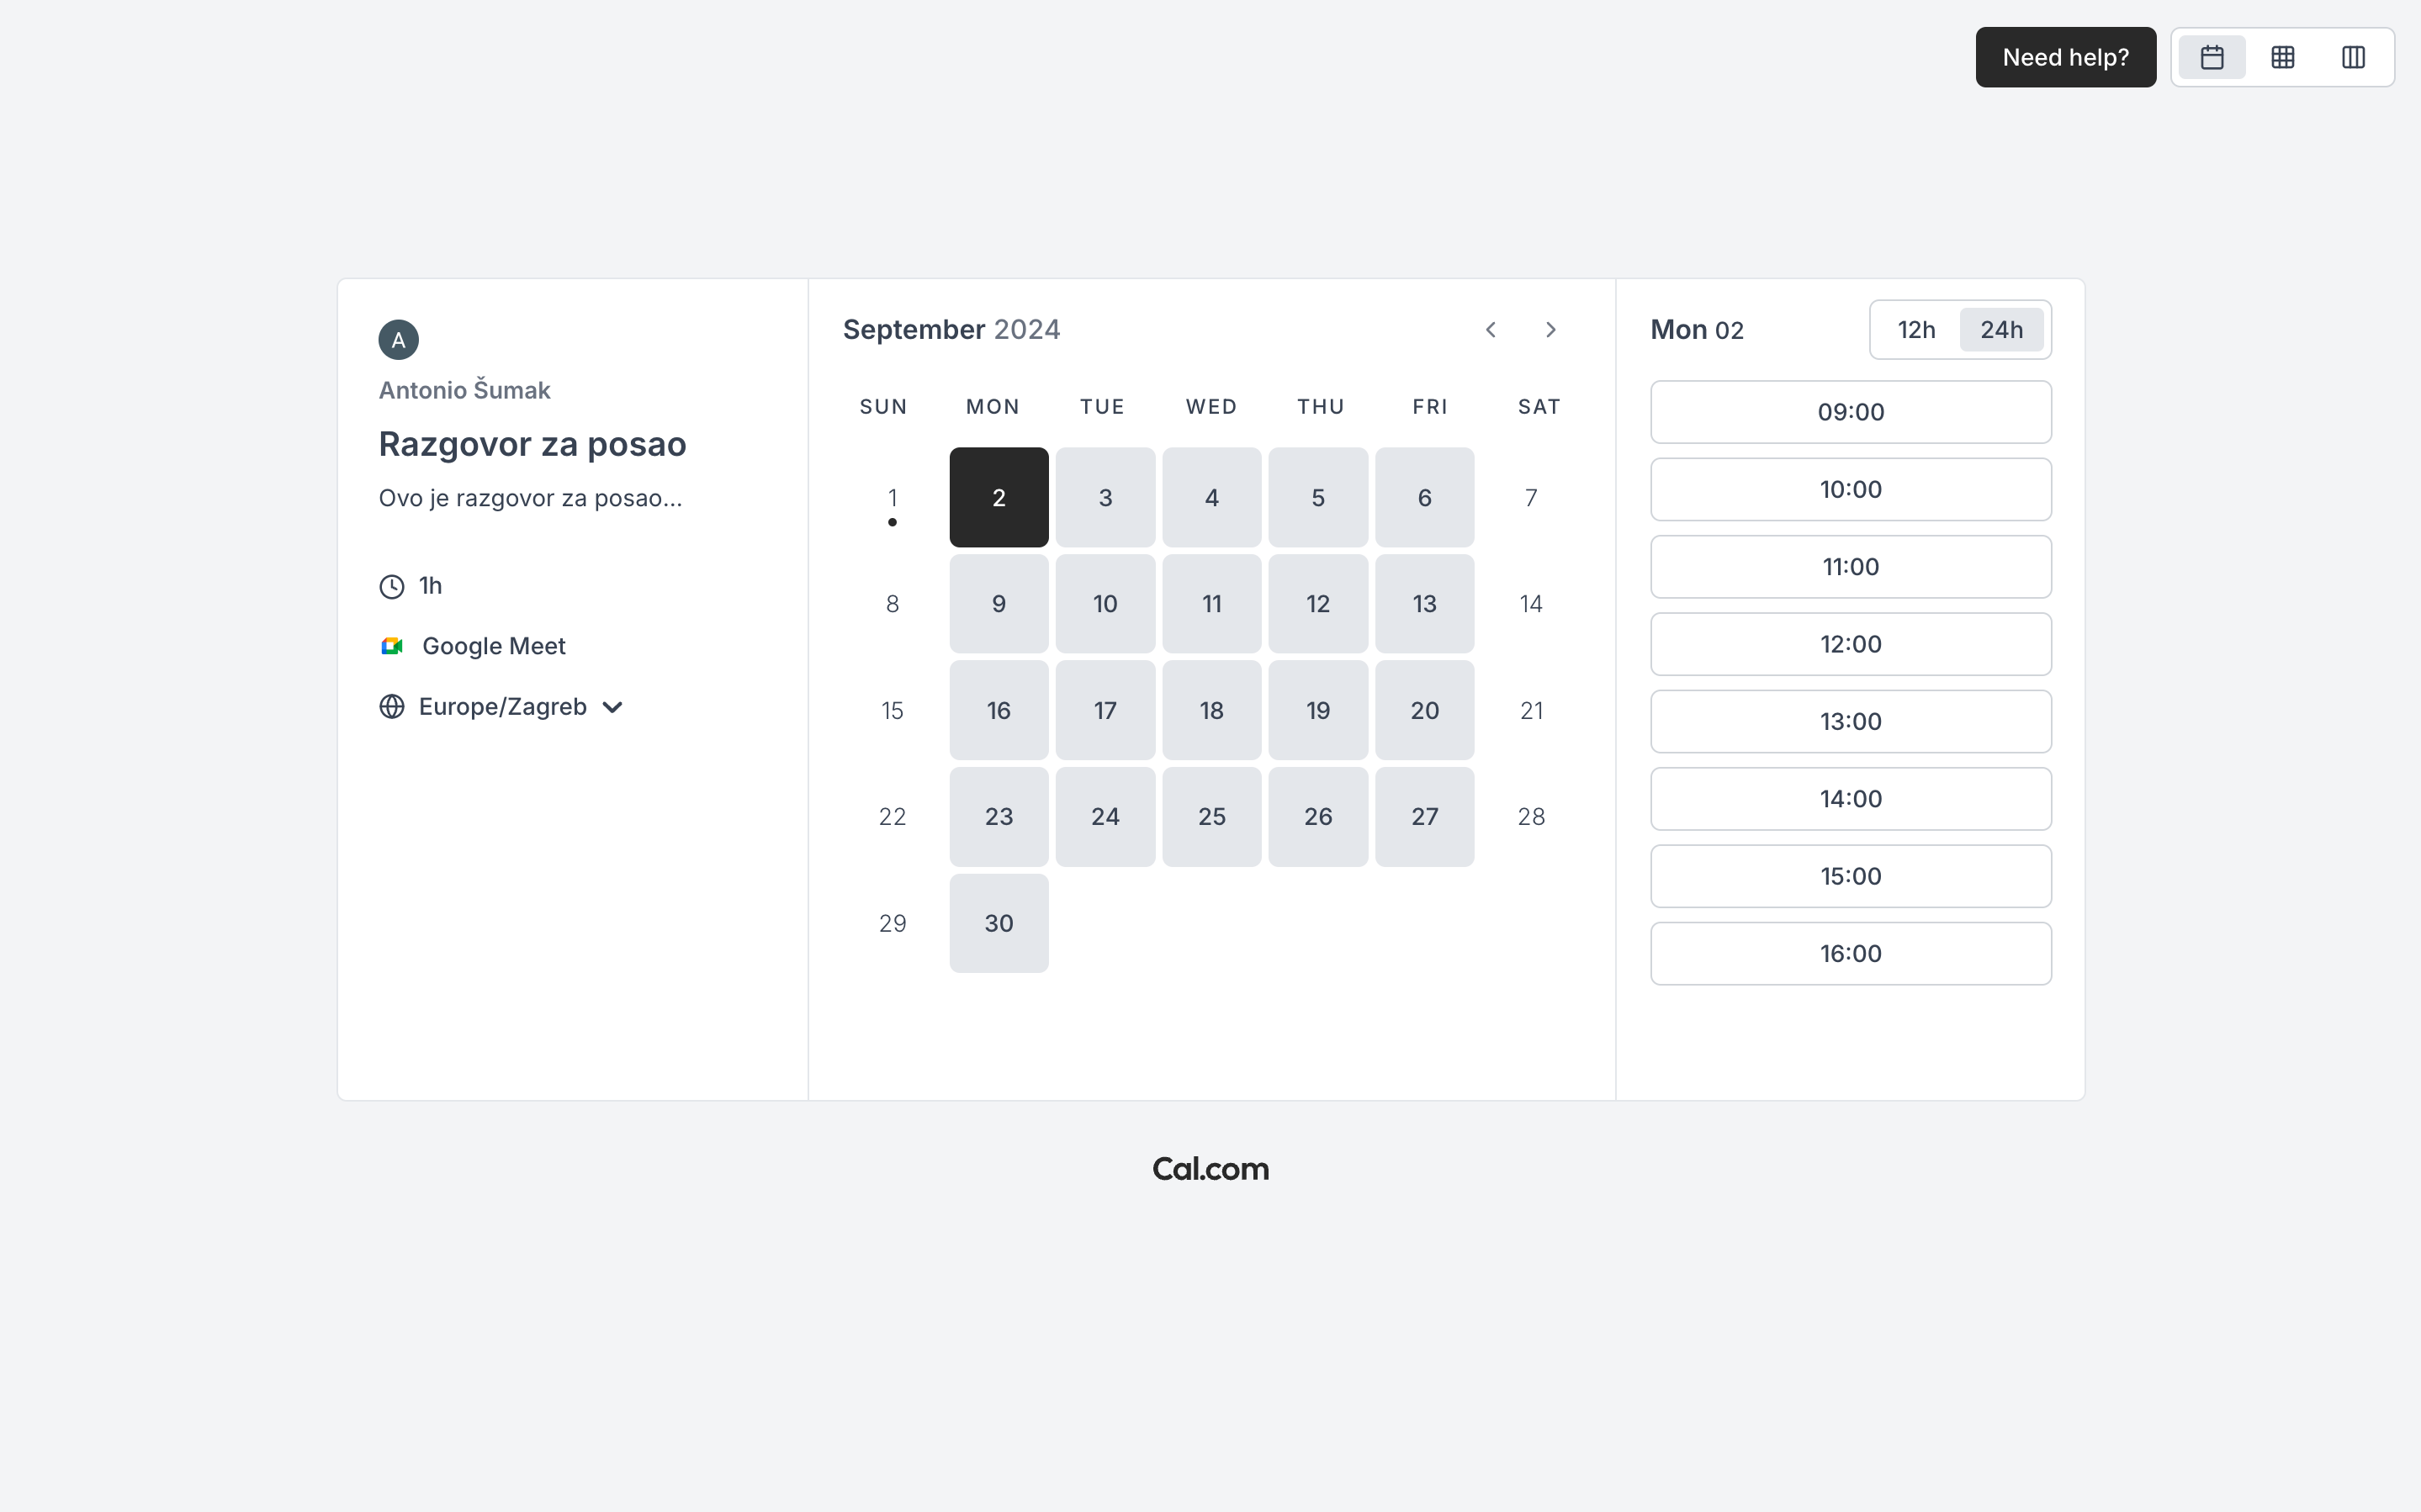
Slika: Date and time selection
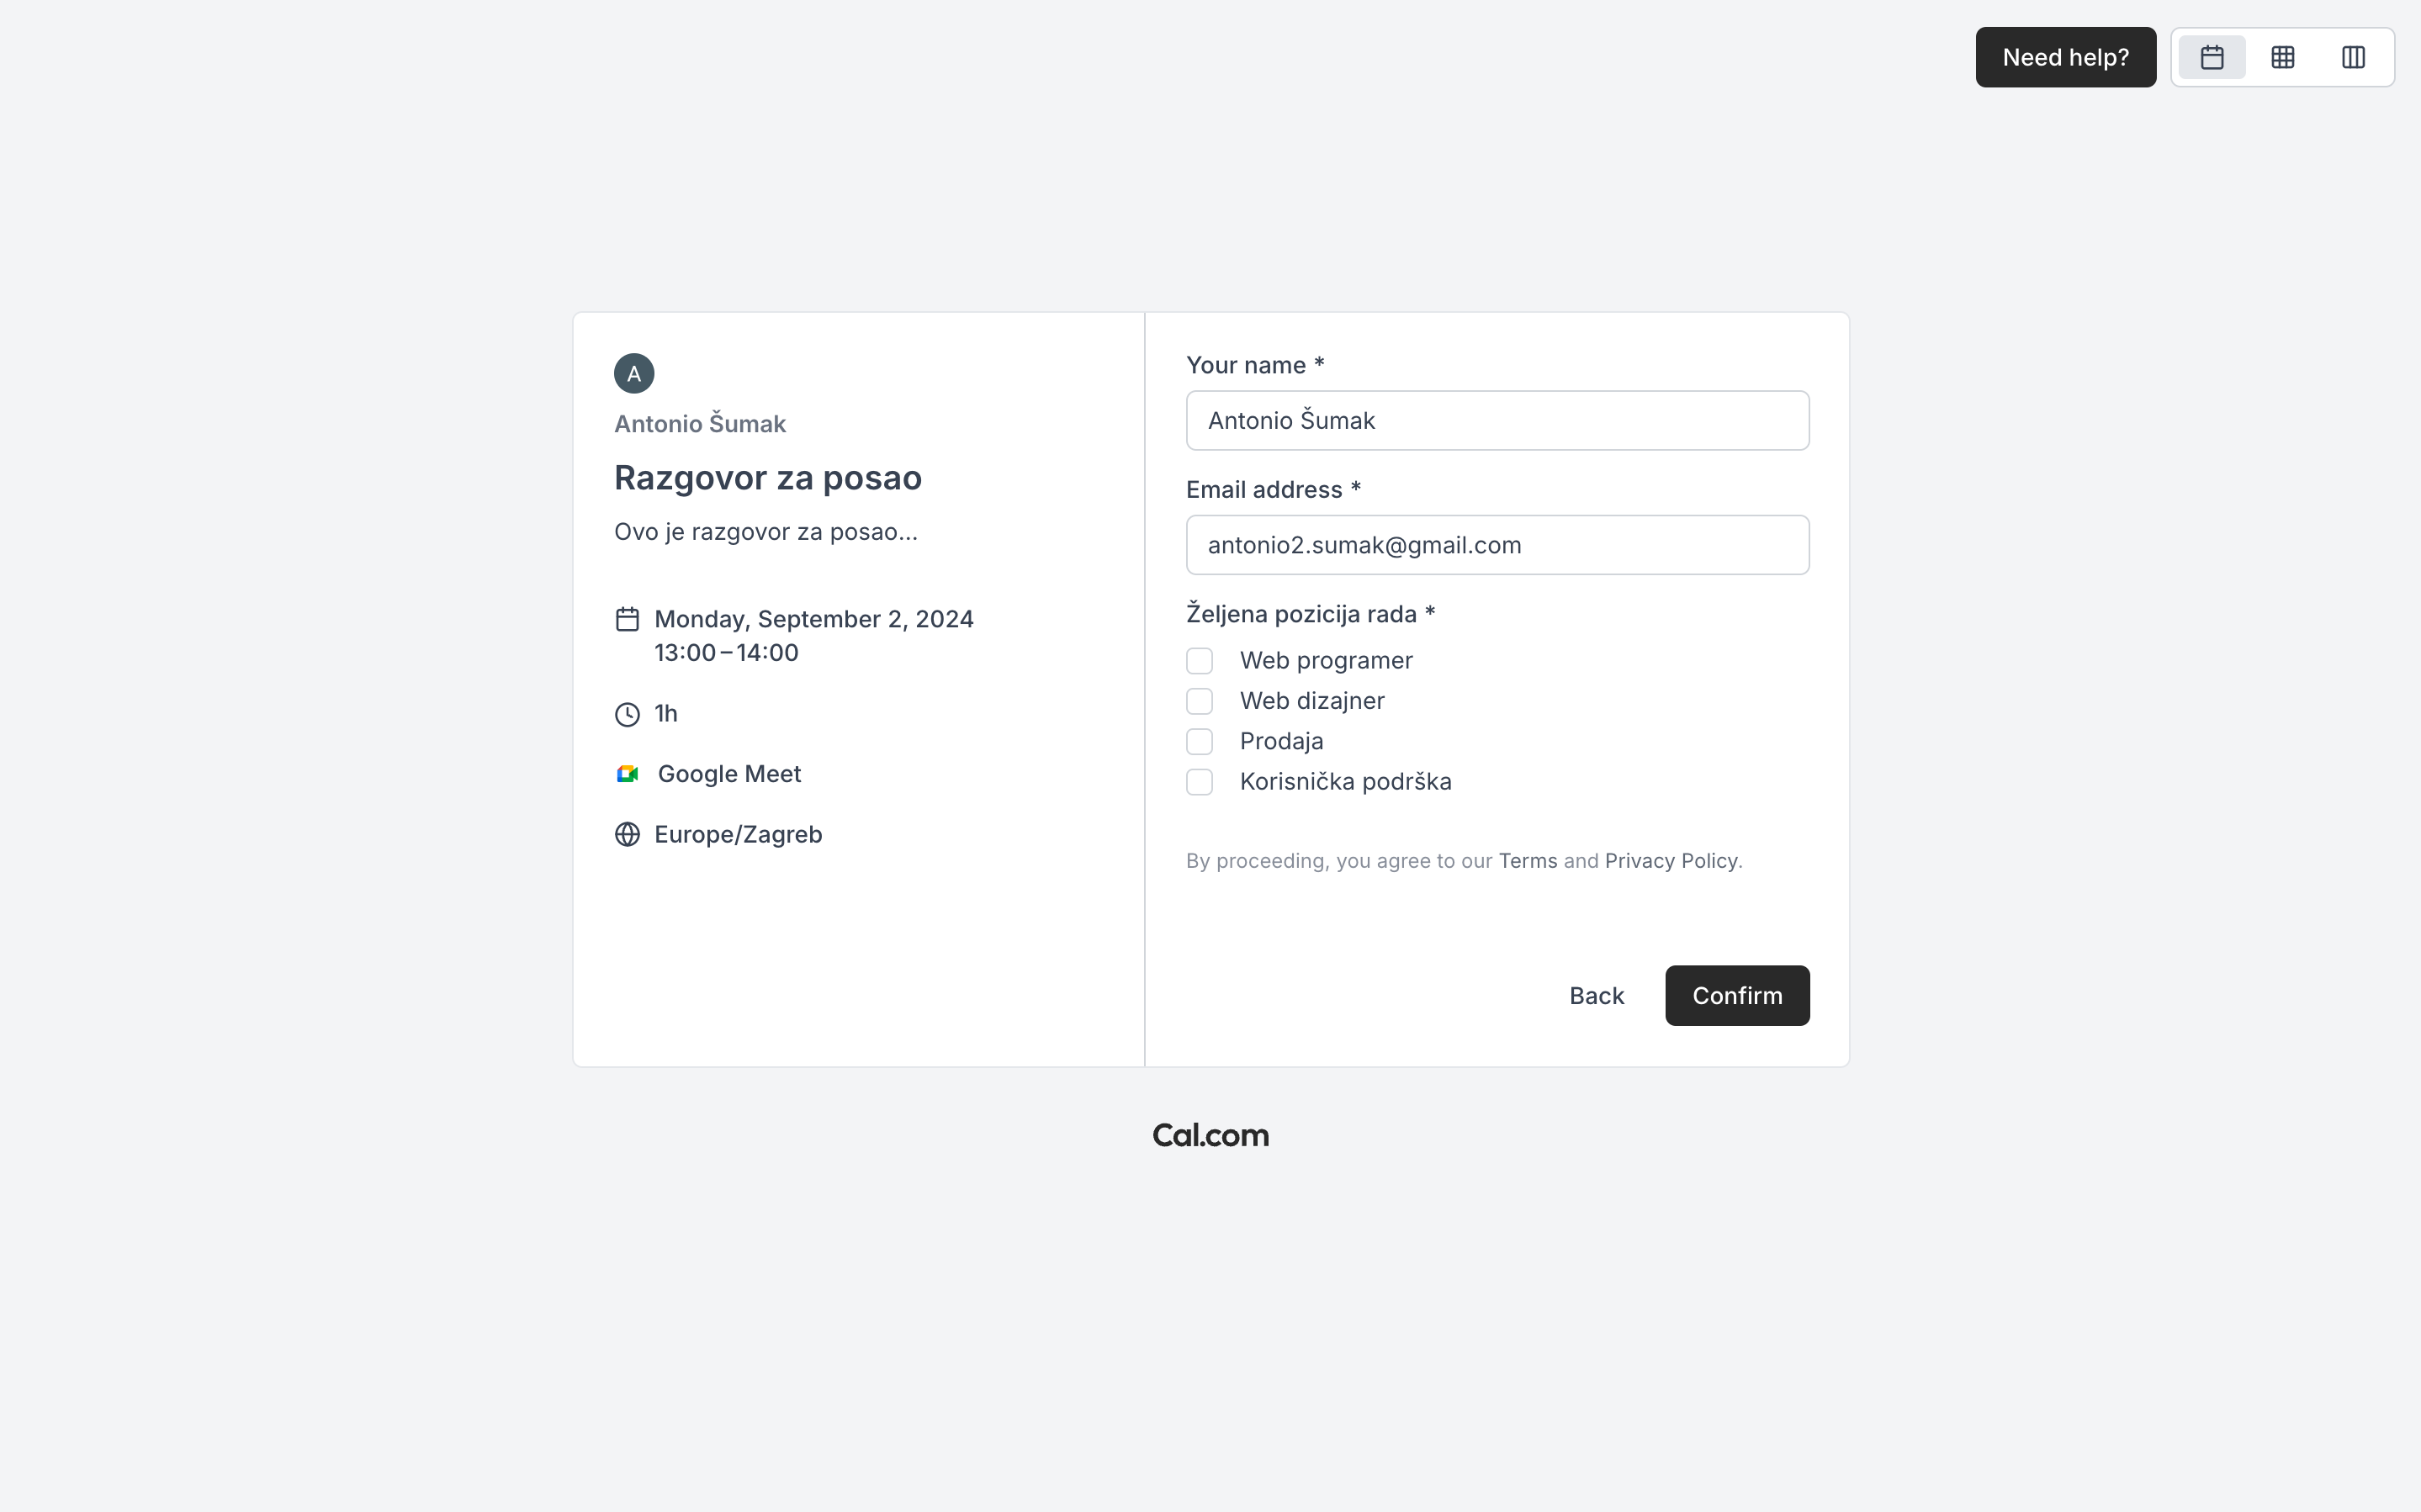
Slika: Questions and a confirmation
This is how your calendar and the booking process will appear to your clients. (Of course, it will reflect the settings you have chosen.)
4. Integration into your website

Slika: Integration button
To integrate and retrieve the code needed for integration, click on the highlighted button.
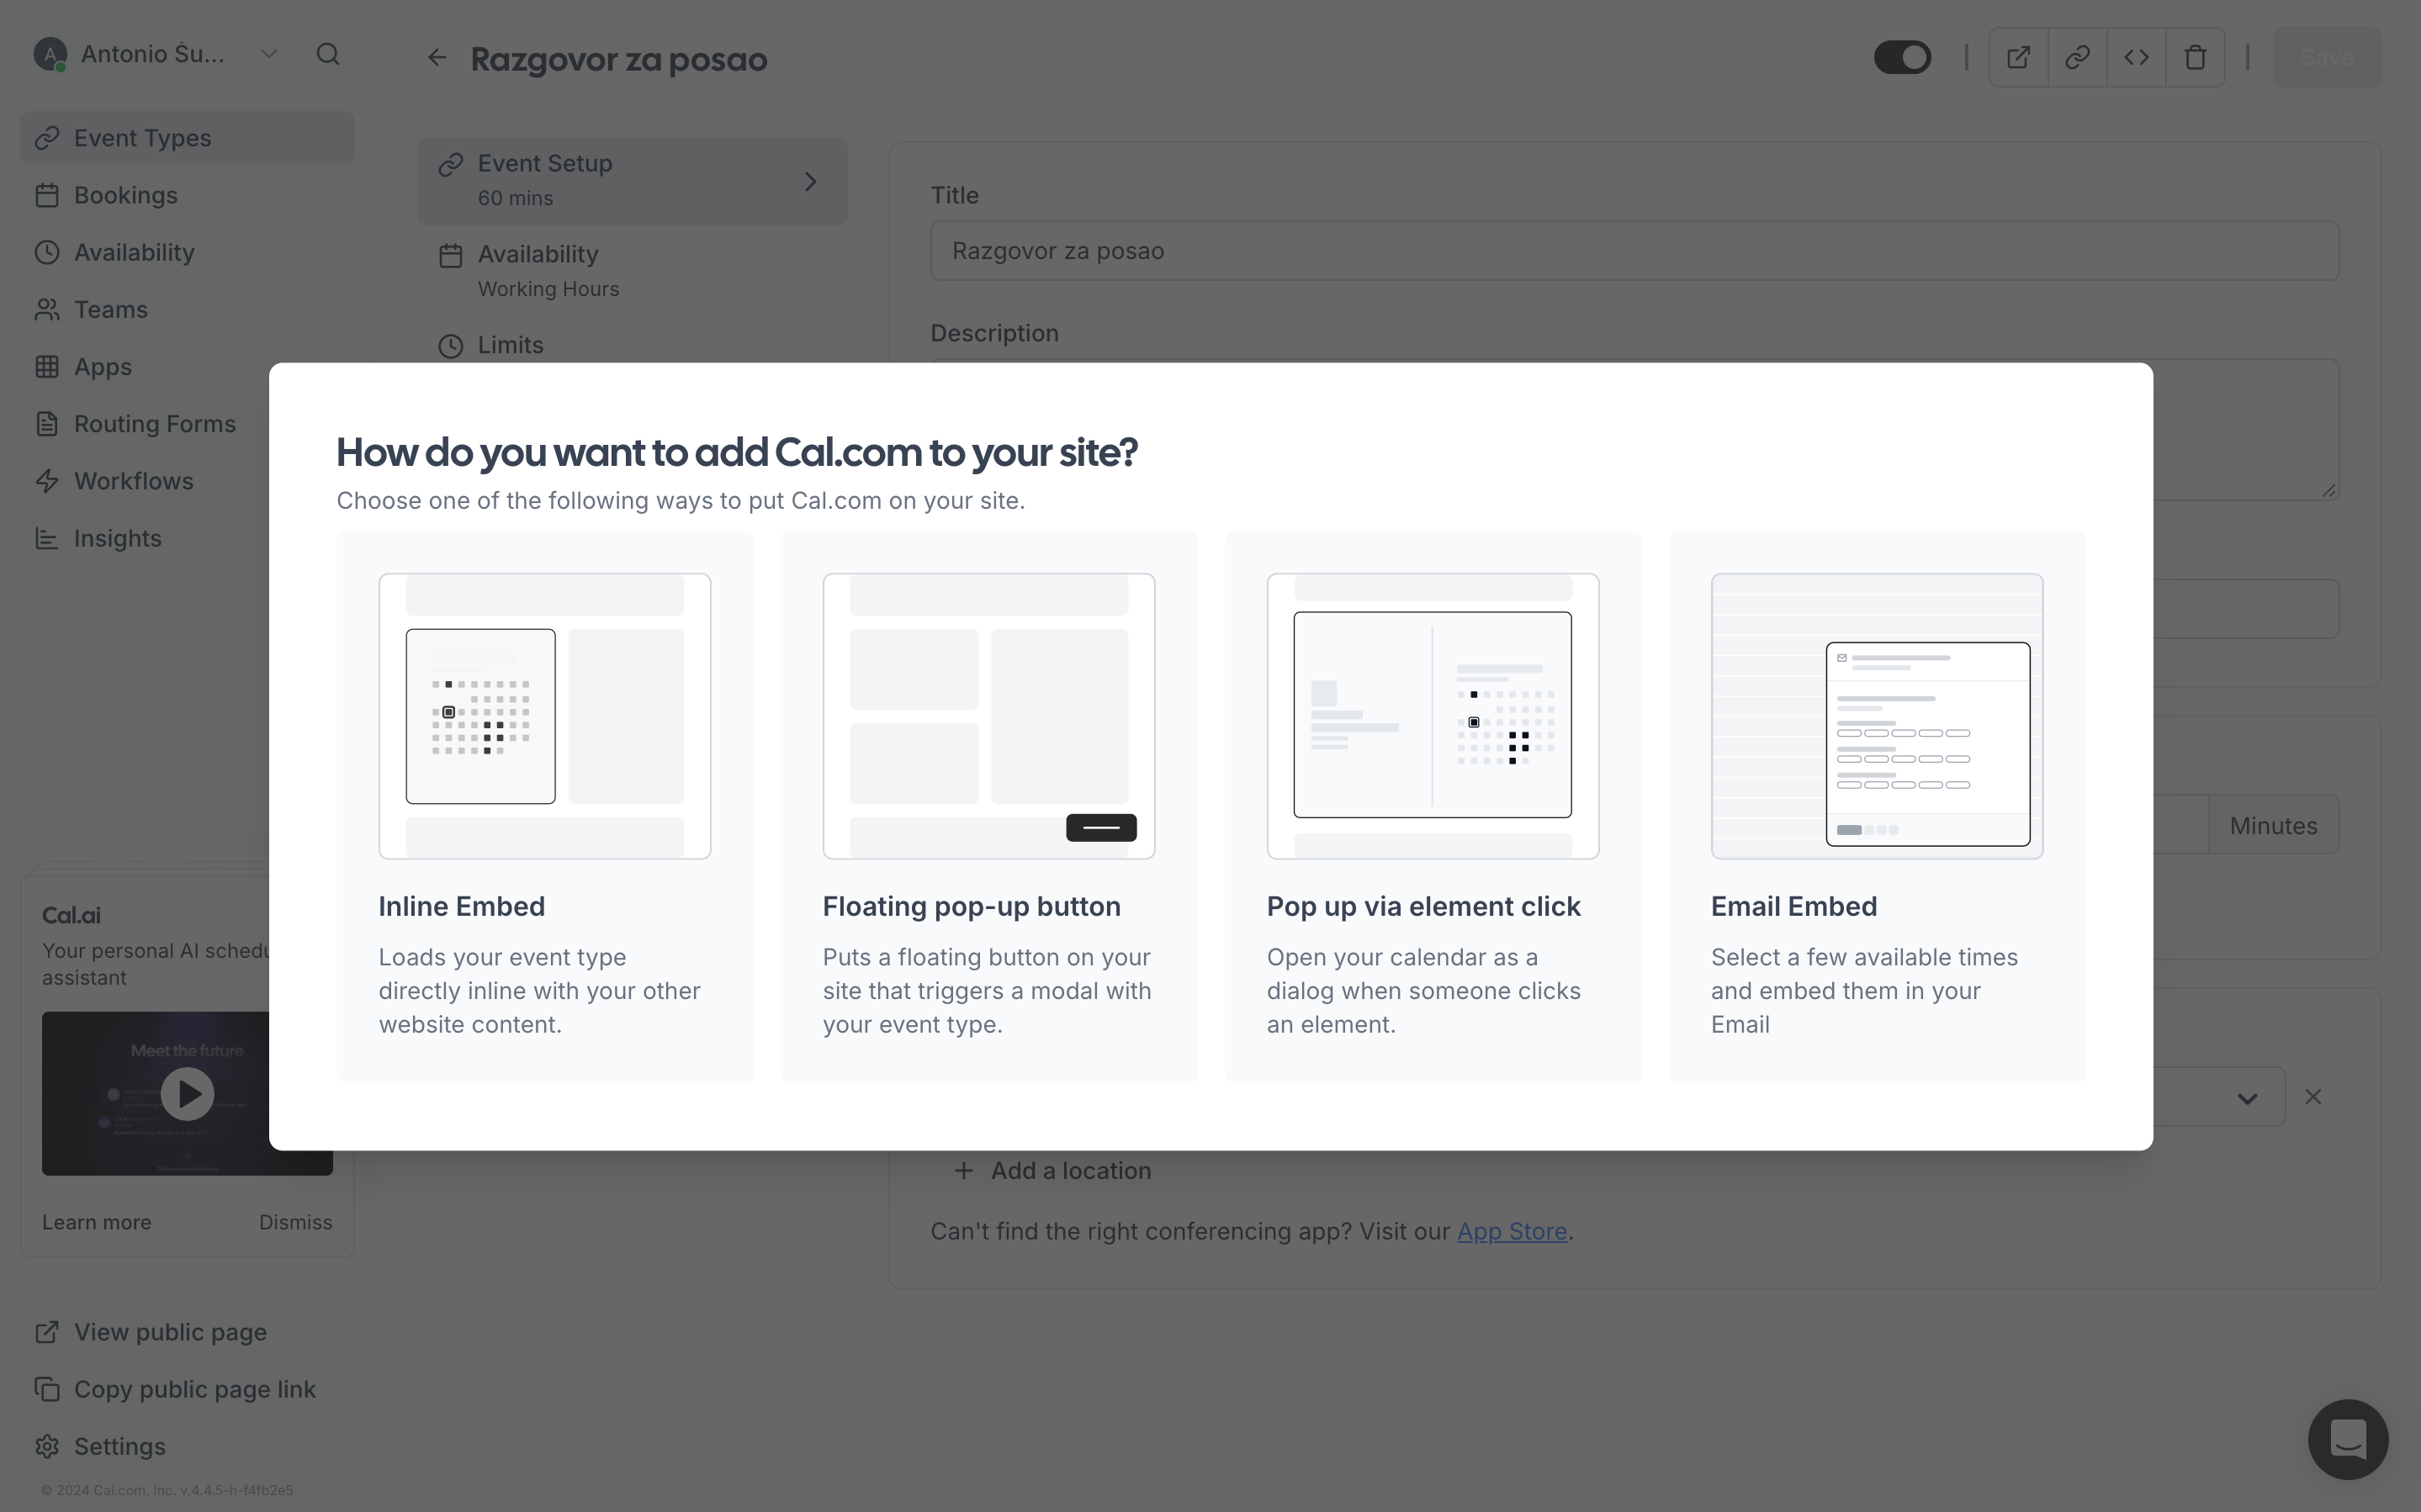
Slika: Integration look selection
In this step, you need to choose how the calendar will be displayed on your website. Options include displaying it immediately on the page, showing it only when a button is clicked, and more.
Once you select a display type, the next screen will appear.
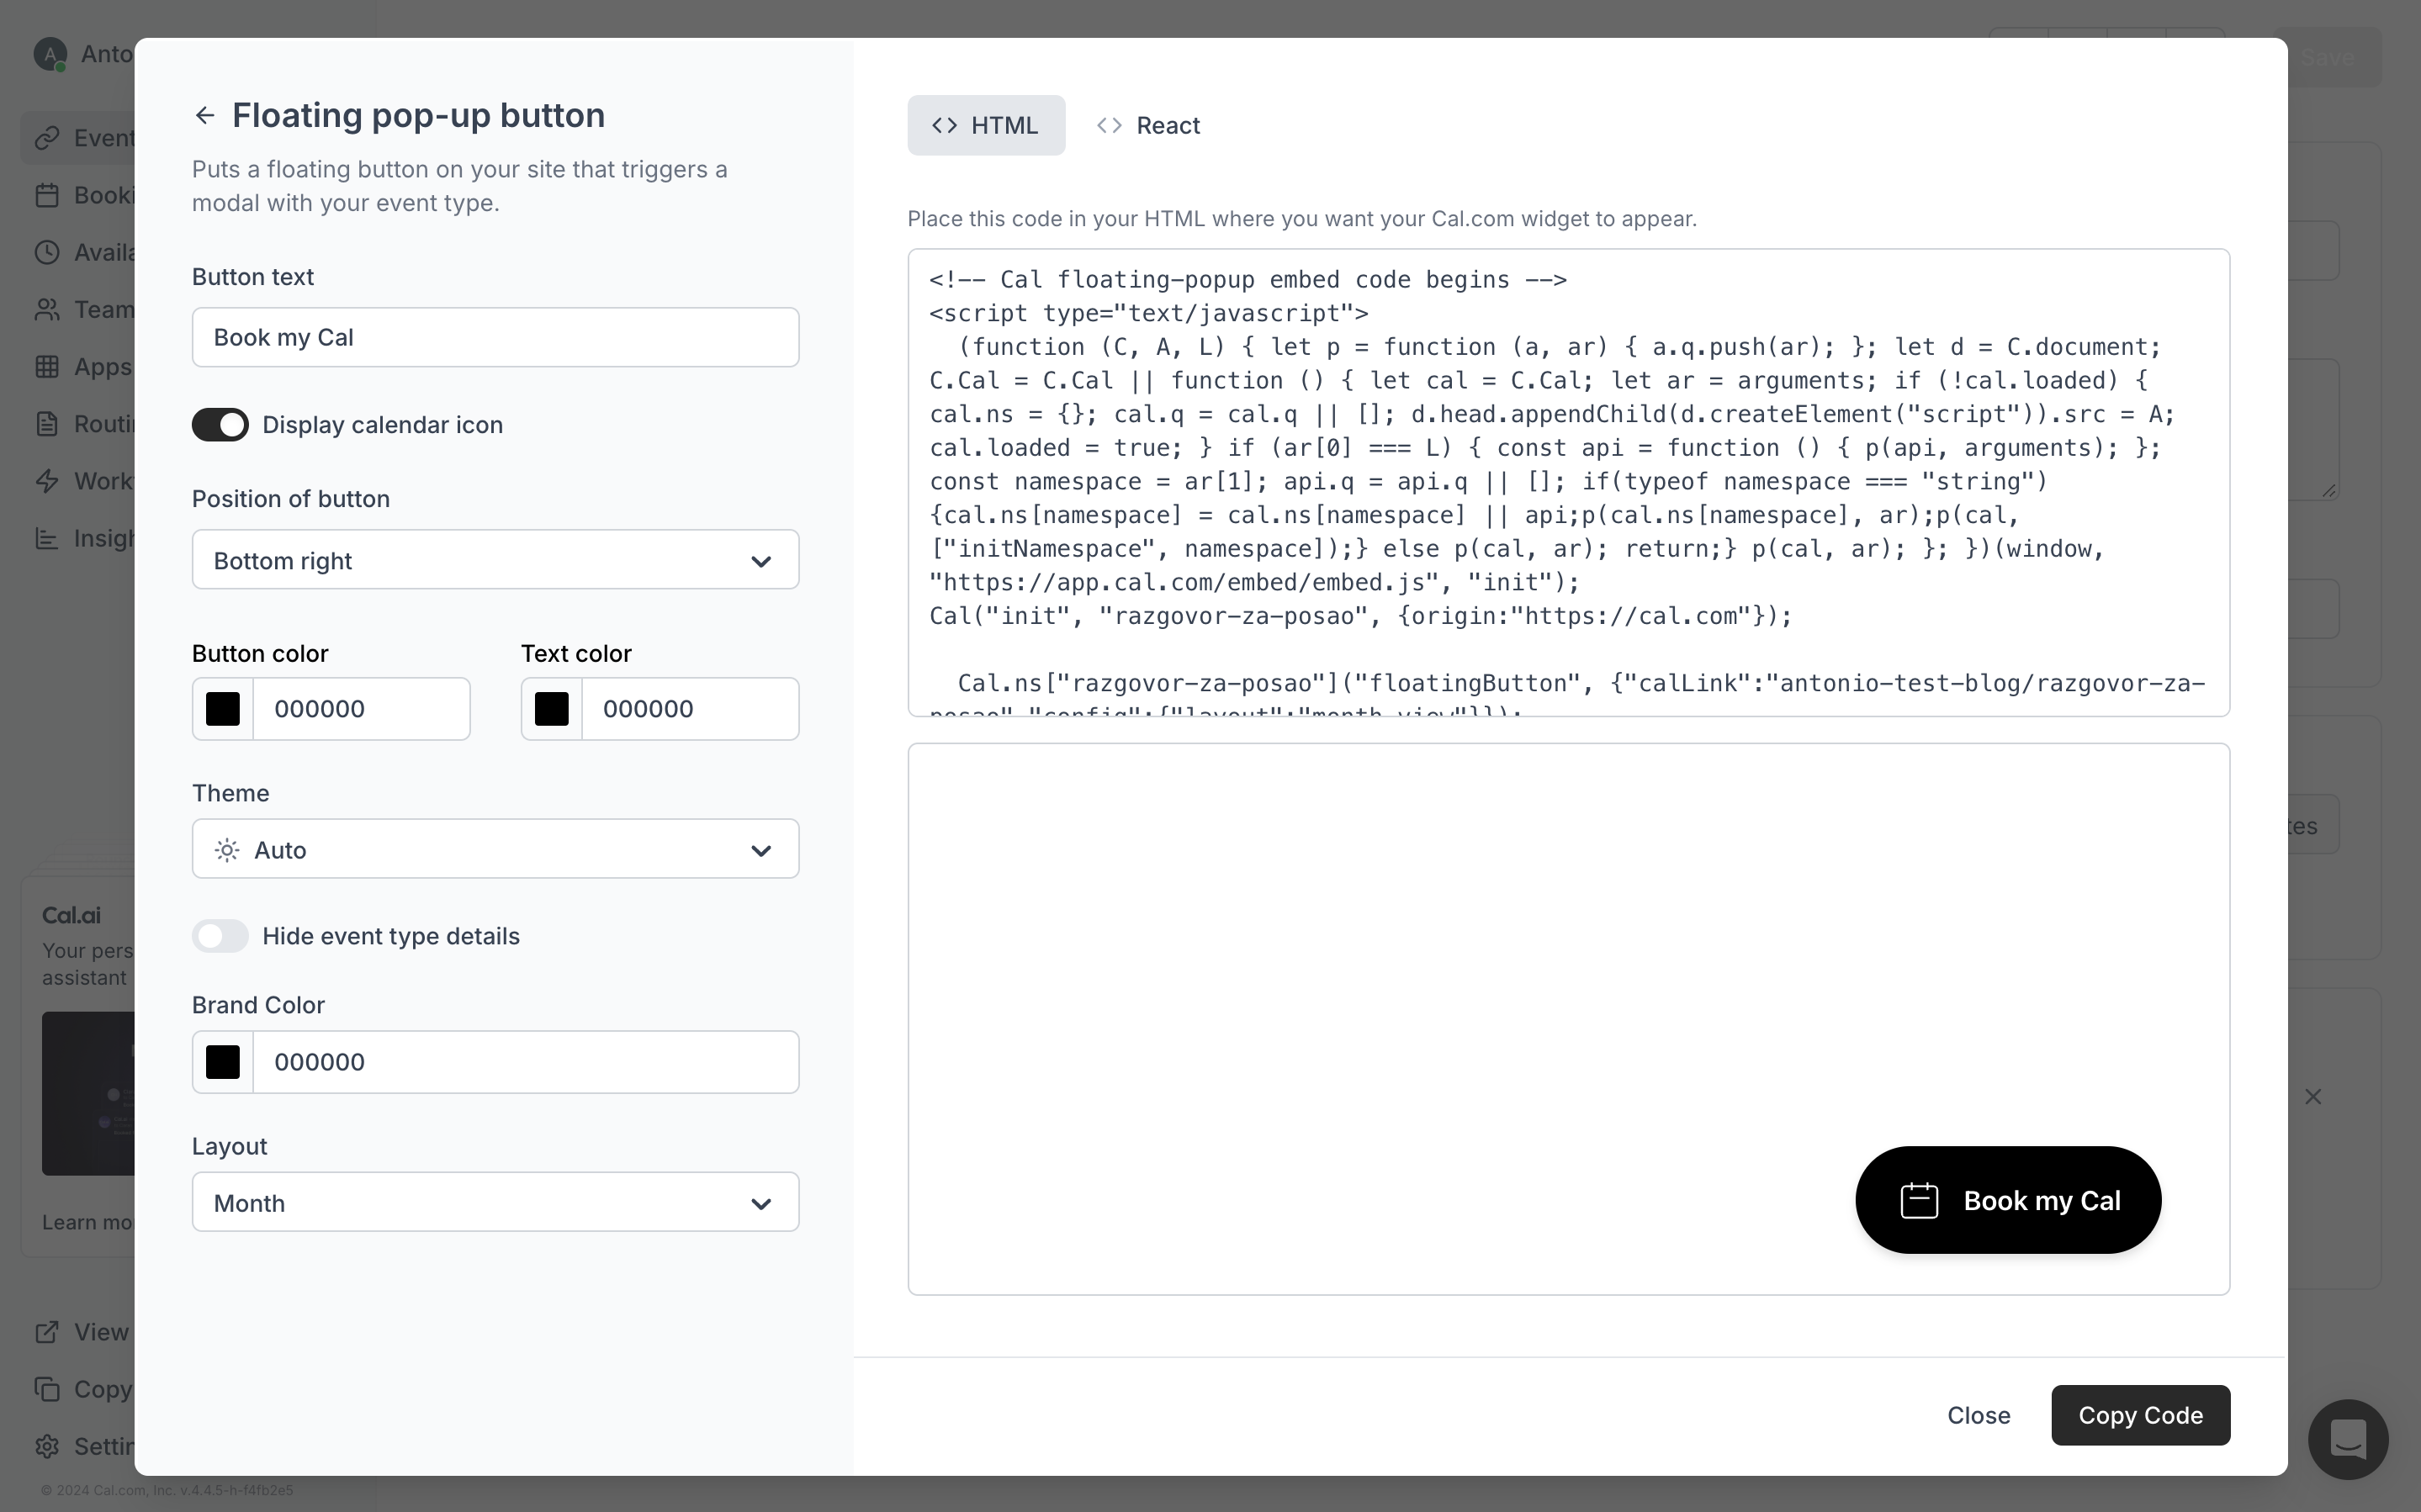
Slika: Code example
In this window, you are shown what needs to be added to your application and how to do it for the functionality to work. For our website, we needed to select React, so our integration looked like this.
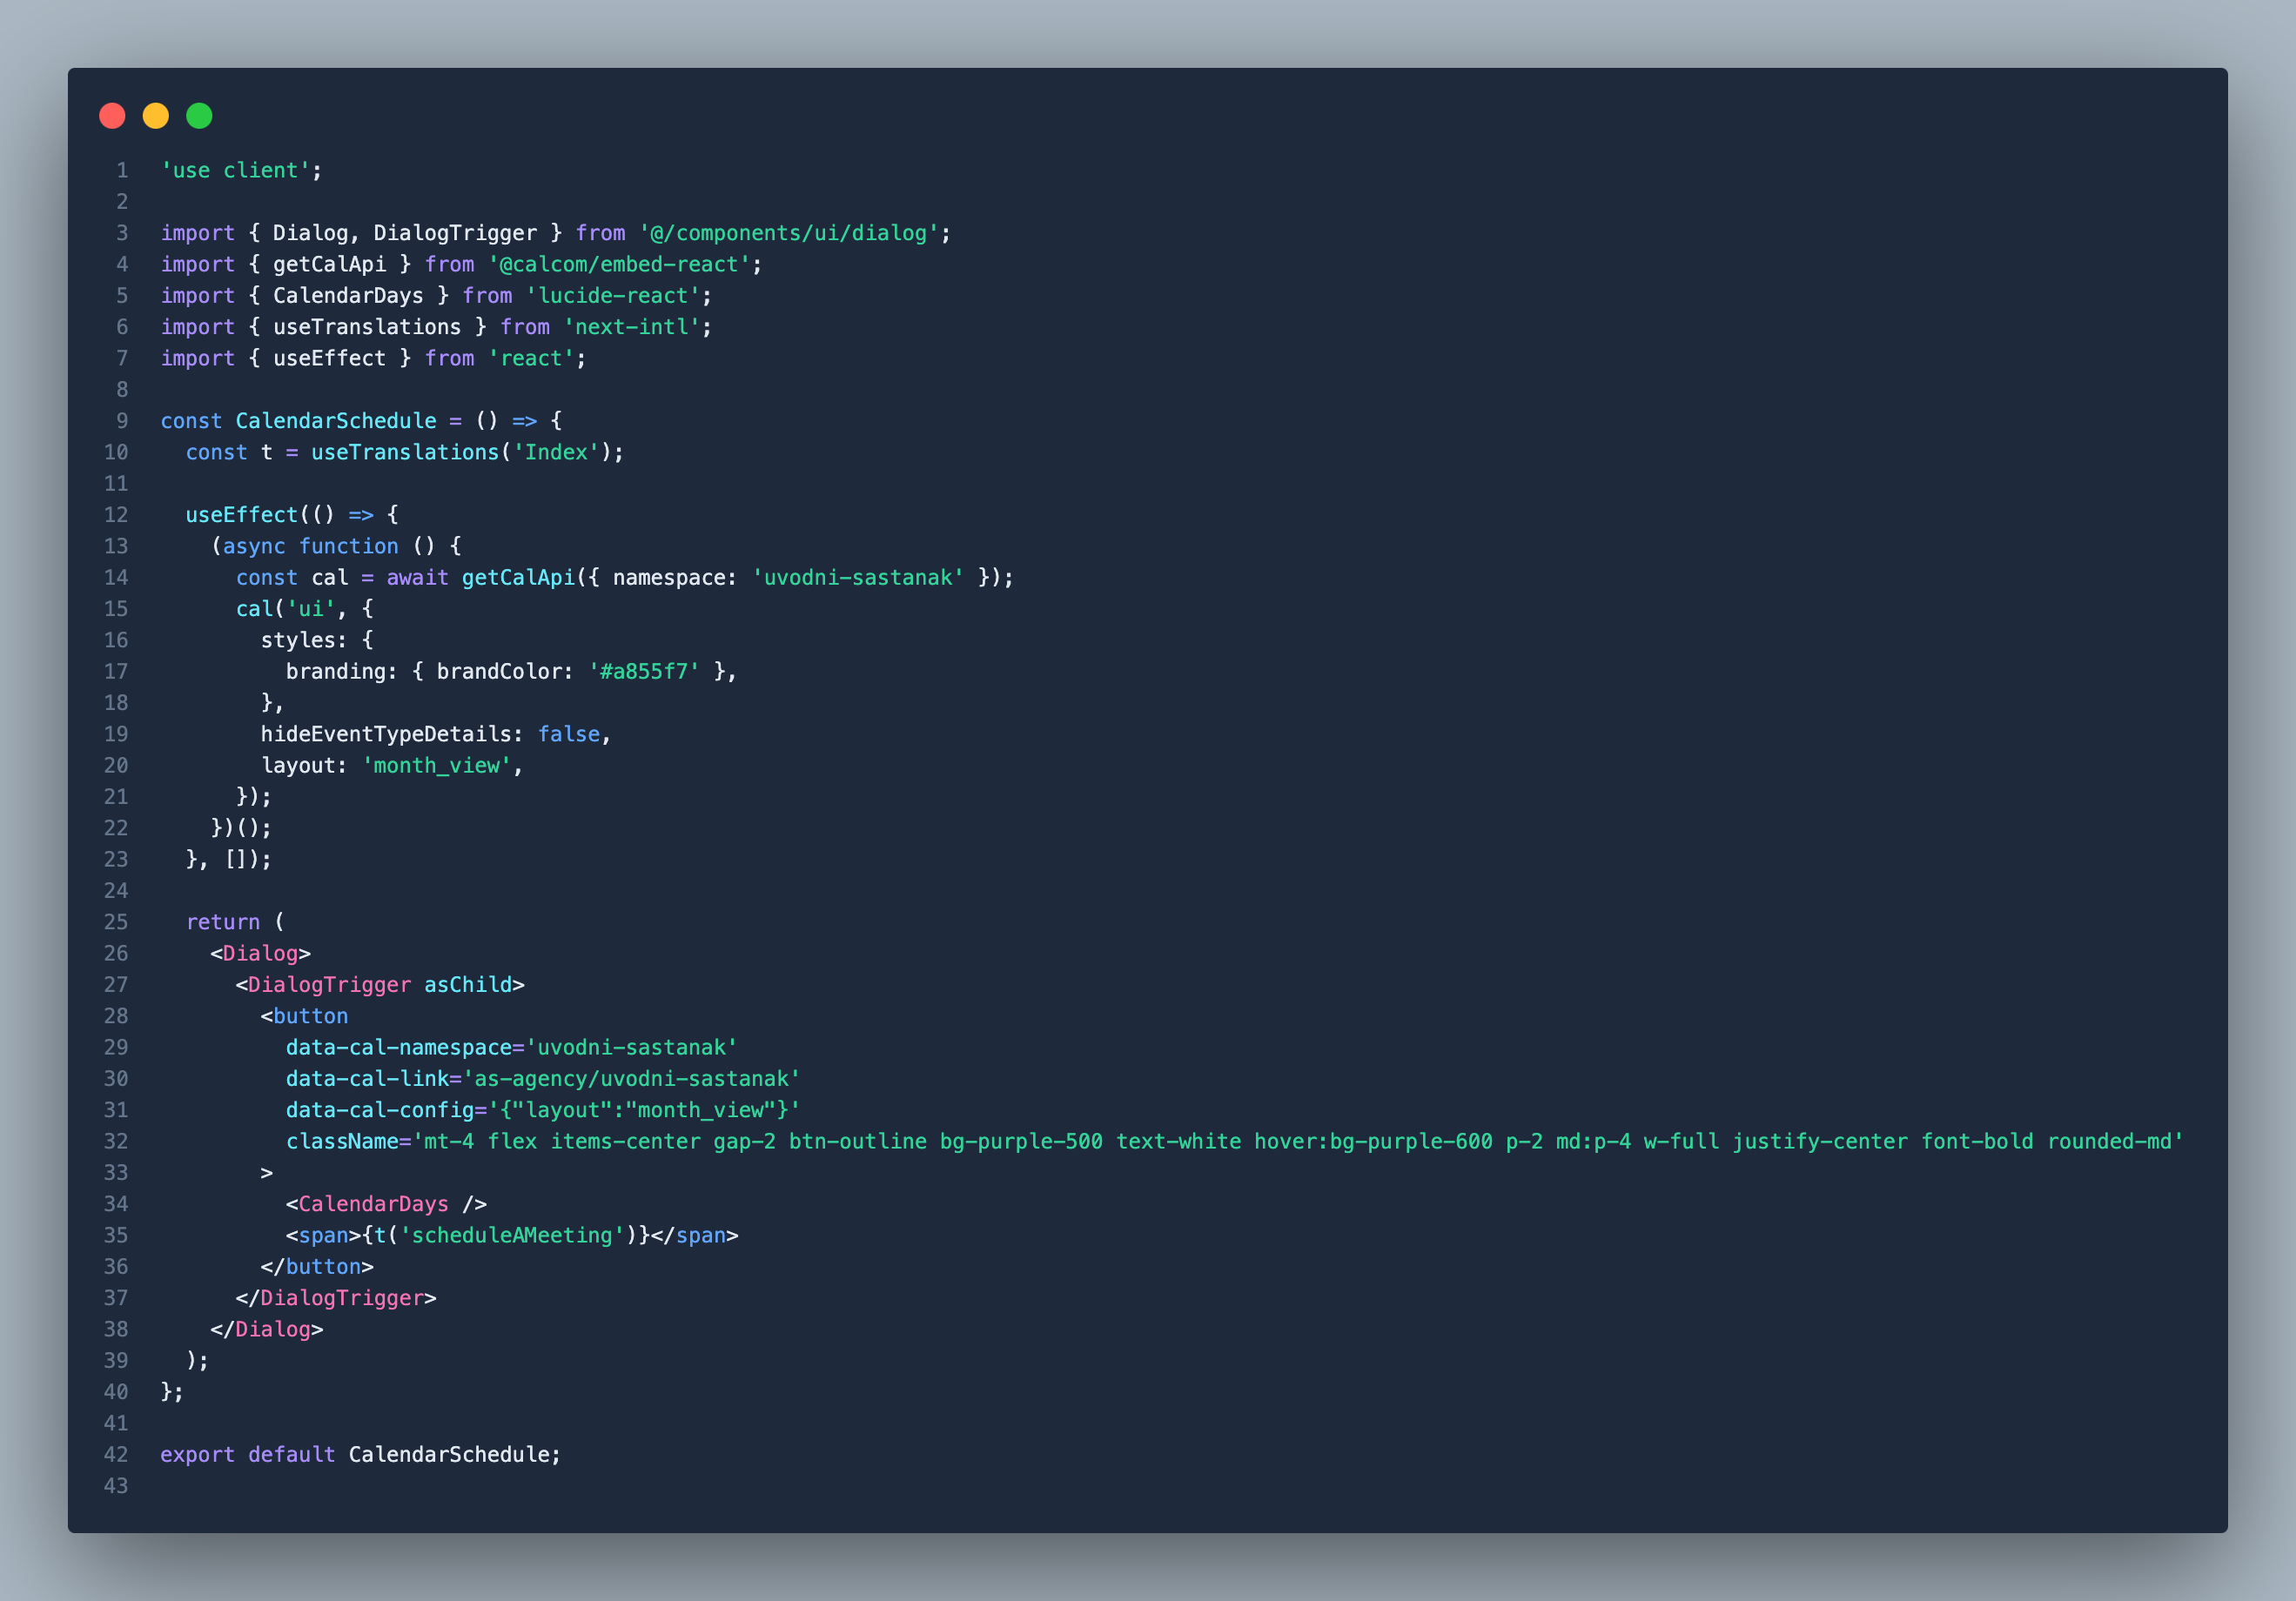
Slika: Cal.com implementation in Nextjs
For more questions or to collaborate, please reach out to us via our contact form at the following link: Contact form or contact me directly at antonio.sumak@theasagency.com
